PCF PAS NSX-T 2.3 Preparation (NO-NAT)
T1 Routers & Logical Switches
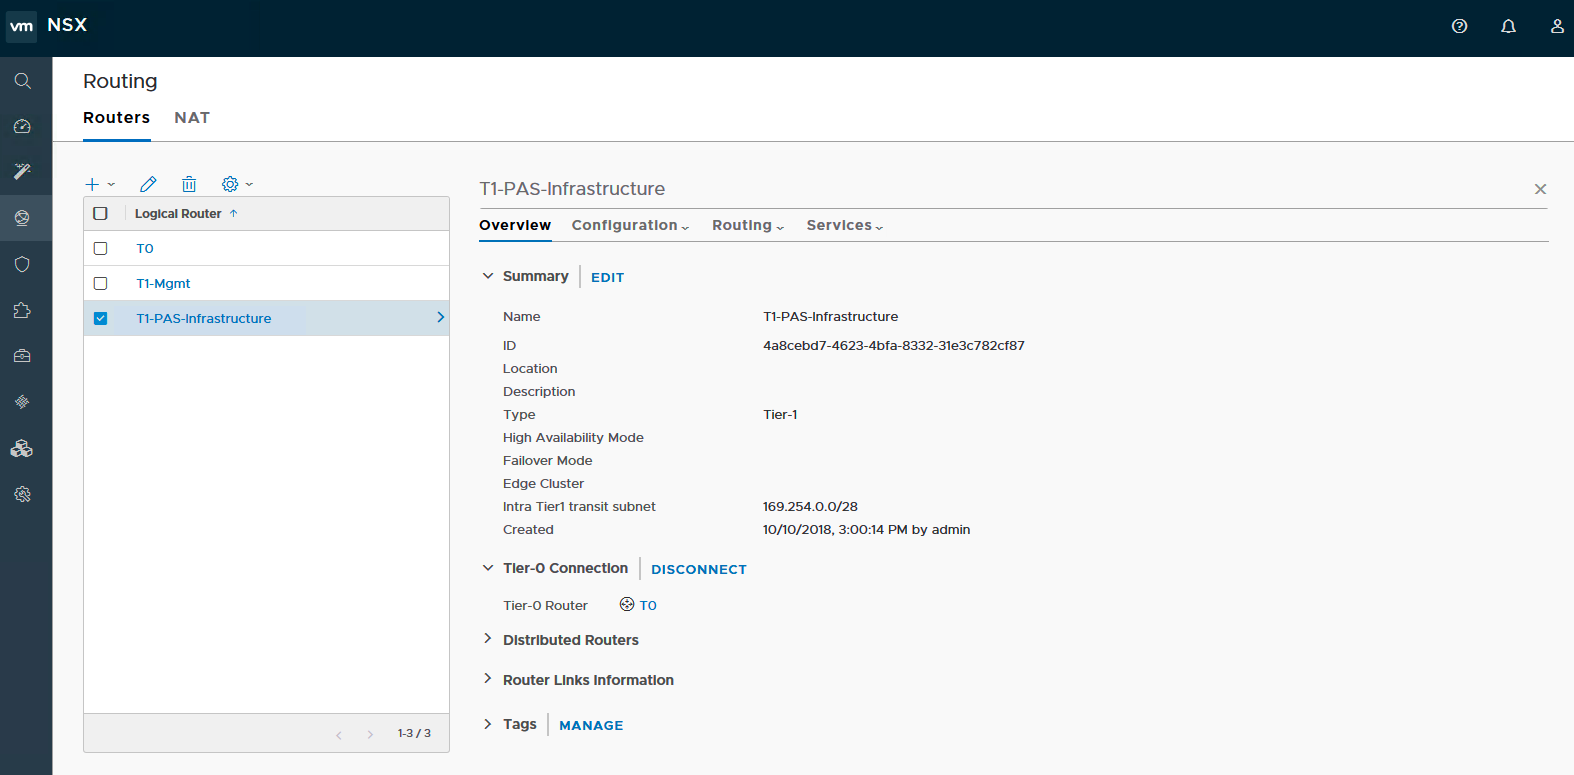
Create T1 Router – T1-PAS-Infrastructure. Edge cluster is not needed for this T1 router.
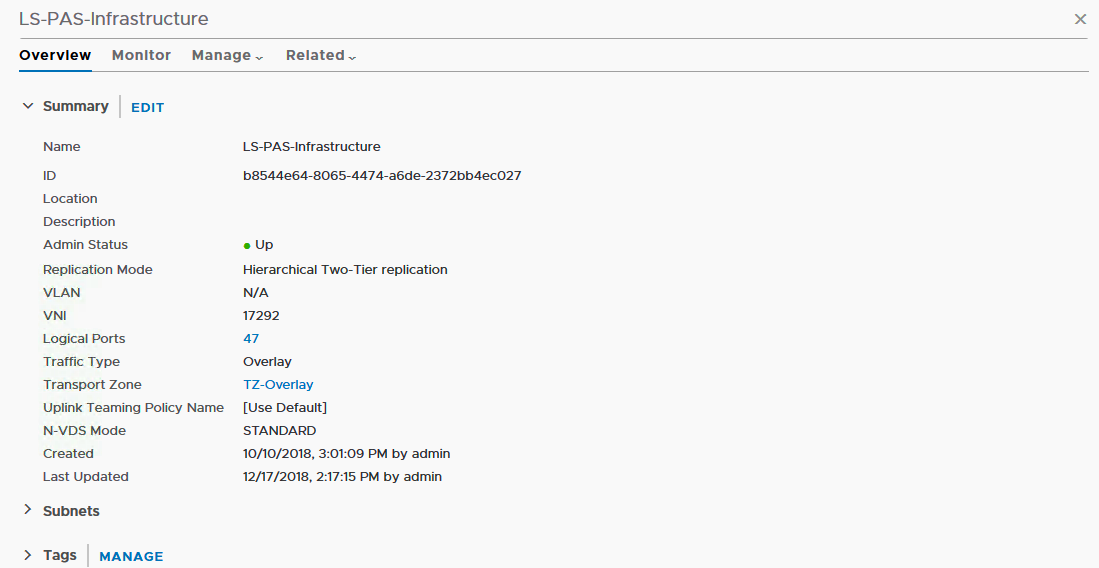
Create Logical Switch LS-PAS-Infrastructure.
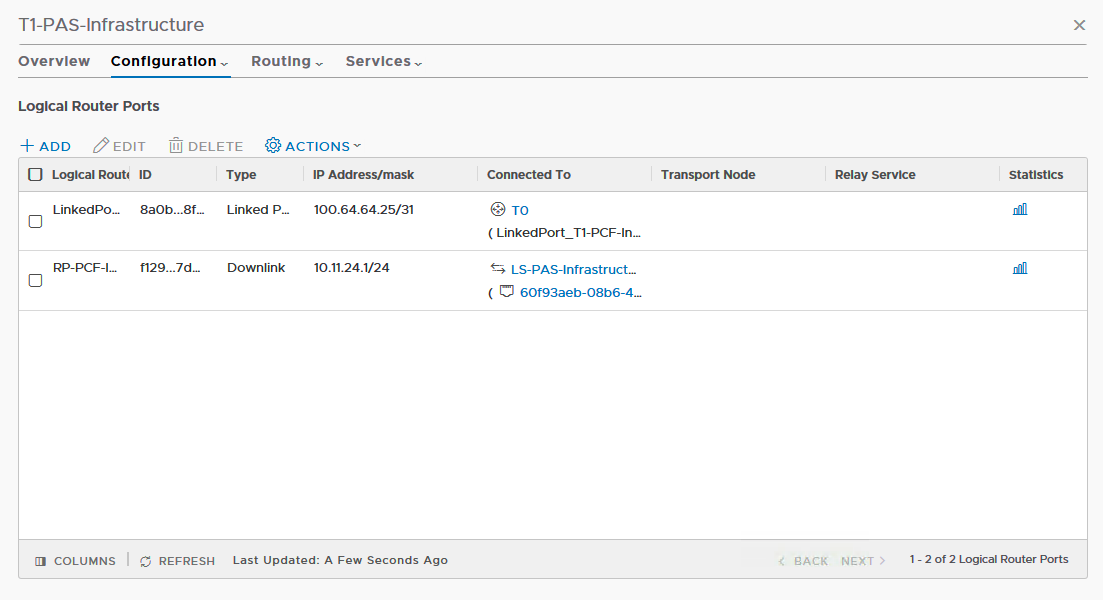
Create Router port on the T1 and connect to the LS.
IP Address: 10.11.24.1⁄24
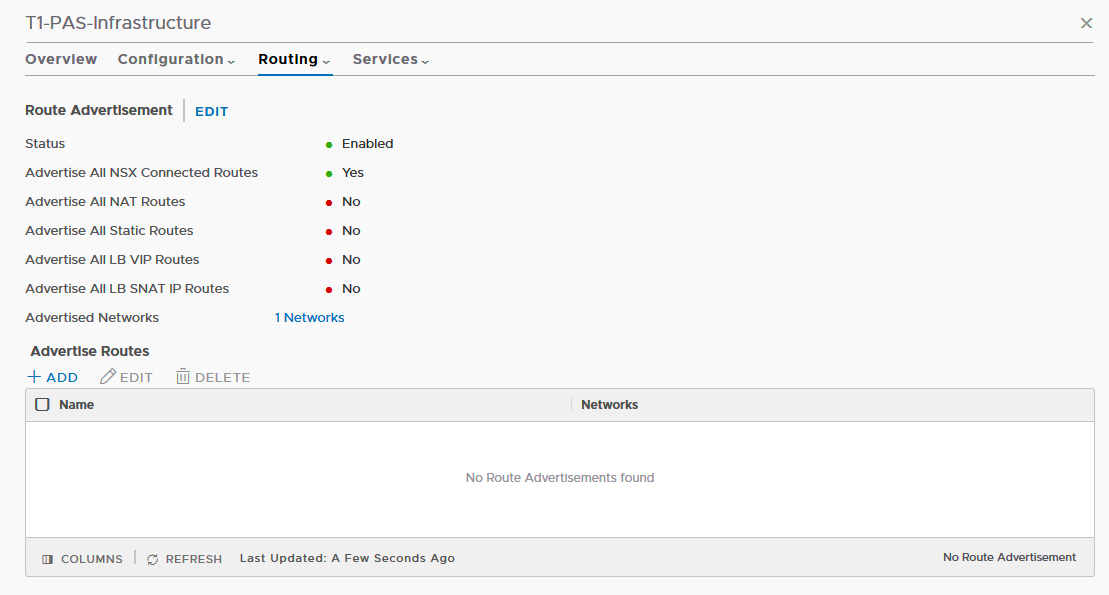
On the T1, enable route advertisement options.
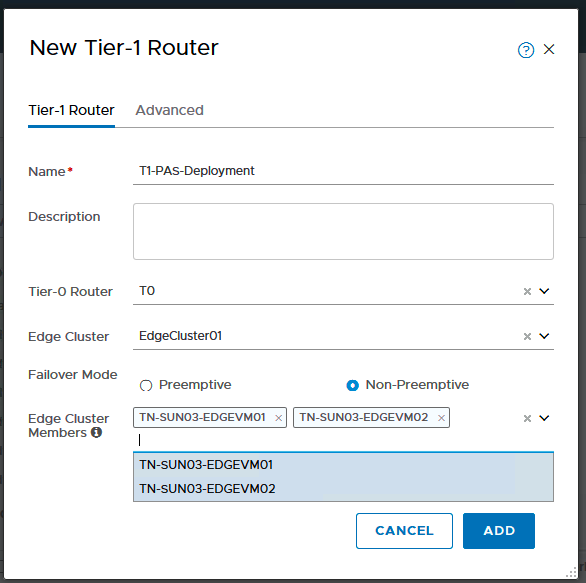
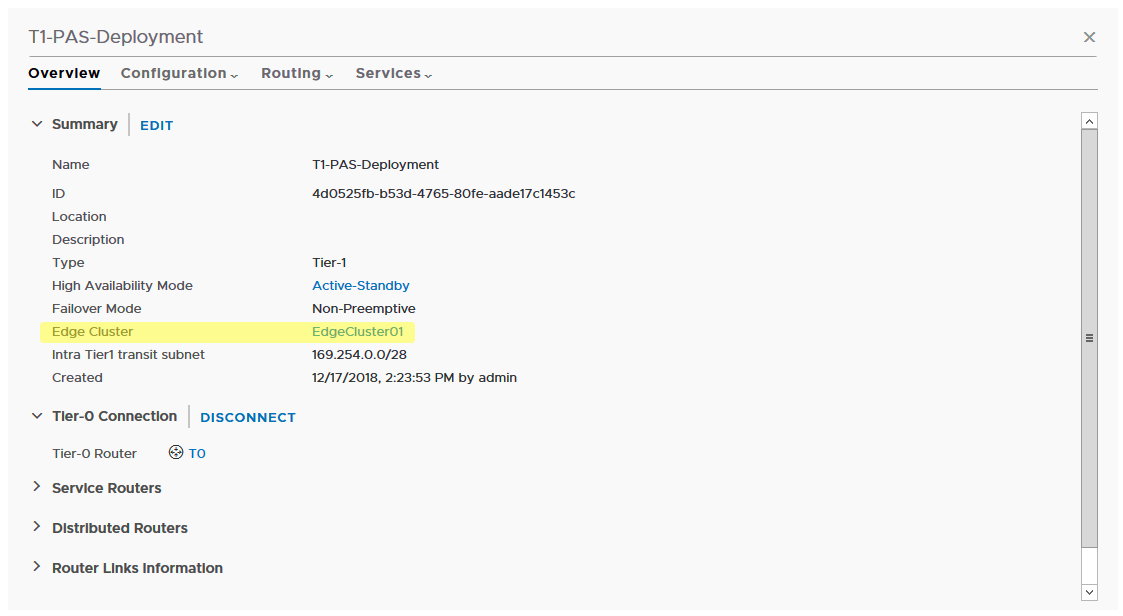
Create T1 Router – T1-PAS-Infrastructure. Attach an Edge cluster to this T1 router as Load Balancer services will be enabled on this T1 router.
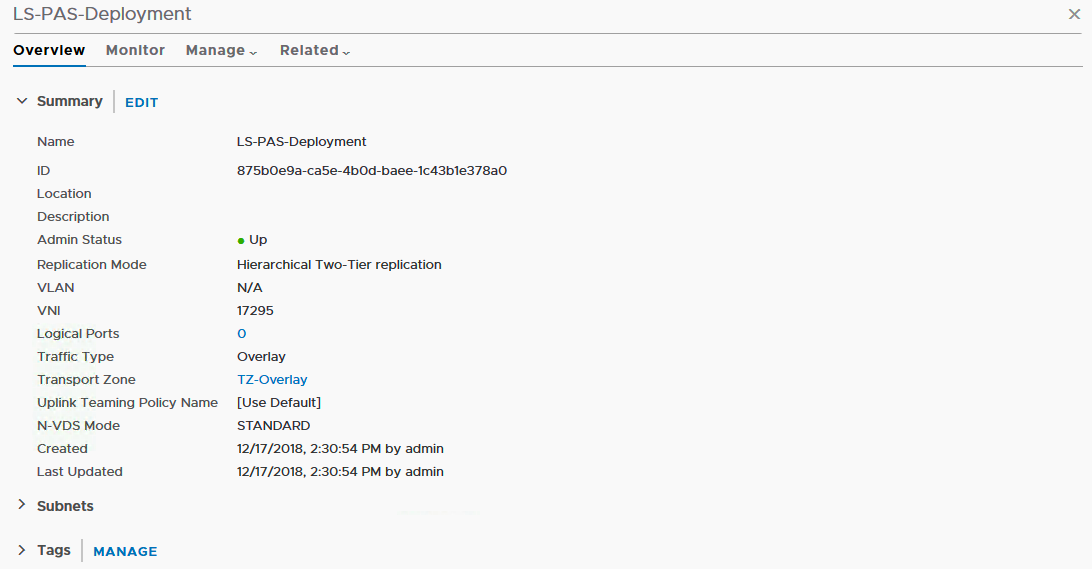
Create Logical Switch LS-PAS-Deployment.
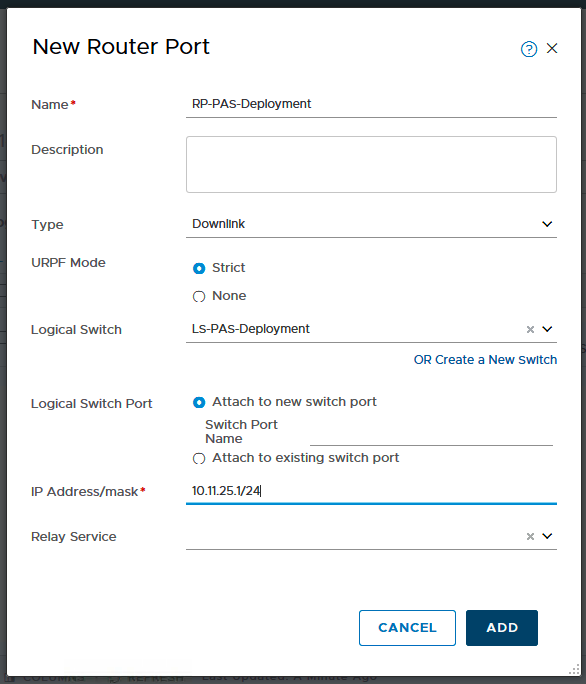
Create Router port on the T1 and connect to the LS.
IP Address: 10.11.25.1⁄24

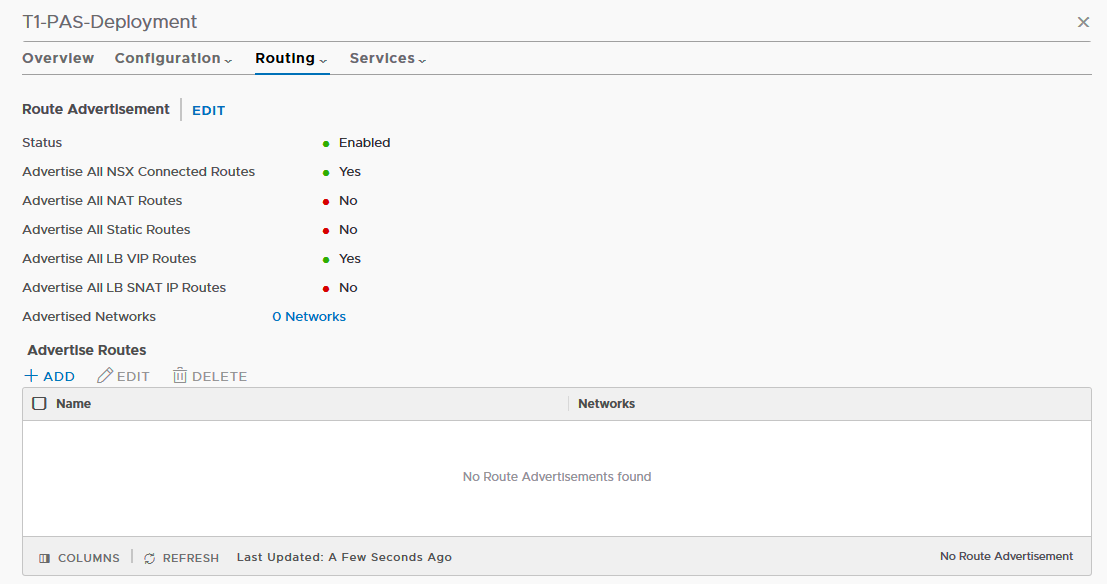
On the T1-PAS-Deployment , enable route advertisement options.
– All NSX Connected Routes
– All LB VIP Routes
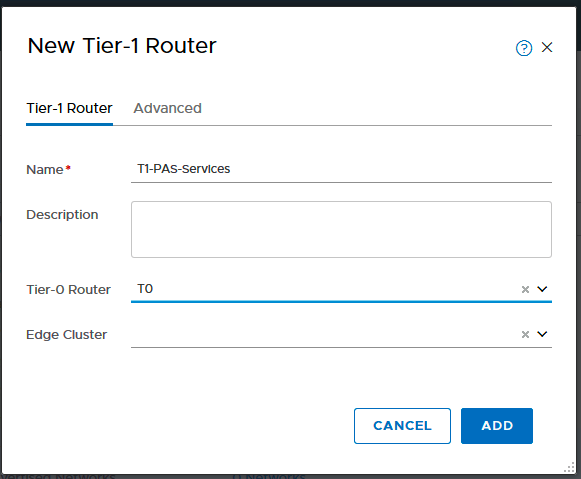
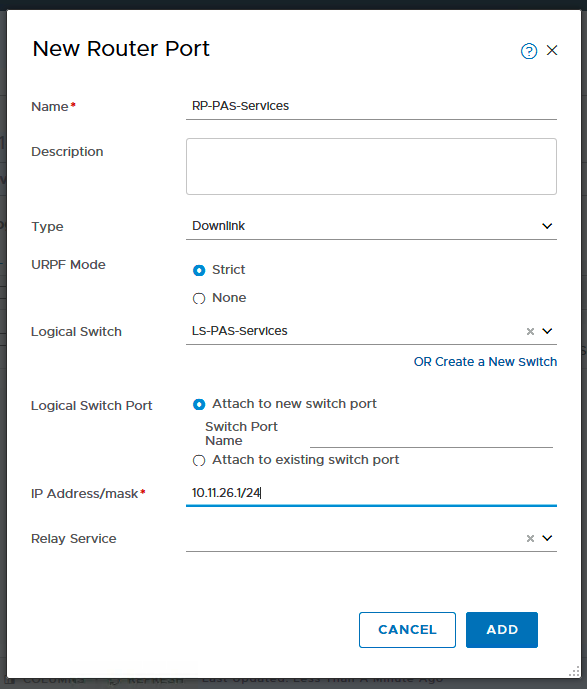
Create T1 Router – T1-PAS-Services. Edge cluster is not needed for this T1 router.

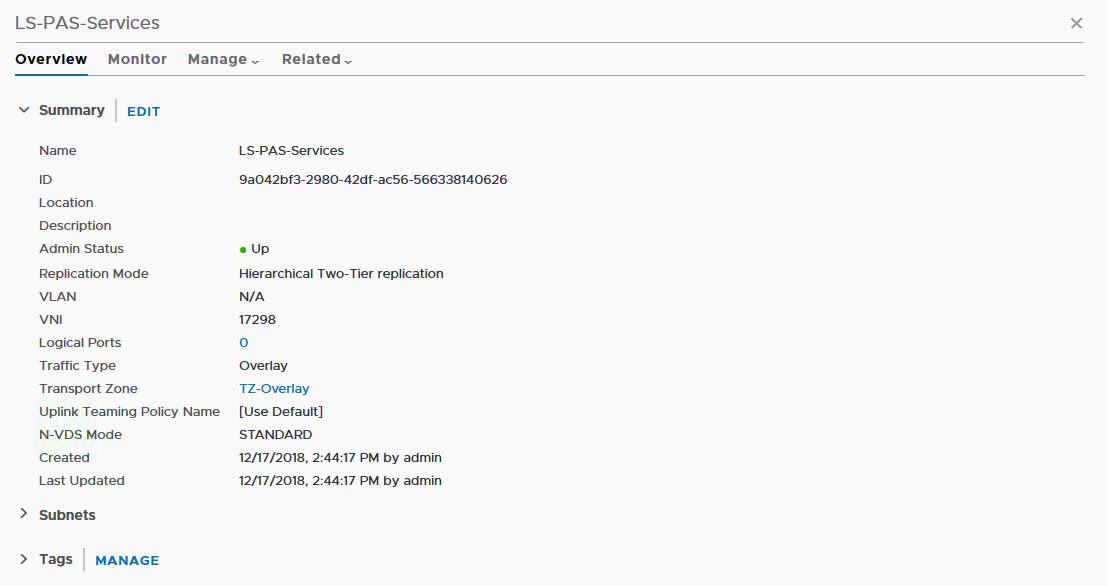
Create Logical Switch LS-PAS-Services.
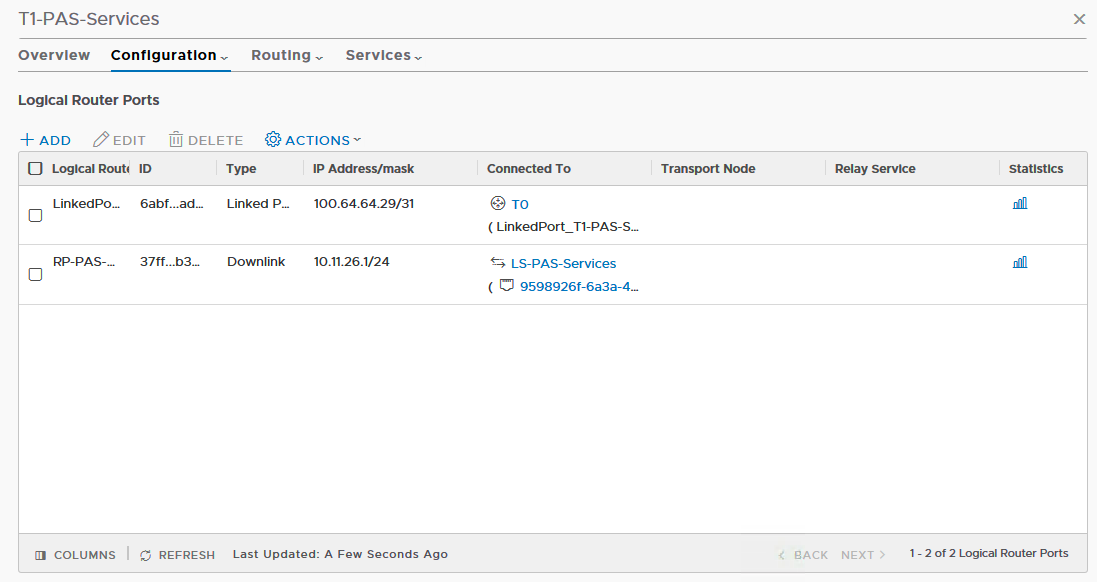
Create Router port on the T1 and connect to the LS.
IP Address: 10.11.26.1⁄24
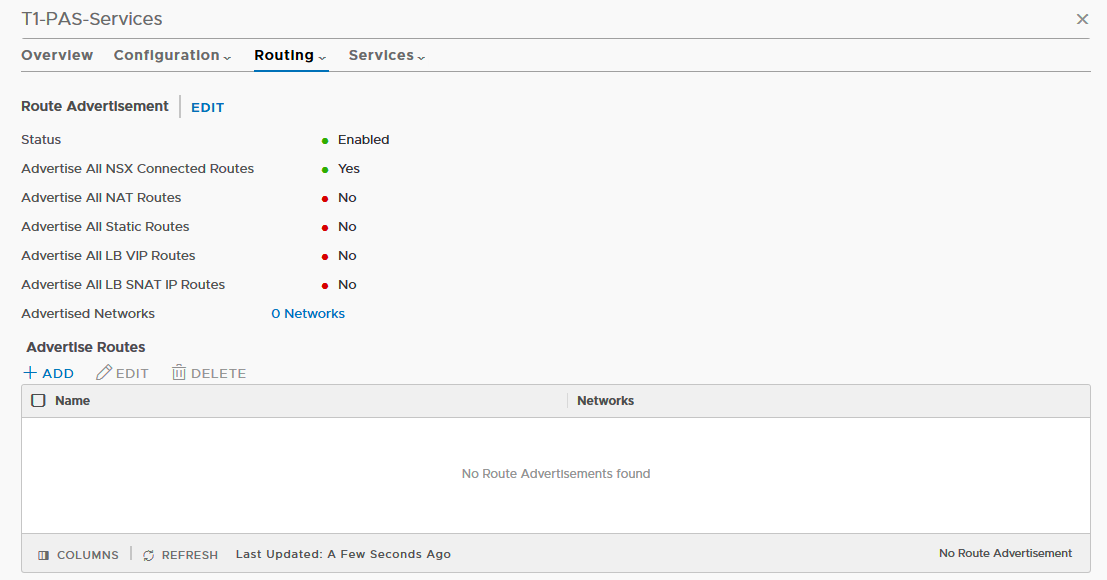
On the T1, enable route advertisement options.
NSX-T Load Balancers
For PAS, you will need LB for GoRouters, MySQL and DiegoBrain. These are the breakdown.
LB for GoRouter HTTP
Used to redirect http traffic to HTTPS
LB for GoRouter HTTPS
Used for application access from outside and also for internal communication
LB for MySQL
Used for internal MySQL communication
LB for DiegoBrain
Used for SSH access to application
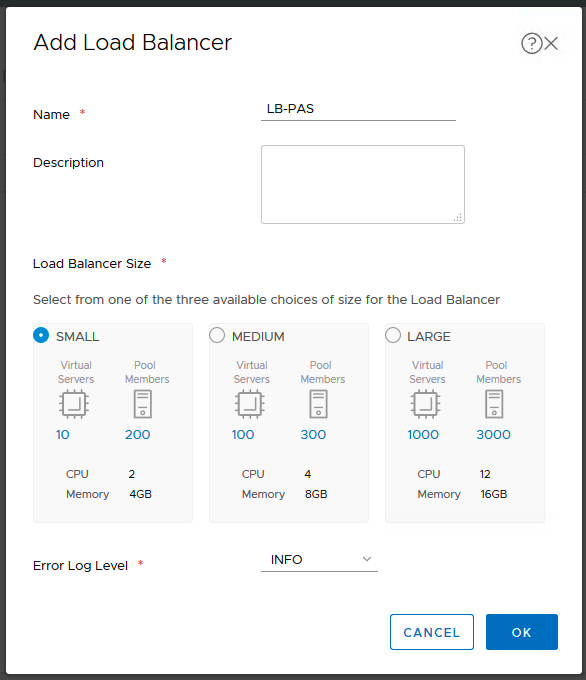
Add LB instance which is going to be shared by GoRouter, MySQL proxy and DiegoBrain.
For LB sizing, please refer to https://communities.vmware.com/docs/DOC-37986
LB: Go Routers
Create NSGroup for GoRouter HTTPS to be used as members in a pool. There is no need to configure members now as PAS will configure automatically for you later.

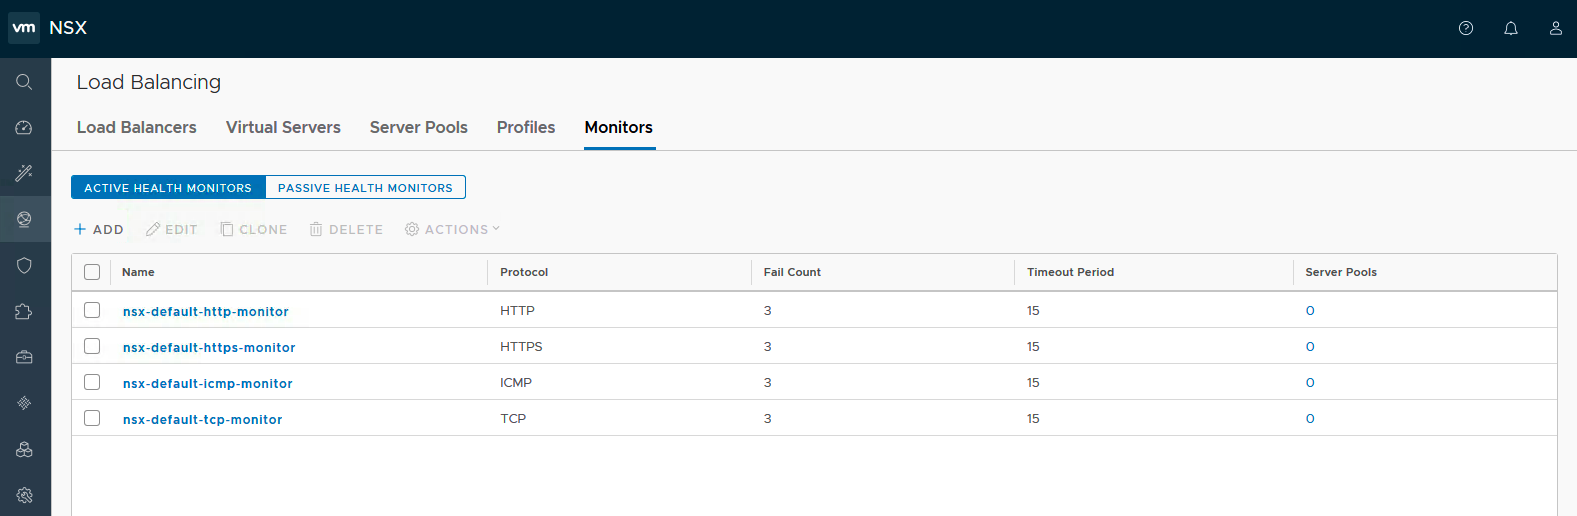
Create Monitoring for Go Router.
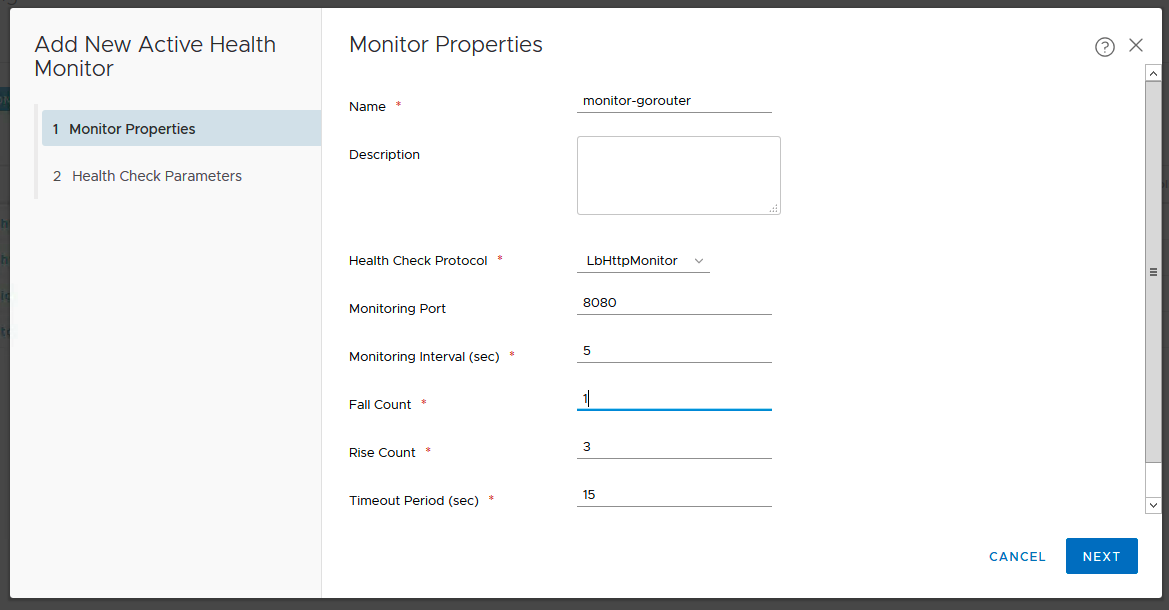
Add New Active Health Monitor – Monitor Properties for GoRouters.
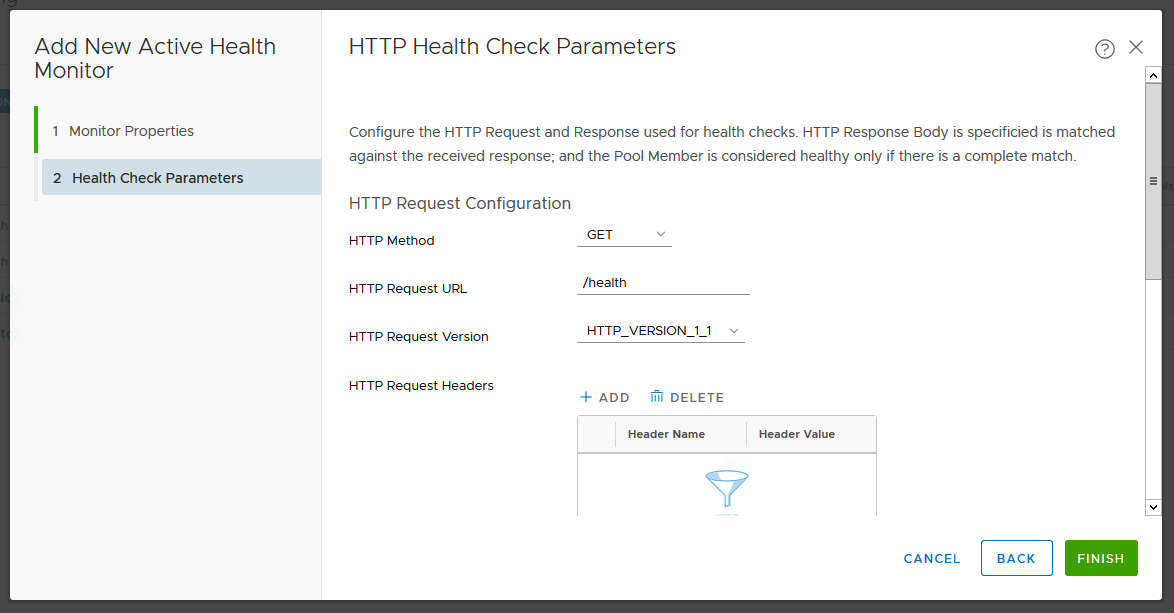
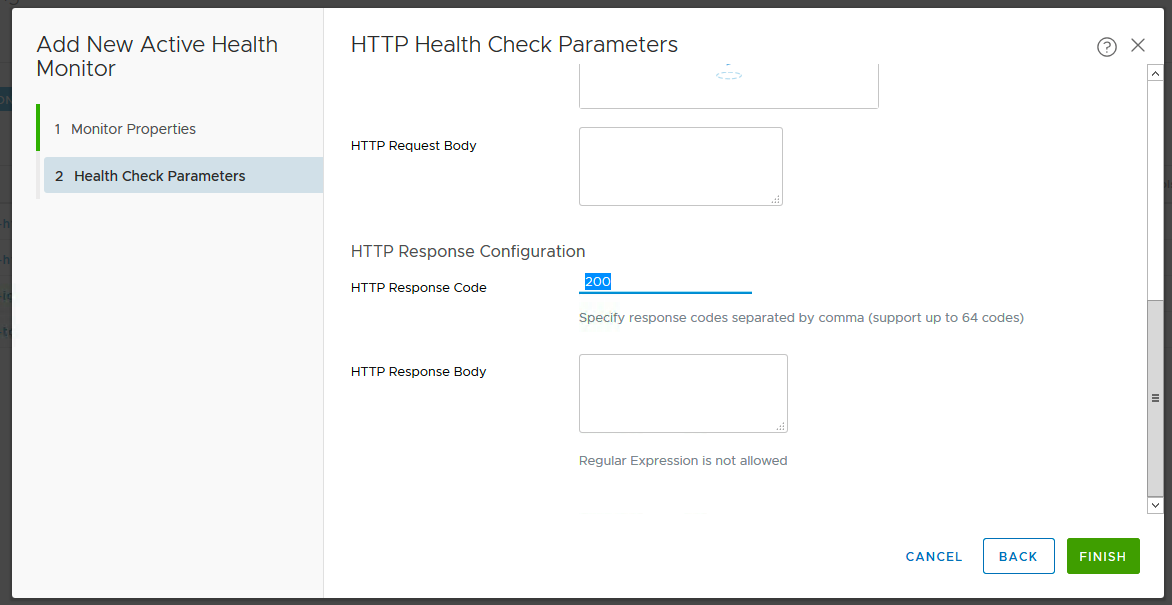
Add New Active Health Monitor – Health Check Parameters for GoRouters.
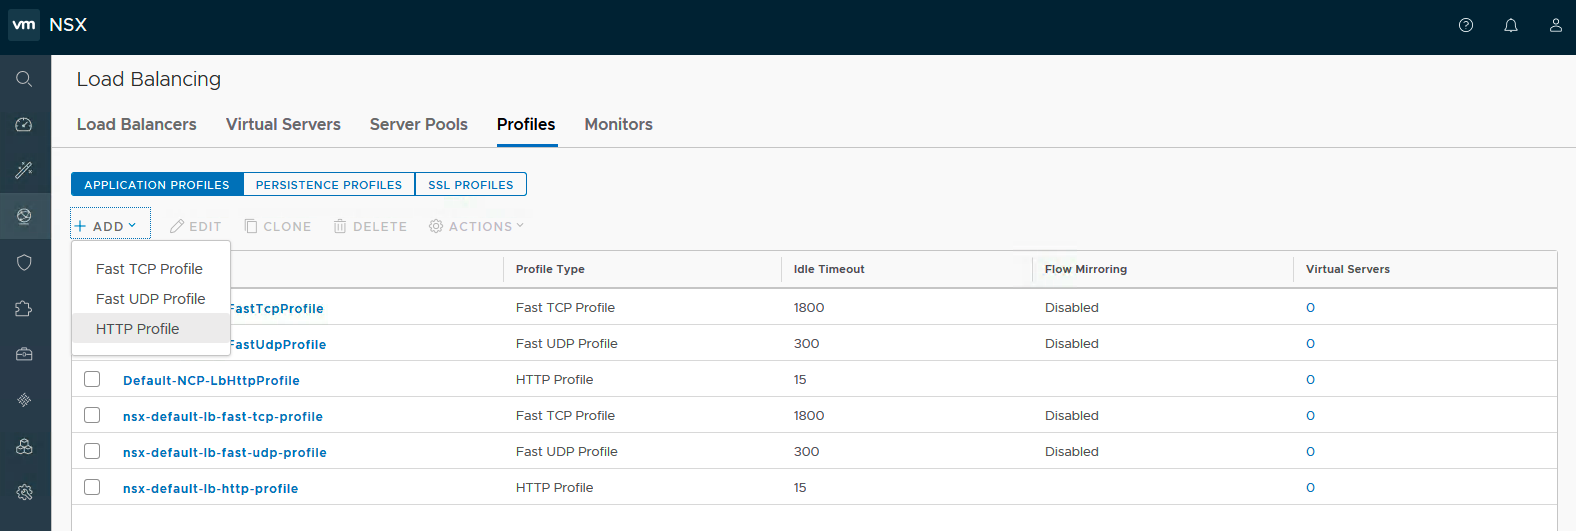
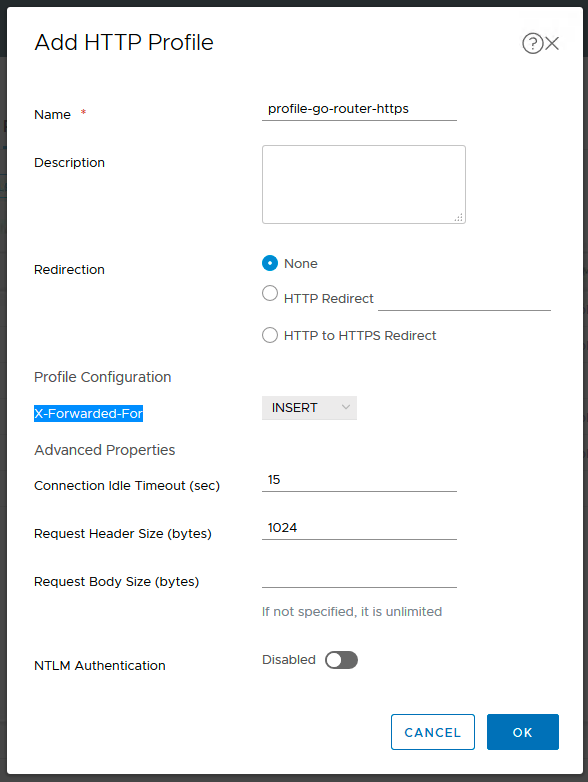
Next we will create Application Profile for Go Router HTTPS. Additionally, to make client IP address visible, you will need to configure X-Forwarded-For.
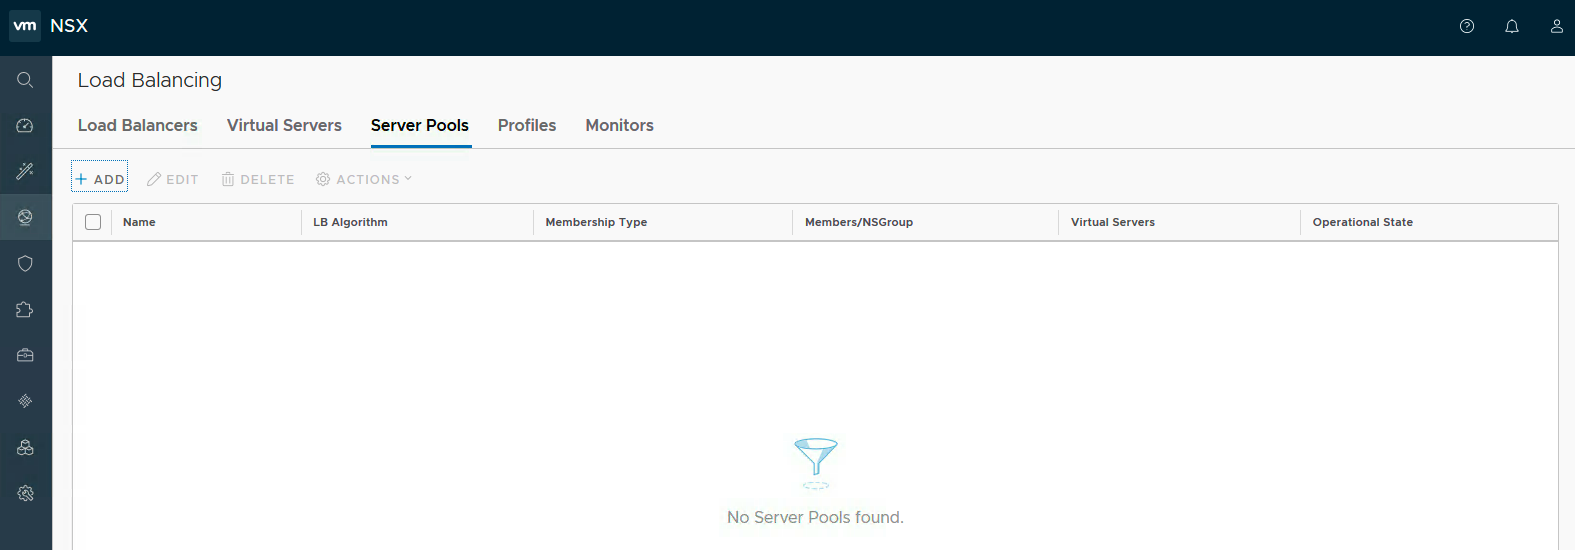
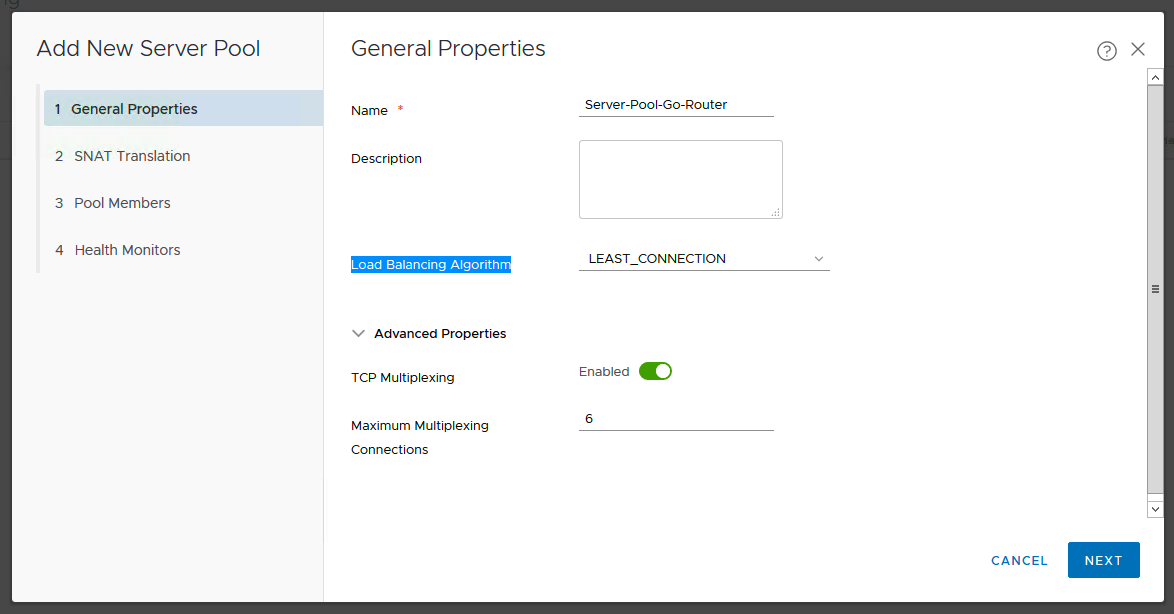
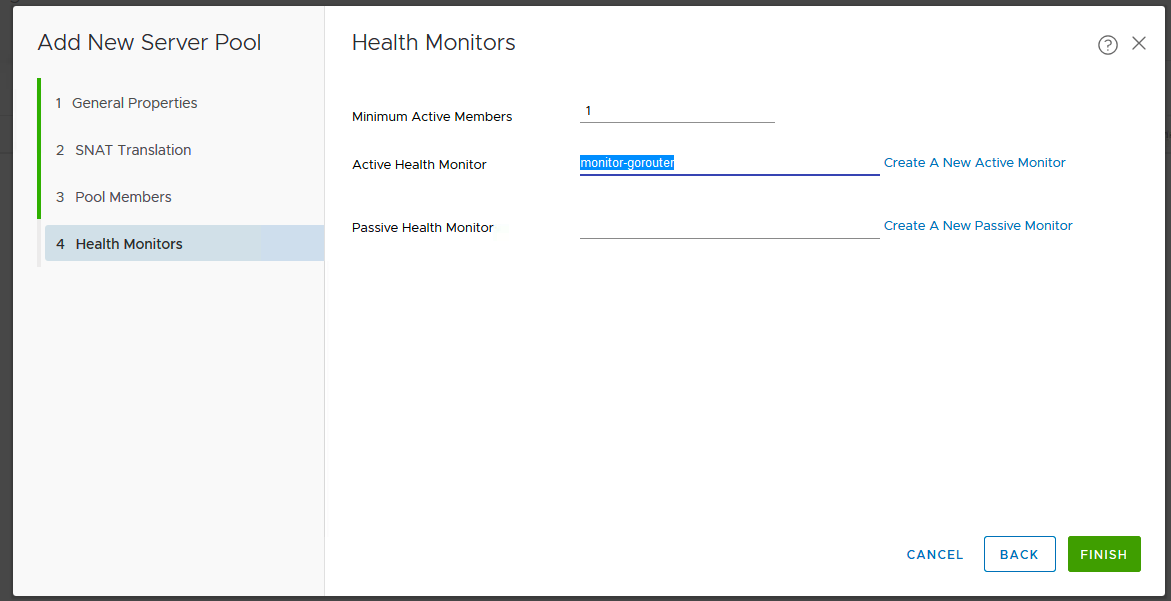
Create LB Server Pool for Go Router HTTPS
Change the Load Balancing Algorithm to LEAST_CONNECTION and Enable TCP Multiplexing.
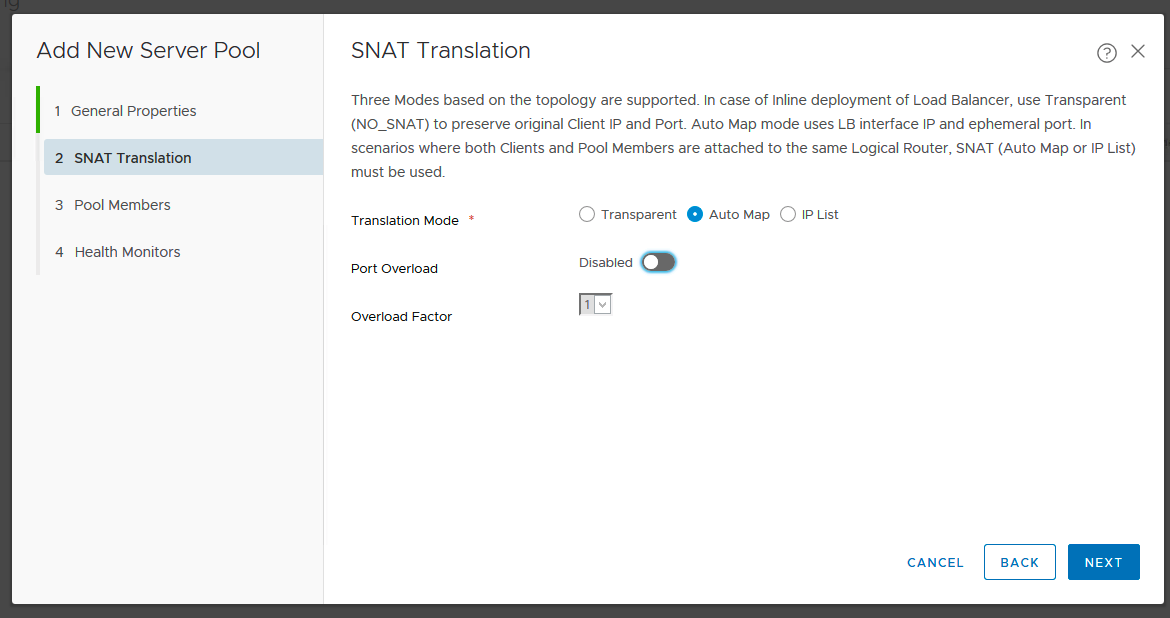
Choose the Auto Map for Translation Mode and Disable the Port Overload.
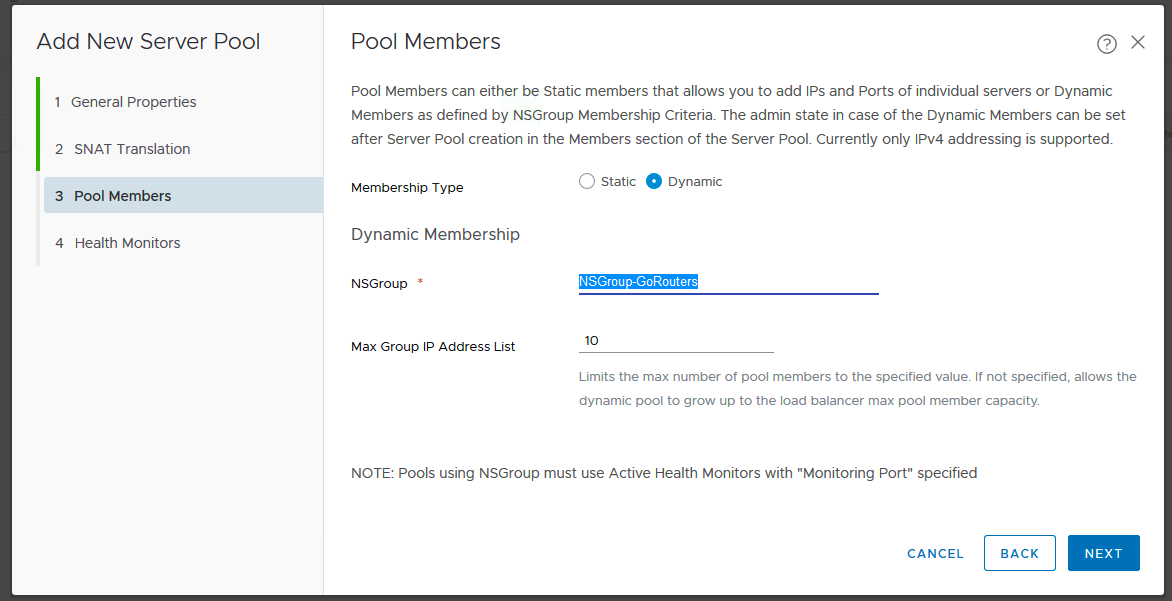
Choose the Dynamic for Membership Type. Select the NSGroup that you previously created for GoRouters – NSGroup-GoRouters. Change the number for Max Group IP Address List to the maximum of Go Routers you desired.
Select the Active Health Monitor – monitor-gorouter which previously you have created.
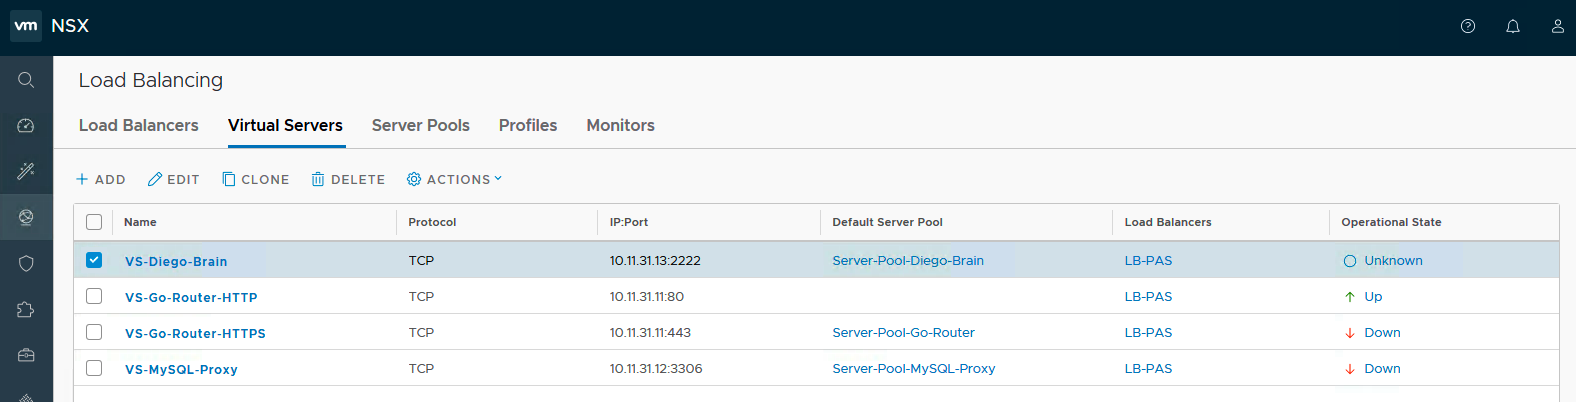
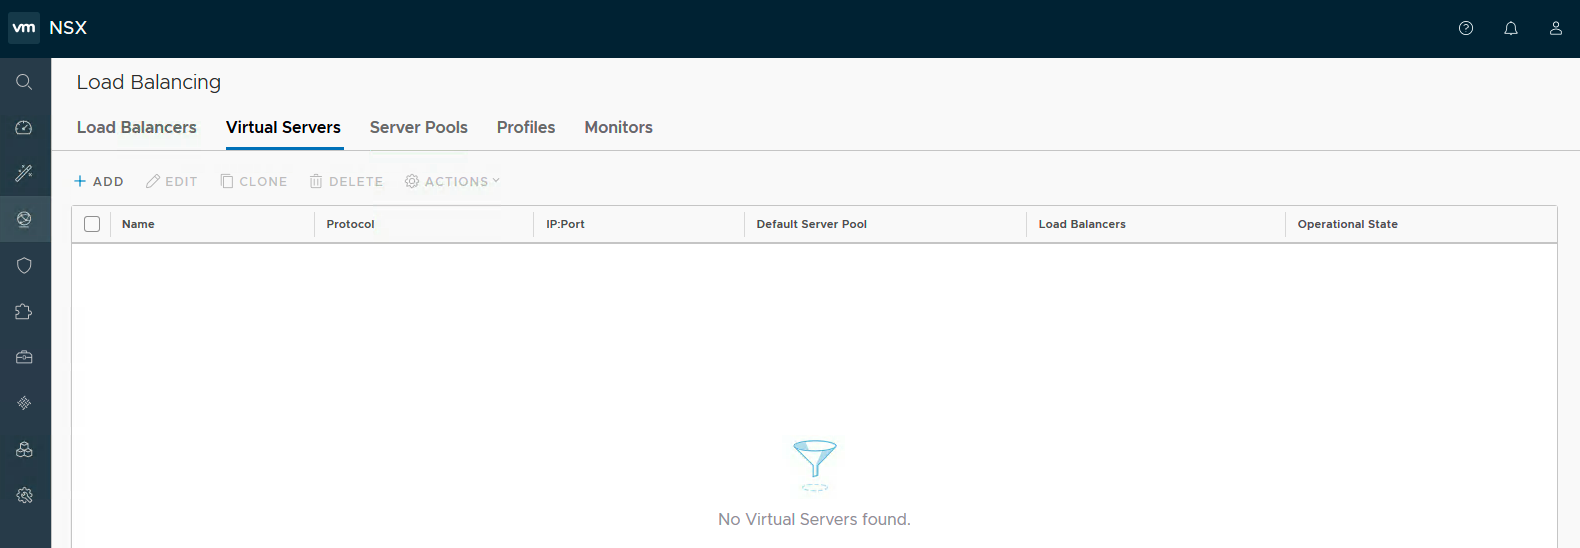
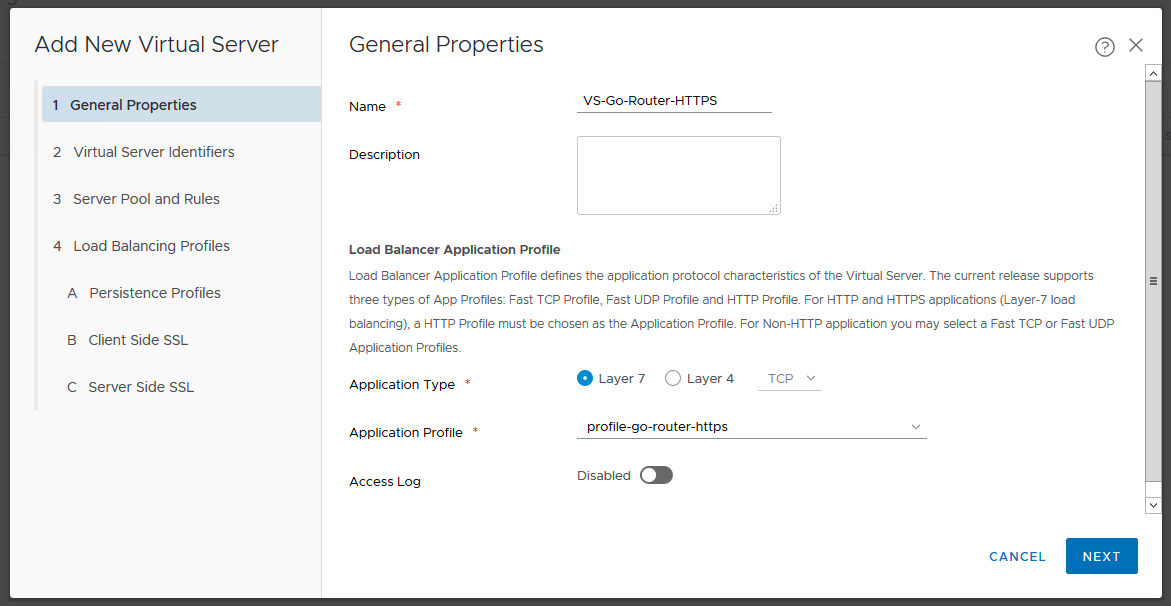
Create Virtual Server(VS) for GoRouter HTTPS.
Choose Layer 7 for Application Type and the Application Profile – profile-go-router-https which previously you have created.
For Virtual Server Identifiers, you need to configure an IP address for this virtual server. As I have 10.11.0.0/16 routed from my physical network to the NSX-T T0 routers and I have 10.11.24.0/21 reserved for PAS deployment, I will use another /24 subnet from the next /21 segment: 10.11.31.0/24; I chose the last /24 segment. Any address in this subnet 10.11.31.0/24 will do. Put in the port 443 for Port and Default Pool Member Port.

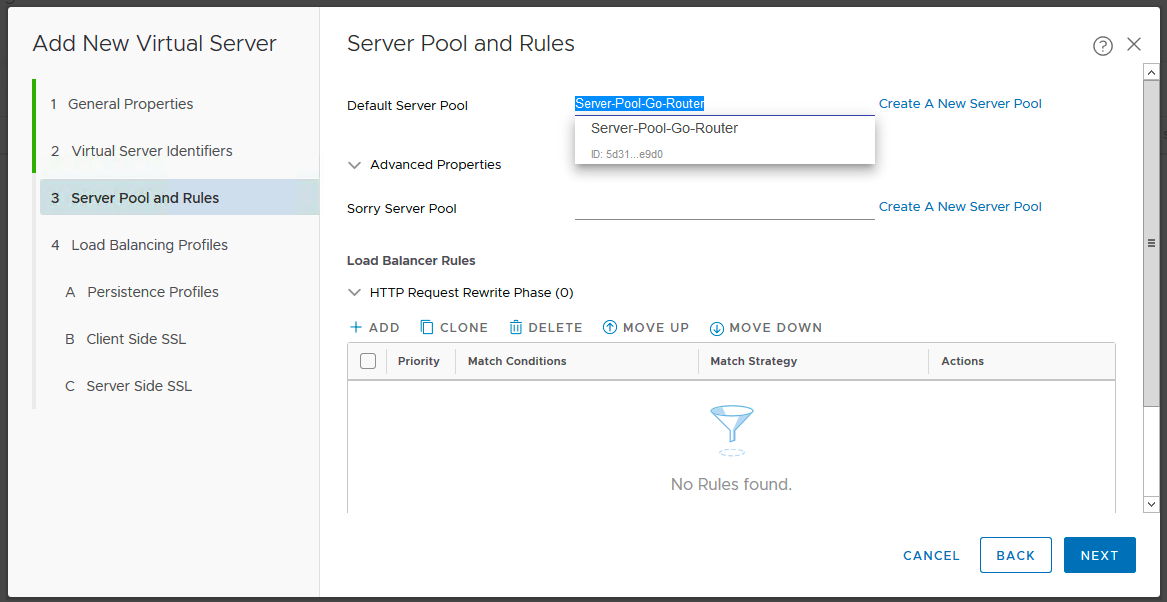
Select the Server-Pool-Go-Router which you previously created for the Default Server Pool.

Leave the Persistence Profiles as default.
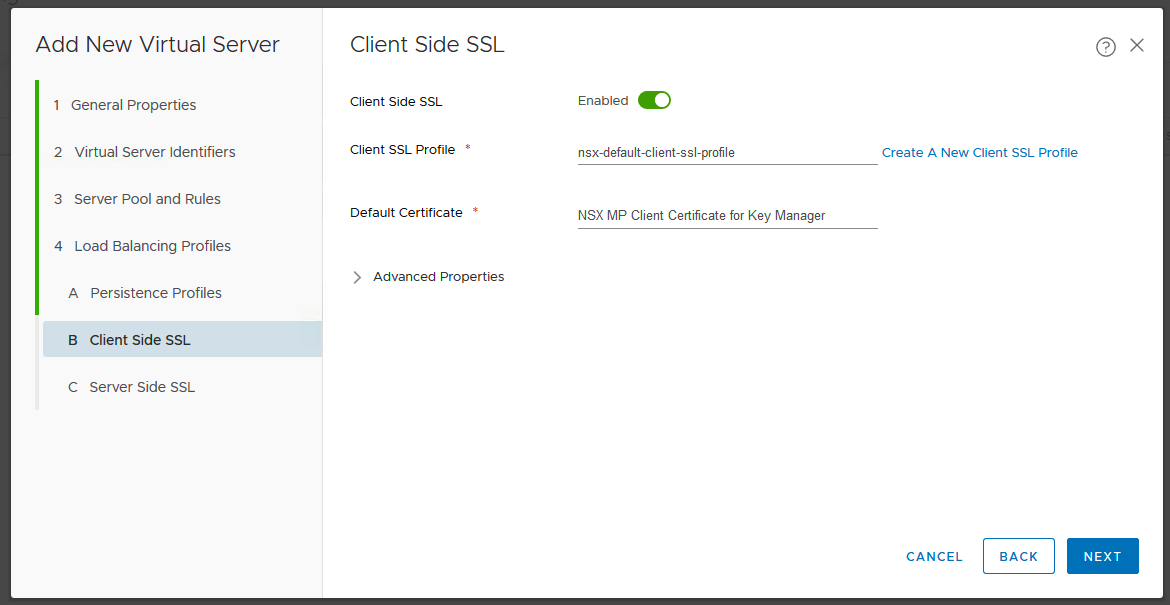
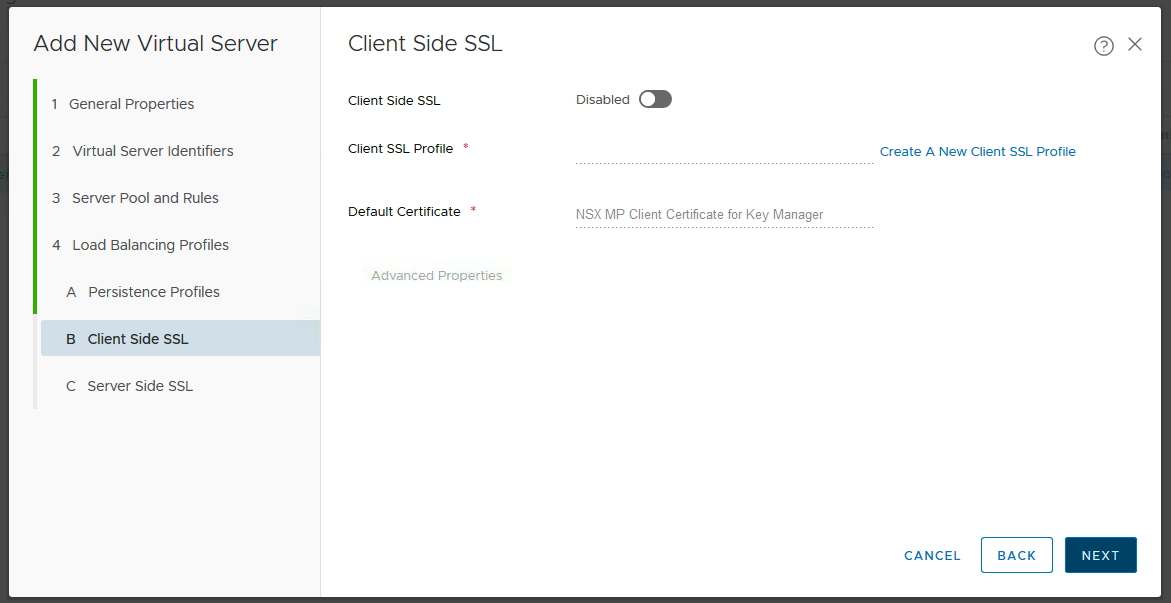
Configure the Client Side SSL. Enable Client Side SSL.
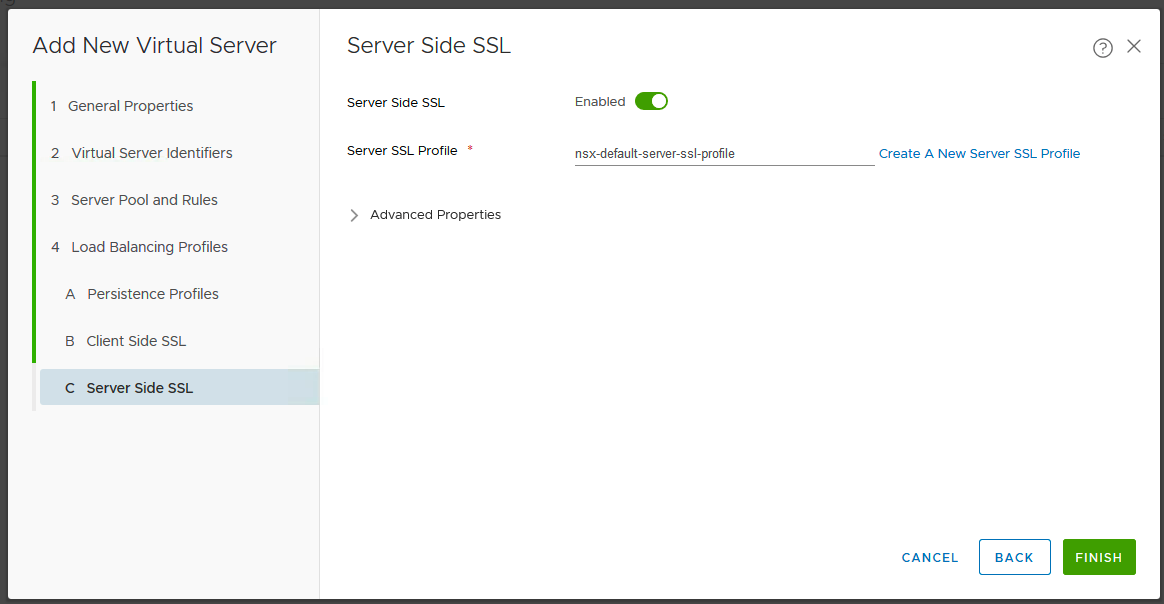
 Configure the Server Side SSL. Enable Server Side SSL.
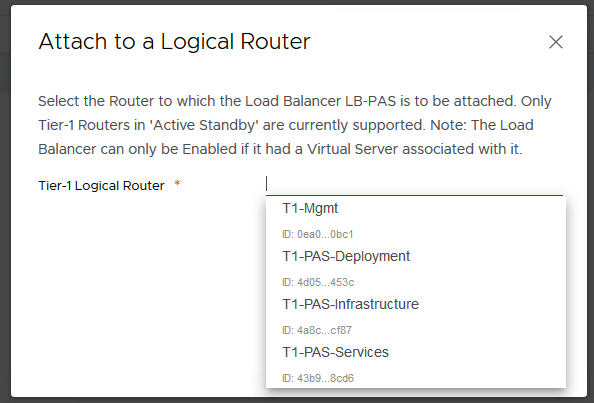
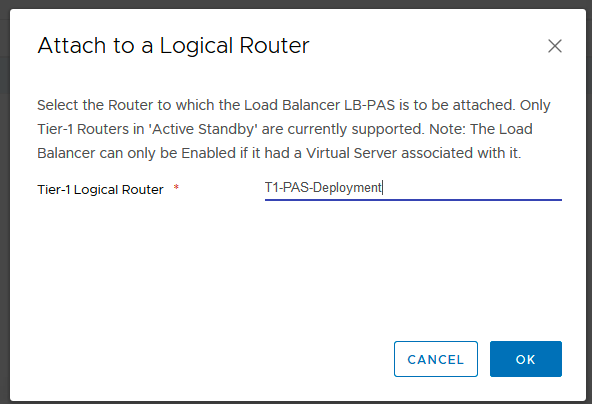
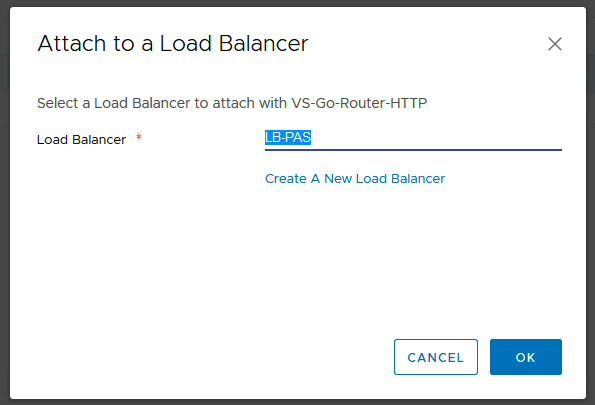
Now we need to attach this VS to the LB object we created previously.

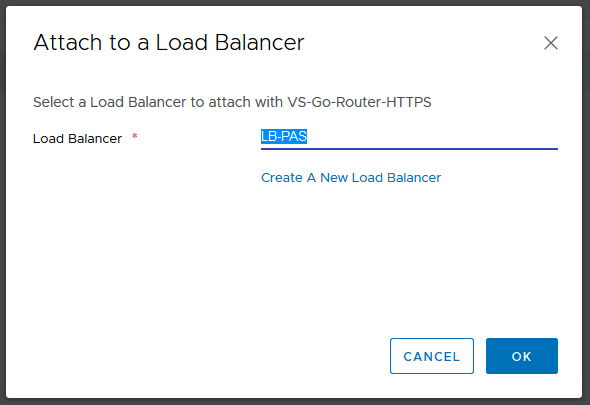
Once done, it will look like this.

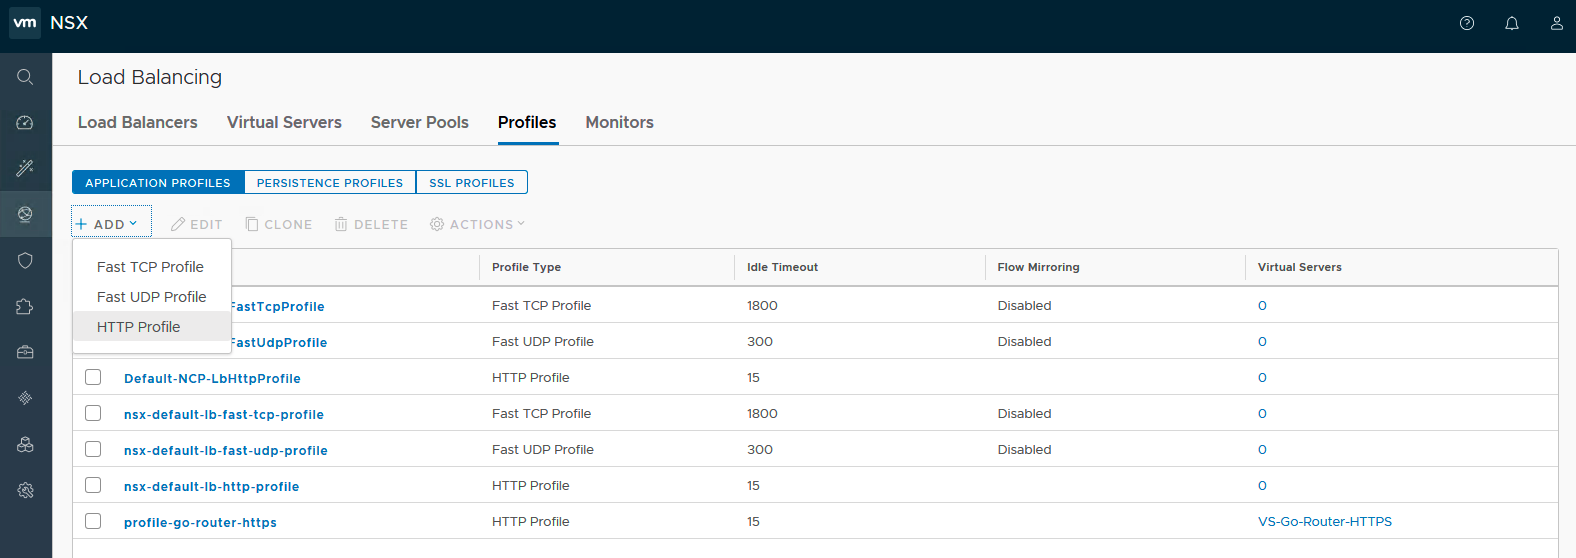
Next, we will create a LB Application Profile for Go Routers HTTP redirection to HTTPS.
Choose HTTP to HTTPS Redirect.
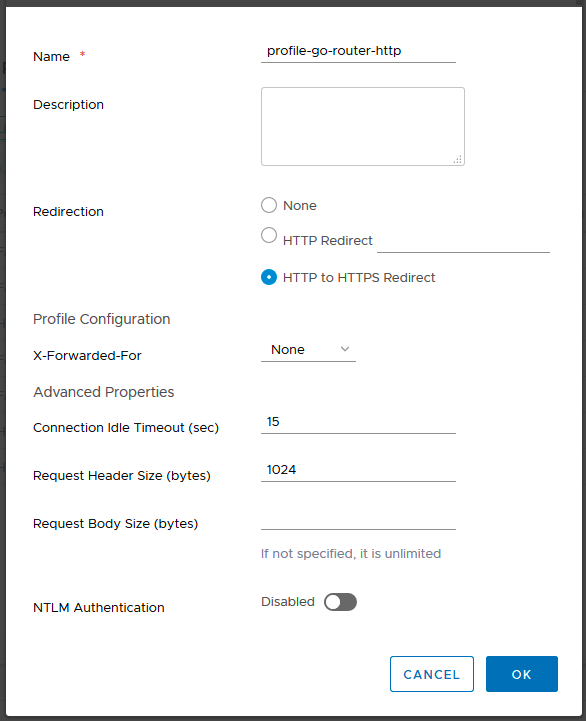
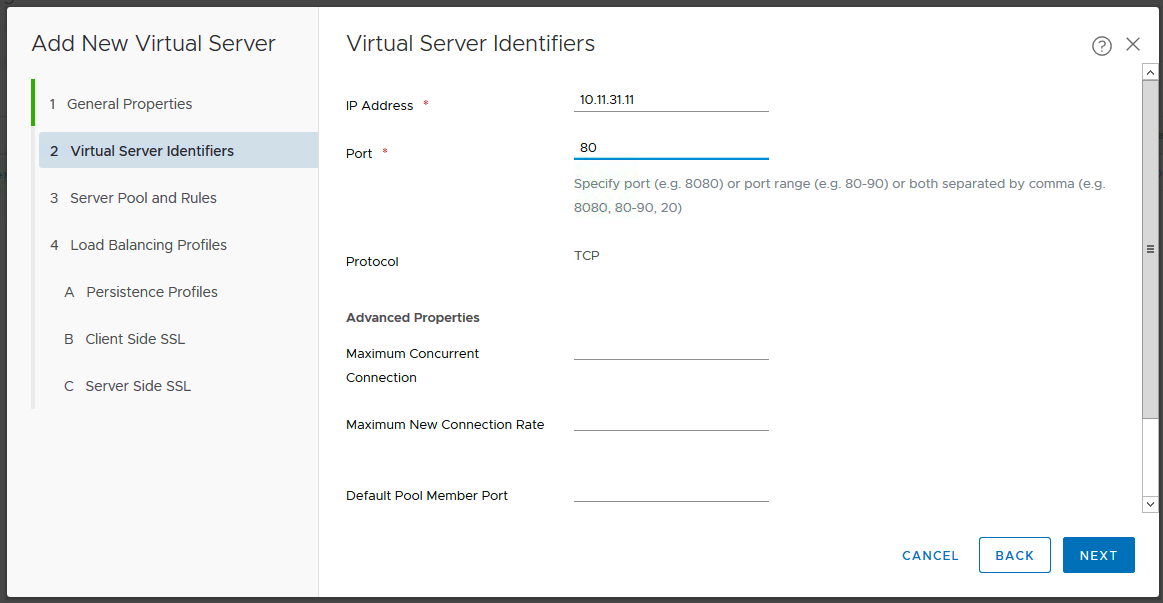
Create Go Router HTTP Virtual Server. Select the profile-go-router-http Application Profile which you previously have created.

You have use the same IP address 10.11.31.11⁄24 which you configured for the Go Routers HTTPS virtual server.
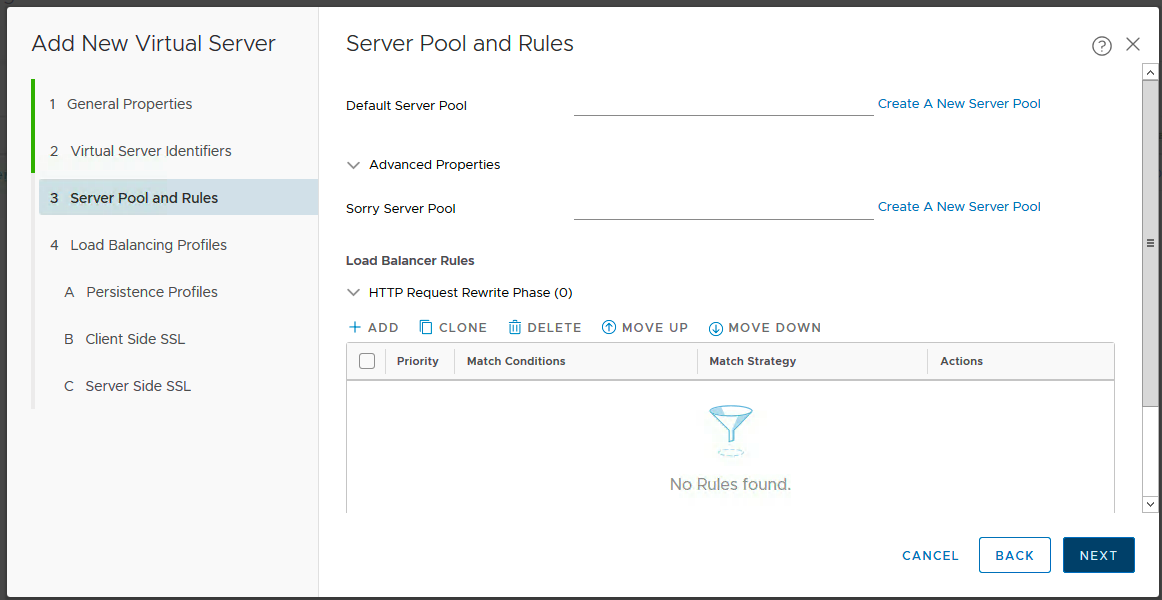
Leave everything default for Server Pool and Rules.
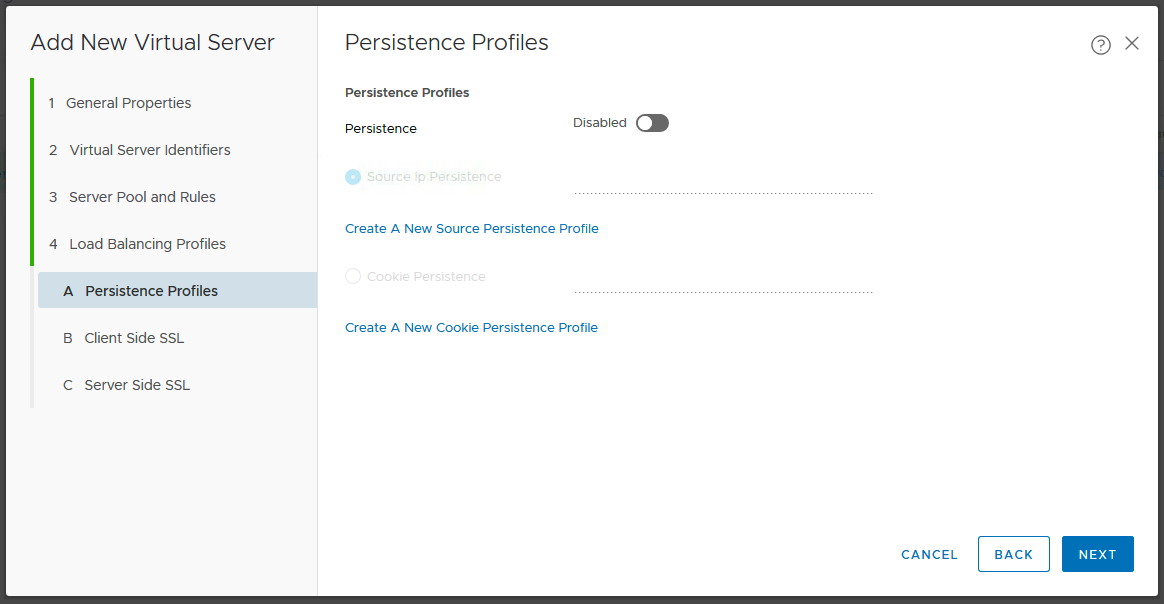
Leave Persistence Profiles as default as well.
Leave Client Side SSL disabled.
 Leave Server Side SSL disabled.

Attach the VS-Go-Router-HTTP virtual server to LB-PAS Load Balancer.
Once done configured, it will look like this.

LB: MySQL Proxy
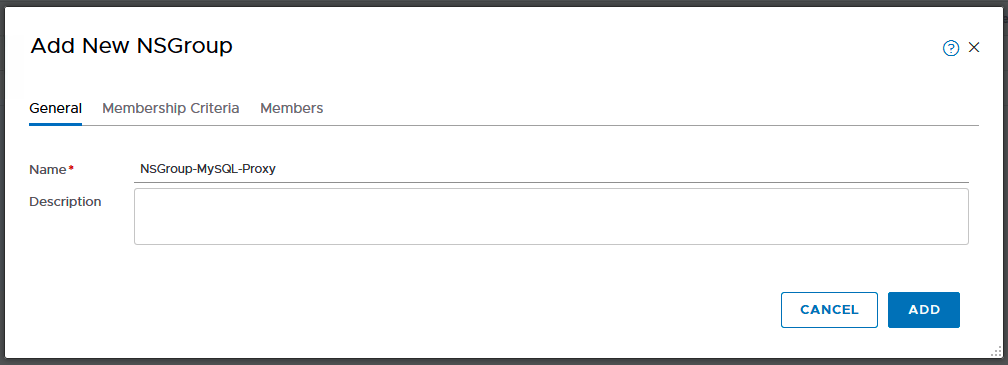
Create NSGroup for MySQL Proxy to be used as members in a pool. There is no need to configure members now as PAS will configure automatically for you later.
Create LB Monitoring for MySQL Proxy. Change the Health Check Protocol to LbTcpMonitor and specify 1936 for the Monitoring Port.
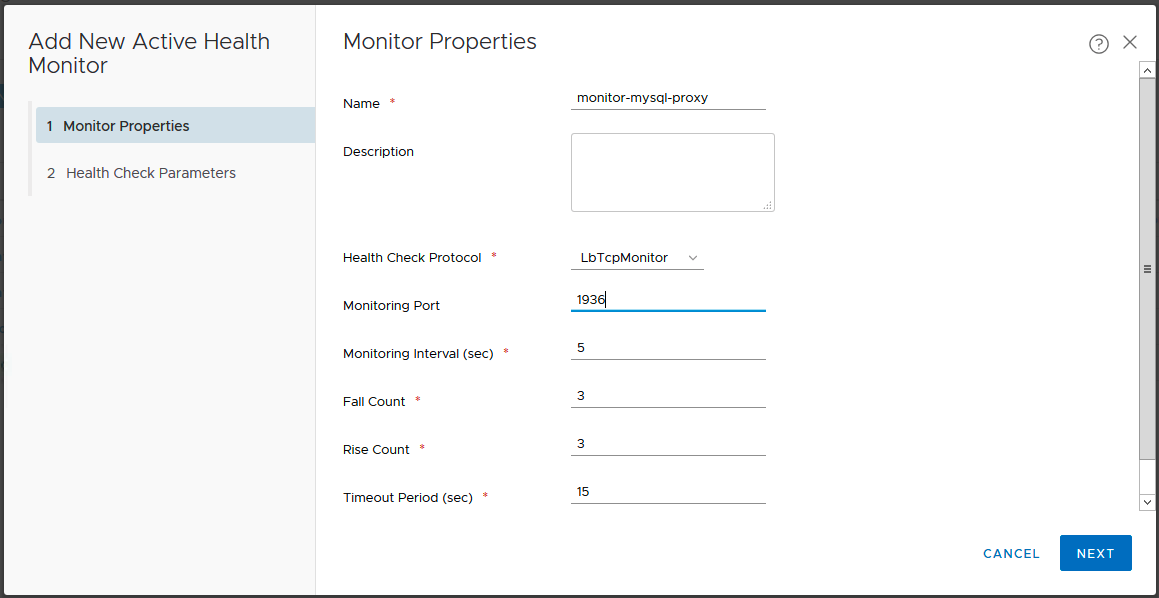
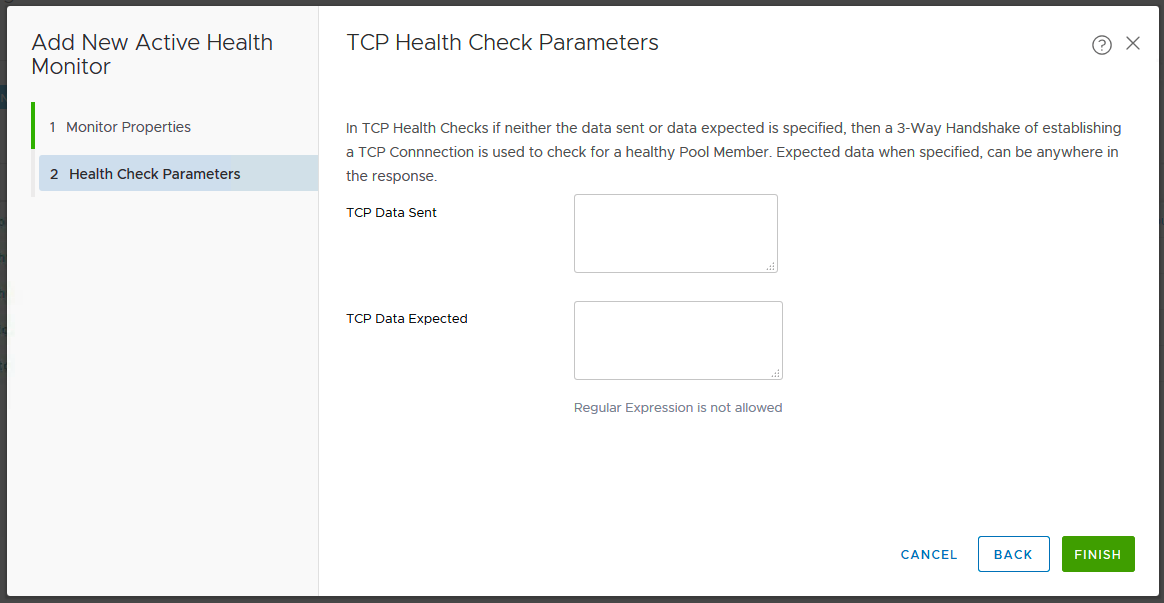
Leave the New Active Health Monitor – TCP Health Check Parameters as default.
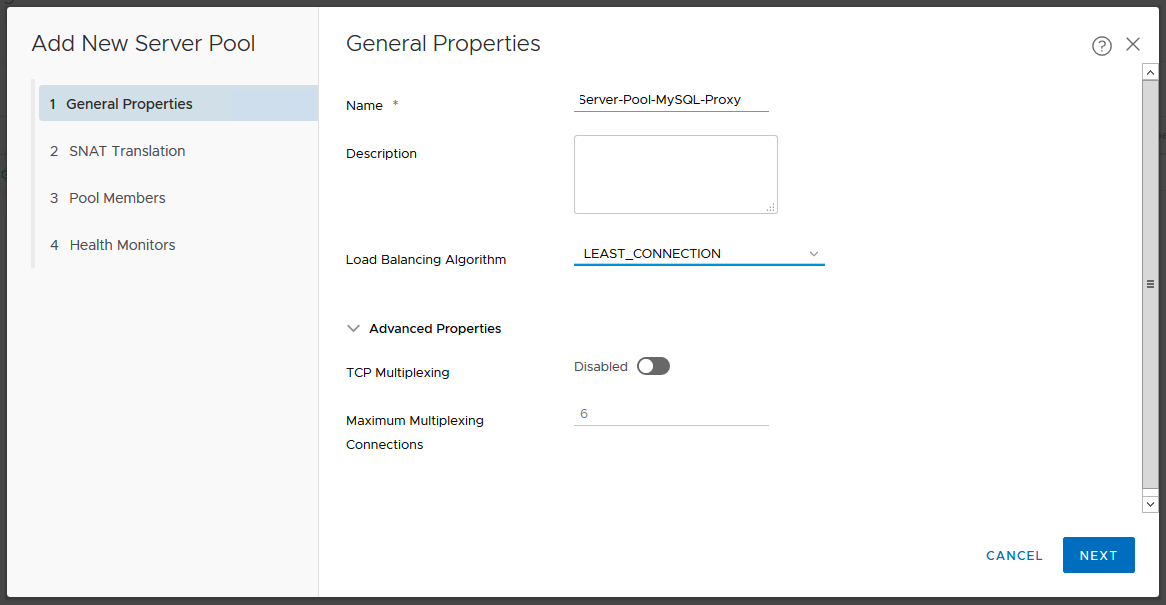
Create LB Server Pool for MySQL Proxy. Select the LEAST_CONNECTION for the Load Balancing Algorithm. Leave TCP Multiplexing to be Disabled.
Choose Auto Map for SNAT Translation Mode and Disabled for Port Overload.

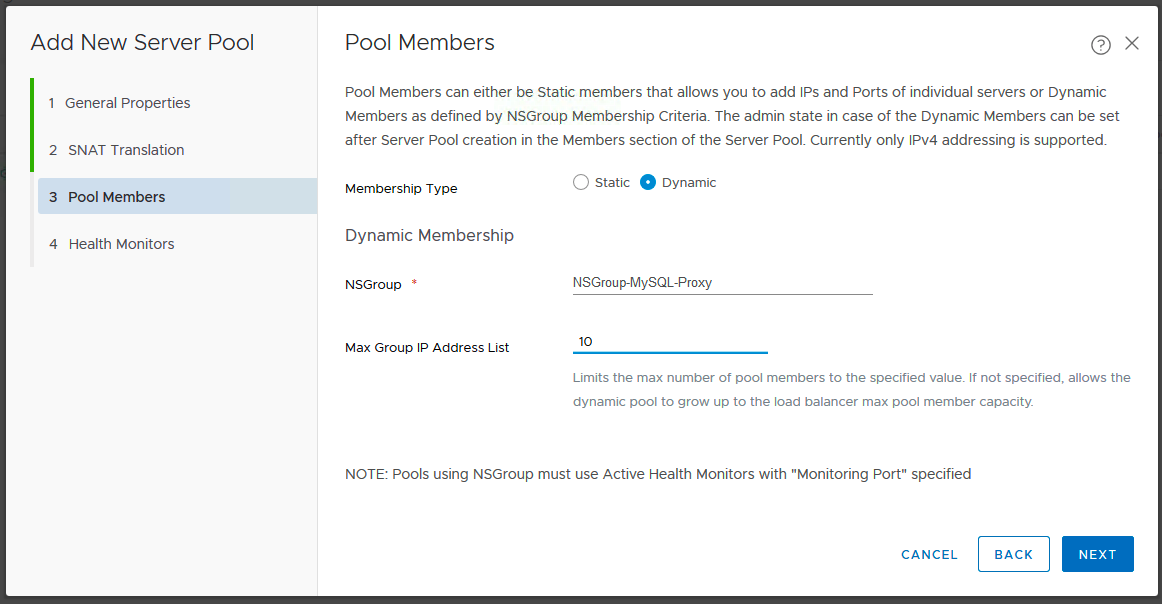
Choose Dynamic Membership Type and select the NSGroup-MySQL-Proxy which previously you have created. Specify the maximum pool members.
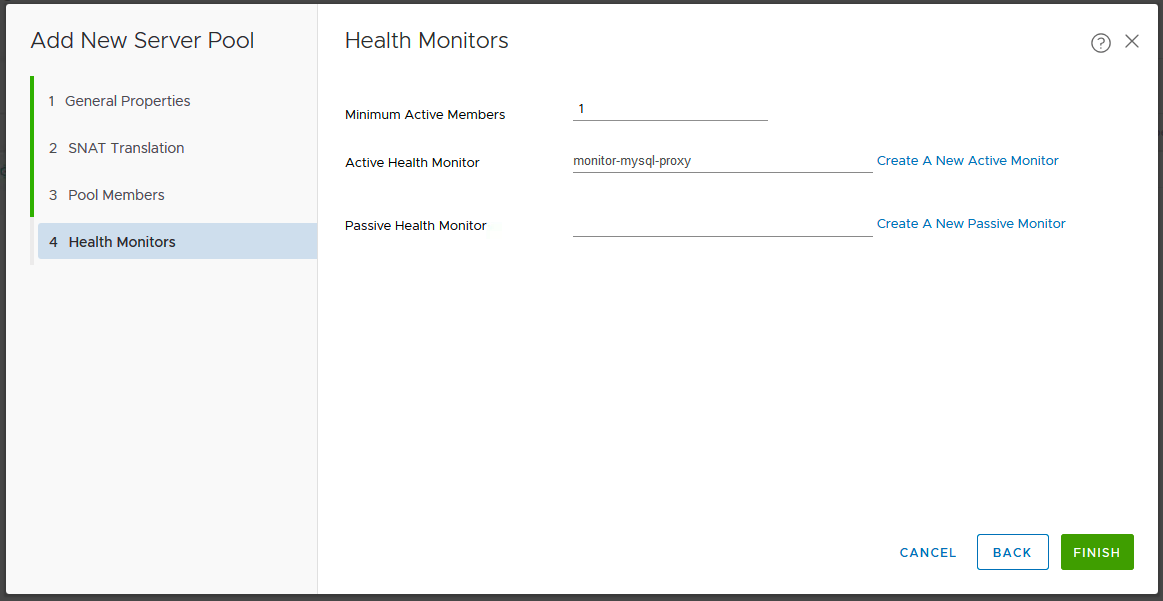
Select monitor-mysql-proxy as the Active Health Monitor.
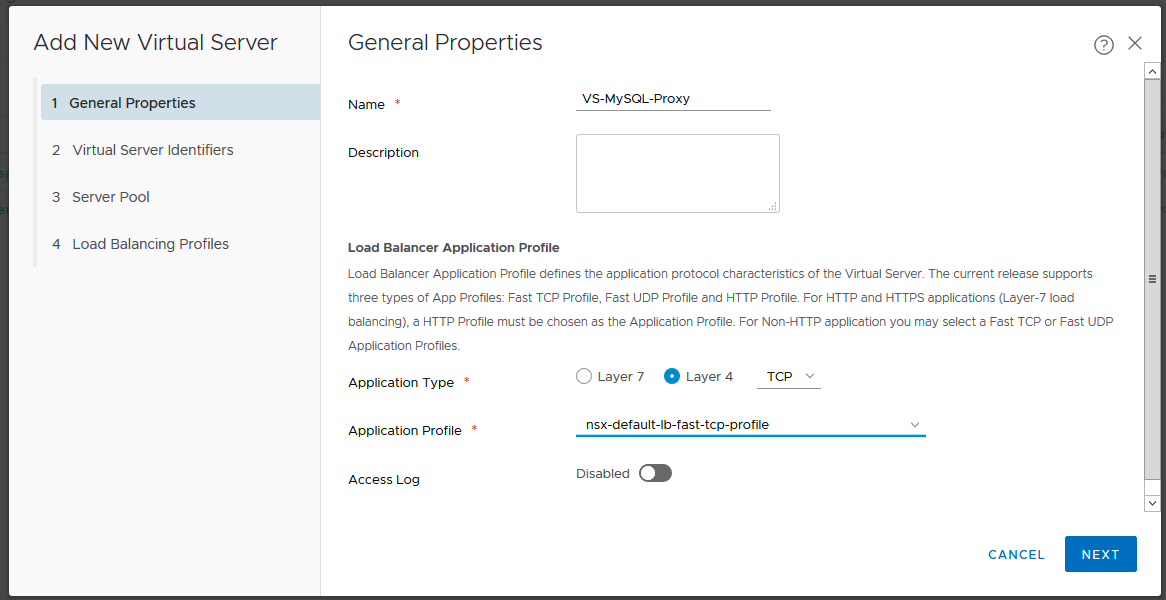
Next Add Virtual Server for MySQL. Choose Layer 4 TCP Application Type and. Select nsx-default-lb-fast-tcp-profile for Application Profile.
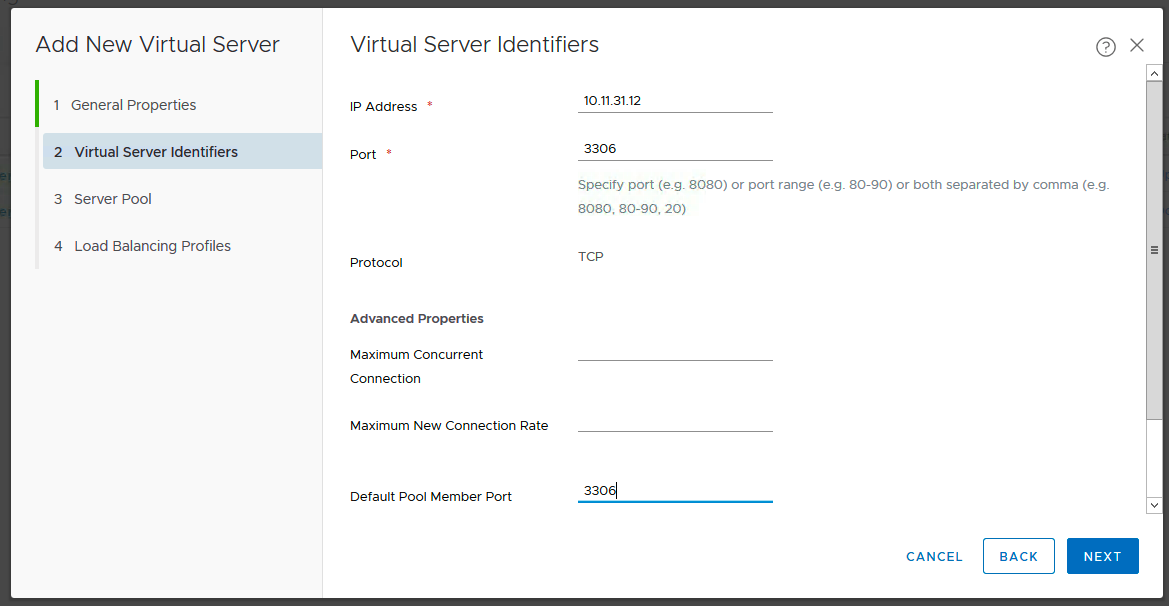
For Virtual Server Identifiers, use another IP address for the VS Pool ie. 10.11.31.0/24. Put in the port 3306 for Port and Default Pool Member Port.
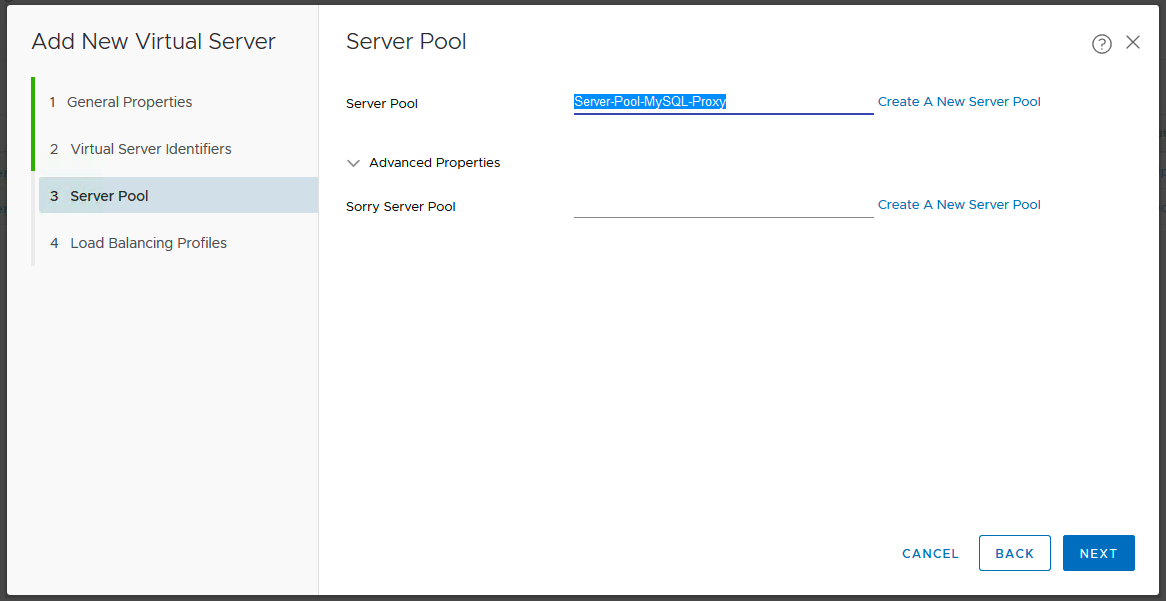
Select the Server-Pool-MySQL-Proxy server pool.
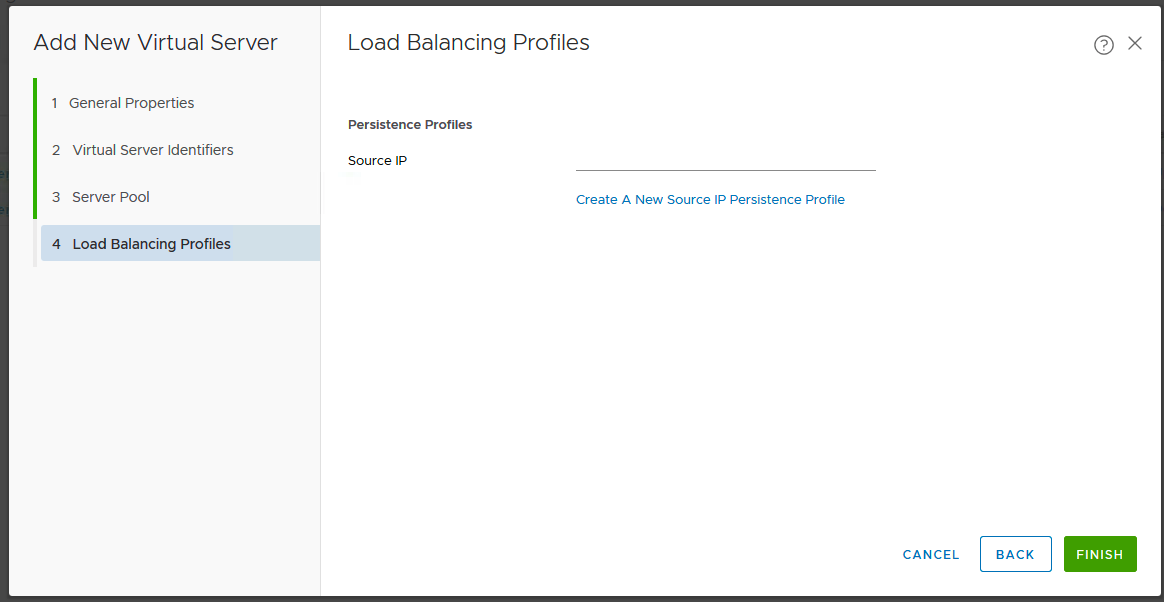
 Leave the Load Balancing Profiles as default.
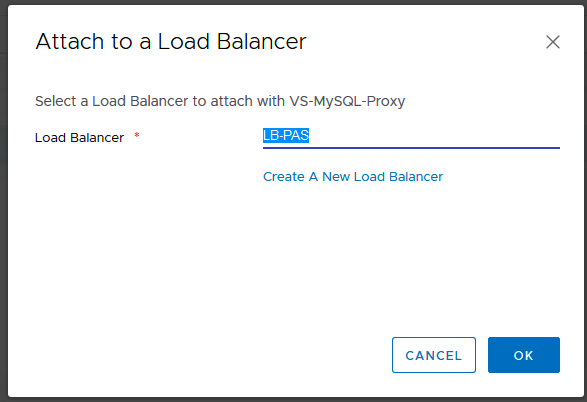
Attach the VS-MySQL-Proxy virtual server to LB-PAS load balancer.
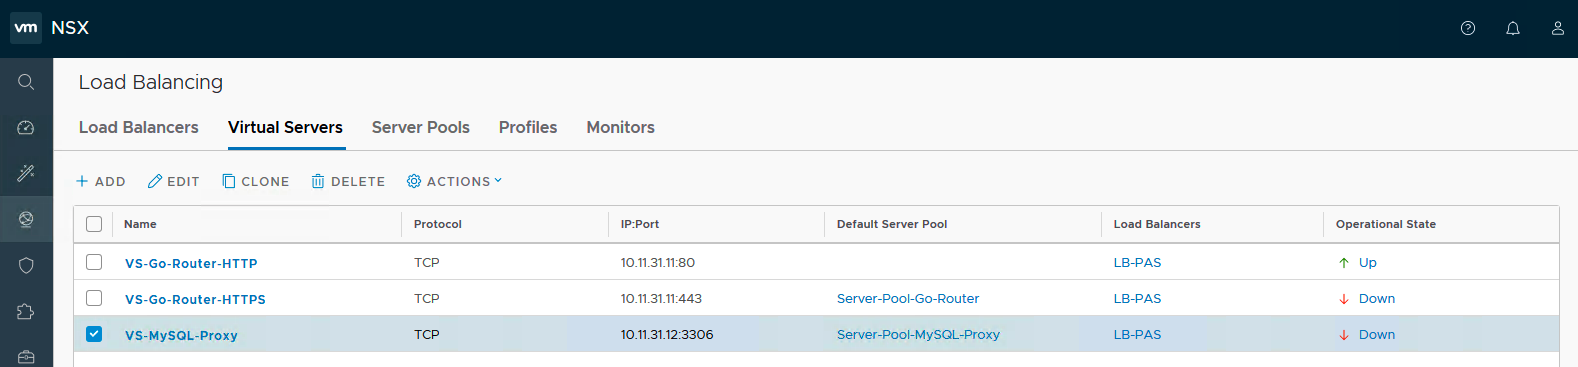
Once configured, it will look like this.
LB: Diego Brain
Create NSGroup for Diego Brain to be used as members in a pool. There is no need to configure members now as PAS will configure automatically for you later.

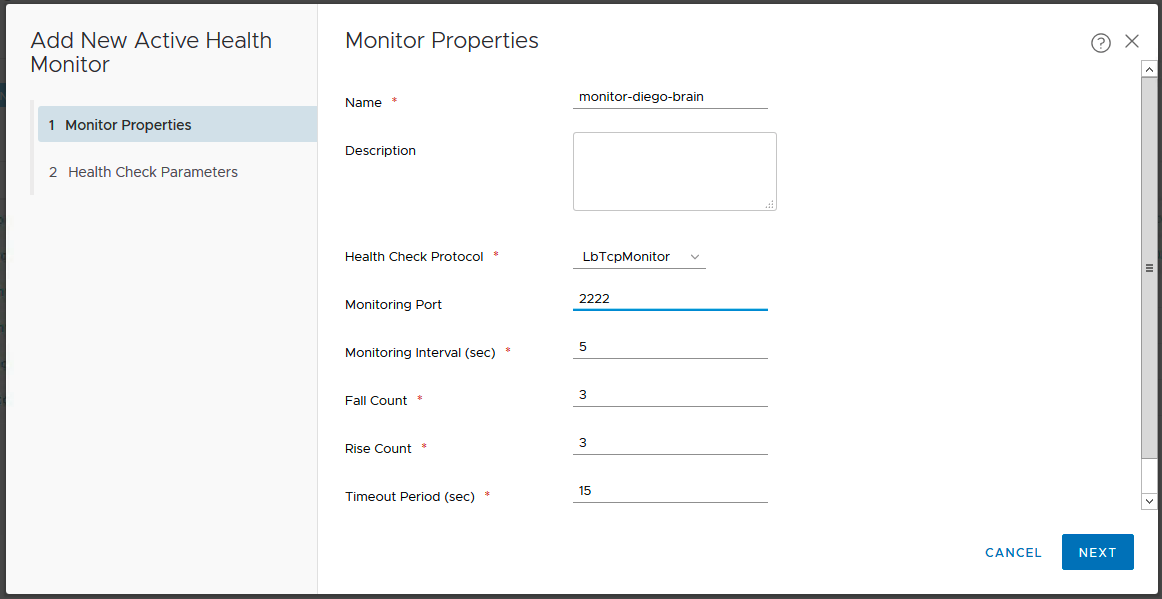
Create LB Monitoring for Diego Brain. Select LbTCPMonitor for Health Check Protocol and specify 2222 for Monitoring Port.
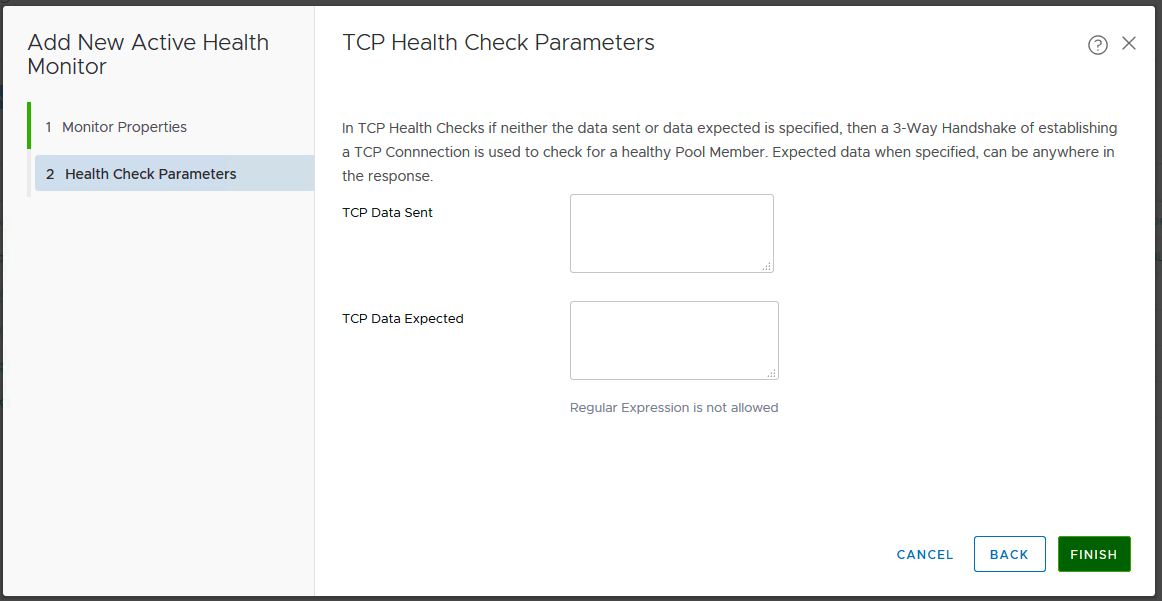
Leave the Health Check Parameters as default.
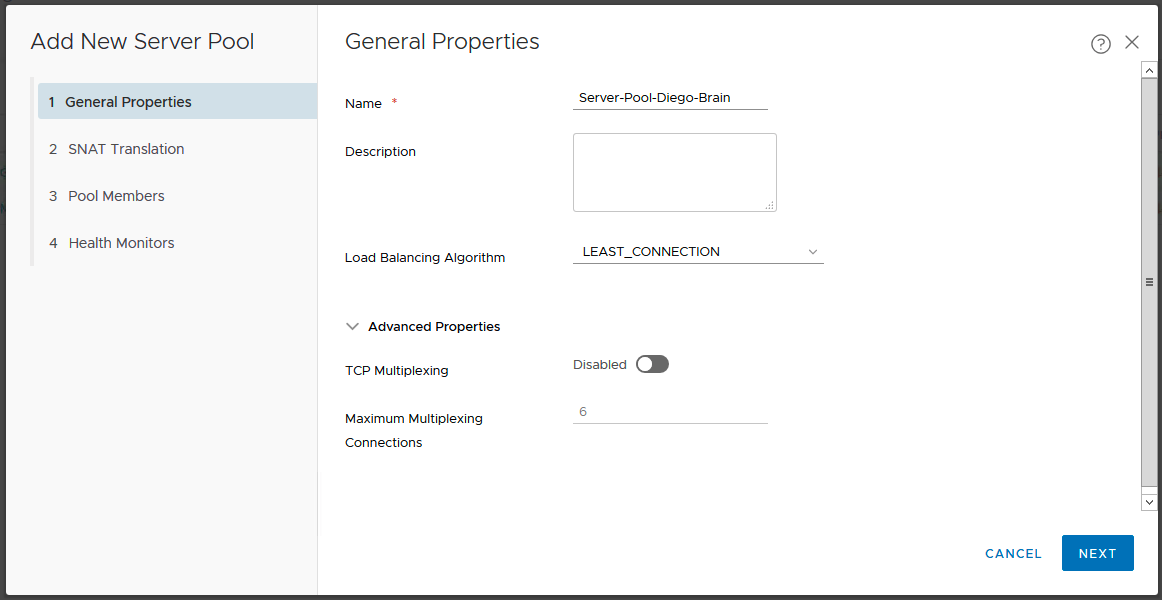
Create LB Server Pool for Diego Brains. Select LEAST_CONNECTION for Load Balancing Algorithm and leave TCP Multiplexing disabled.
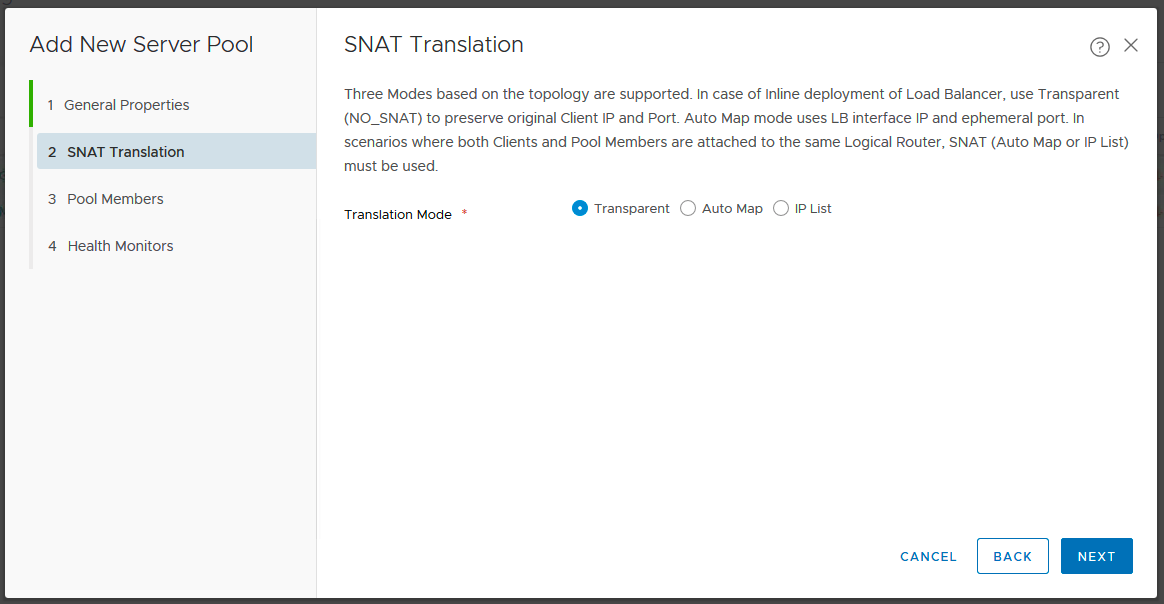
Choose Transparent for SNAT Translation for Diego Brain.
Choose Dynamic Membership Type and select the NSGroup-Diego-Brians which previously you have created. Specify the maximum pool members.

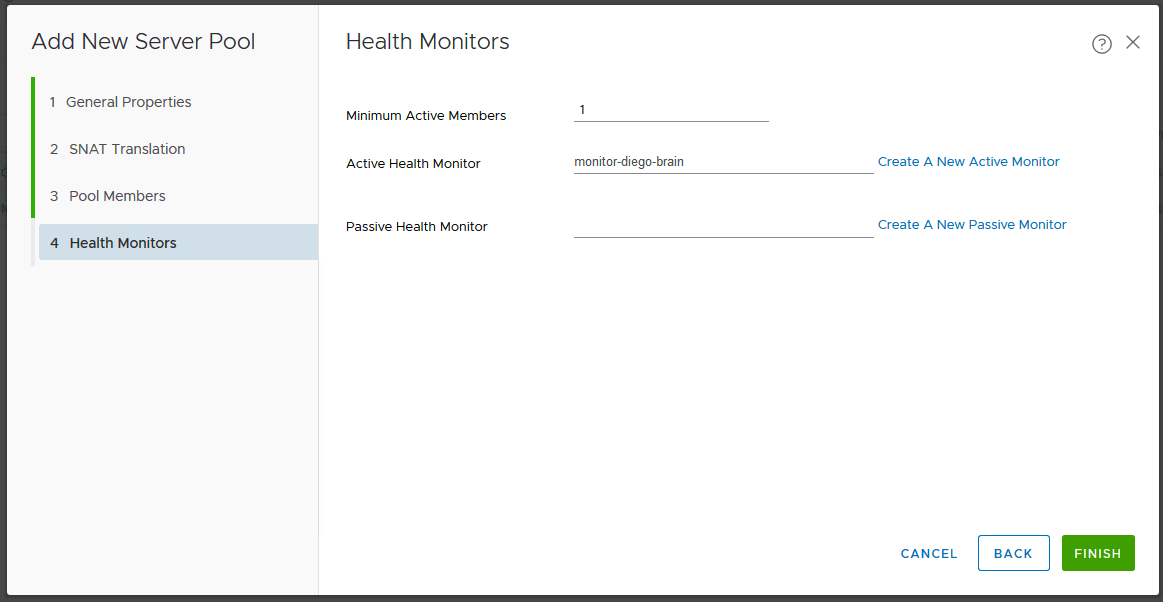
Select monitor-diego-brain for the Active Health Monitor.
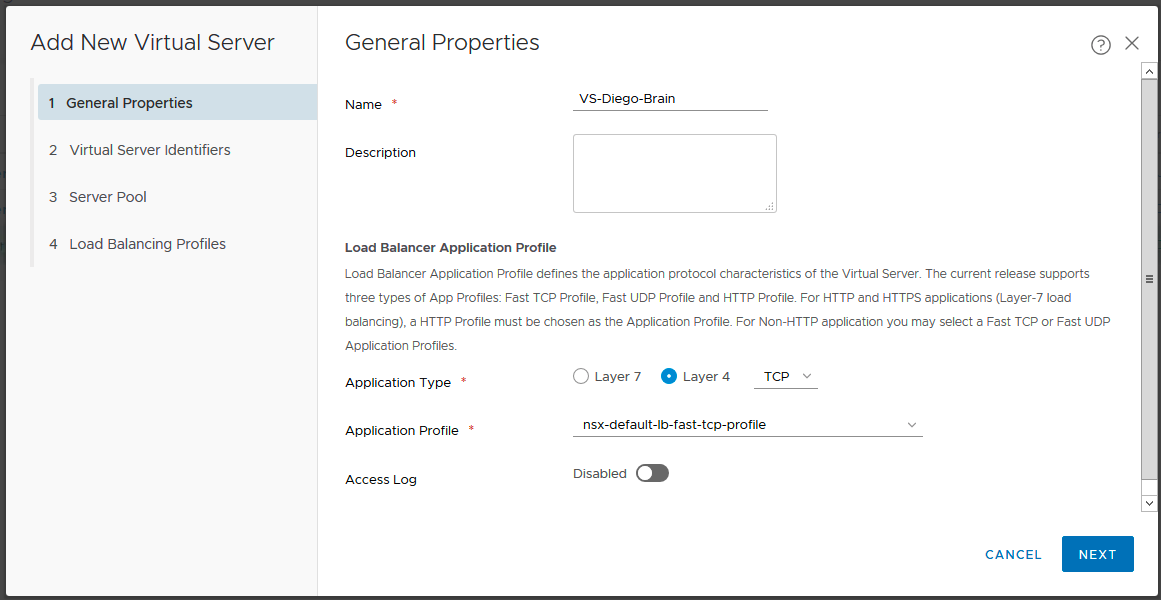
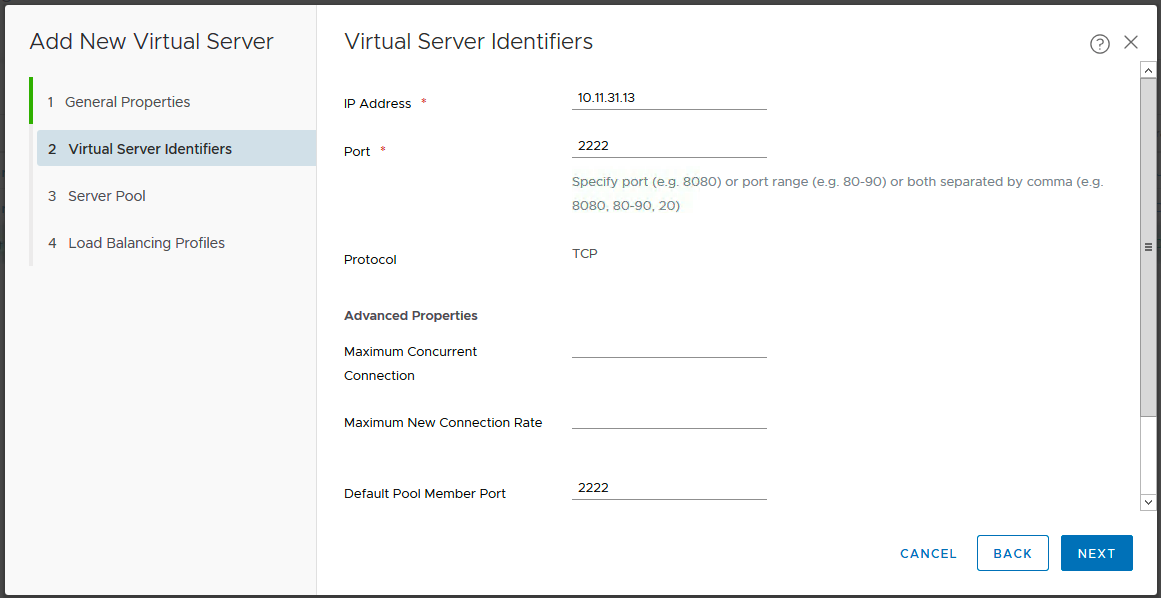
Add Virtual Server for Diego Brain. Choose Layer 4 TCP Application Type and. Select nsx-default-lb-fast-tcp-profile for Application Profile.
For Virtual Server Identifiers, use another IP address for the VS Pool ie. 10.11.31.0/24. Put in the port 2222 for Port and Default Pool Member Port.
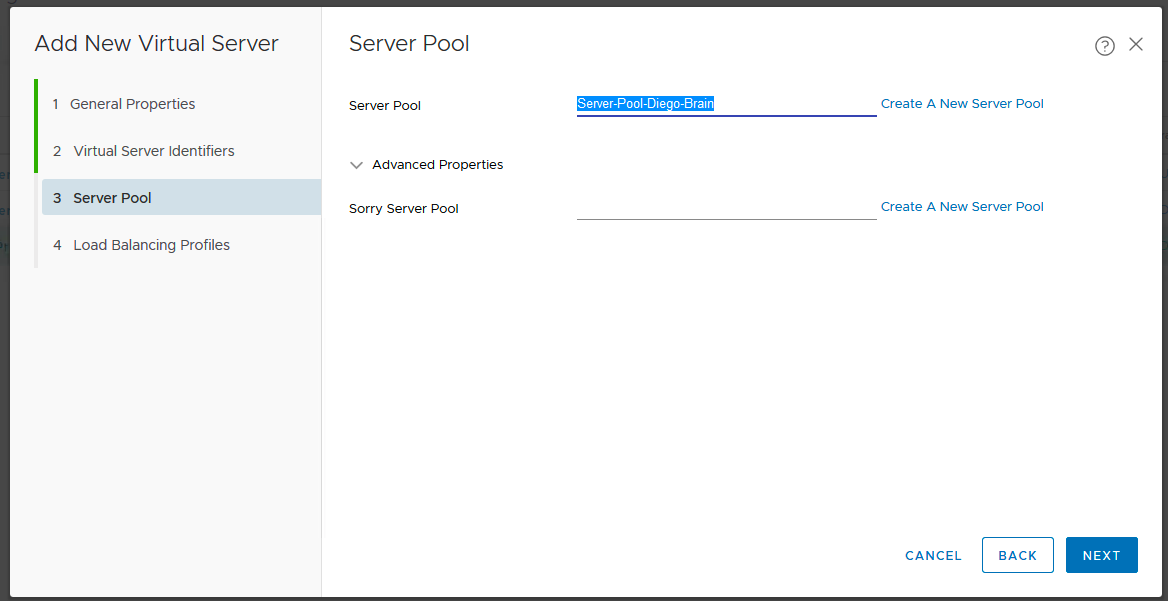
Select the Server-Pool-Diego-Brain for Server Pool.
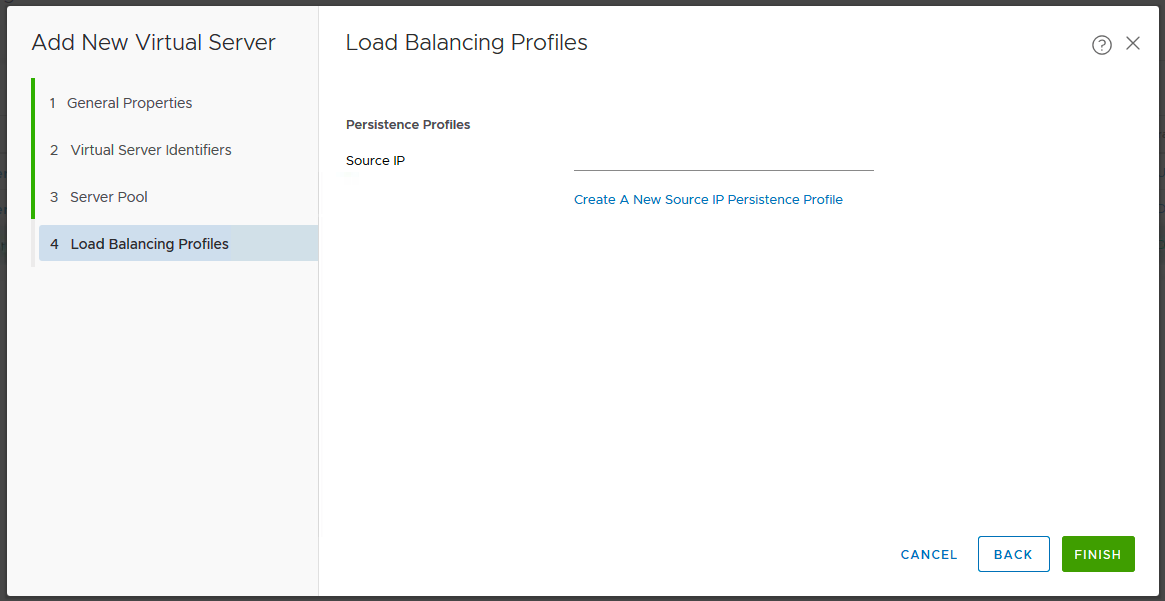
Leave the Load Balancing Profiles as default.
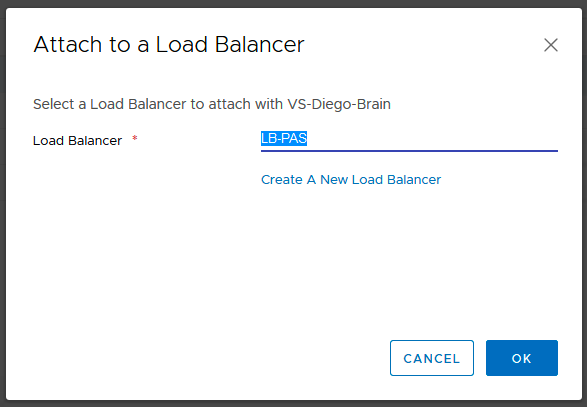
Attach the VS-Diego-Brain to LB-PAS load balancer.
Once done configuring, it will look like this.