Tanzu vSphere 7 with Kubernetes on NSX-T 3.0 VDS Install Part 5: Testing, Demo Apps
In this section, we will perform some testing on the TKG clusters.
Step 1 – Login to the TKG Cluster and switch to the tkg cluster context.
kubectl vsphere login server 10.30.10.1 vsphere-username administrator@vsphere.local insecure-skip-tls-verify tanzu-kug-cluster tanzu-kubernetes-cluster-namespace demo-app-01

kubectl config use-context tkg-cluster
kubectl get nodes

Step 2 – Apply ClusterRole Security Policies.
kubectl apply -f https://raw.githubusercontent.com/dstamen/Kubernetes/master/demo-applications/allow-runasnonroot-clusterrole.yaml

Step 3 – Deploy the application.
I used the hipster shop demo.
kubectl create ns hipster
kubectl apply -f https://raw.githubusercontent.com/dstamen/Kubernetes/master/demo-applications/demo-hipstershop.yaml -n hipster

Step 4 – Access the application.
Find out the virtual IP which is being load-balanced by NSX-T LB being assigned.
kubectl get pod -n hipster
kubectl get svc -n hipster
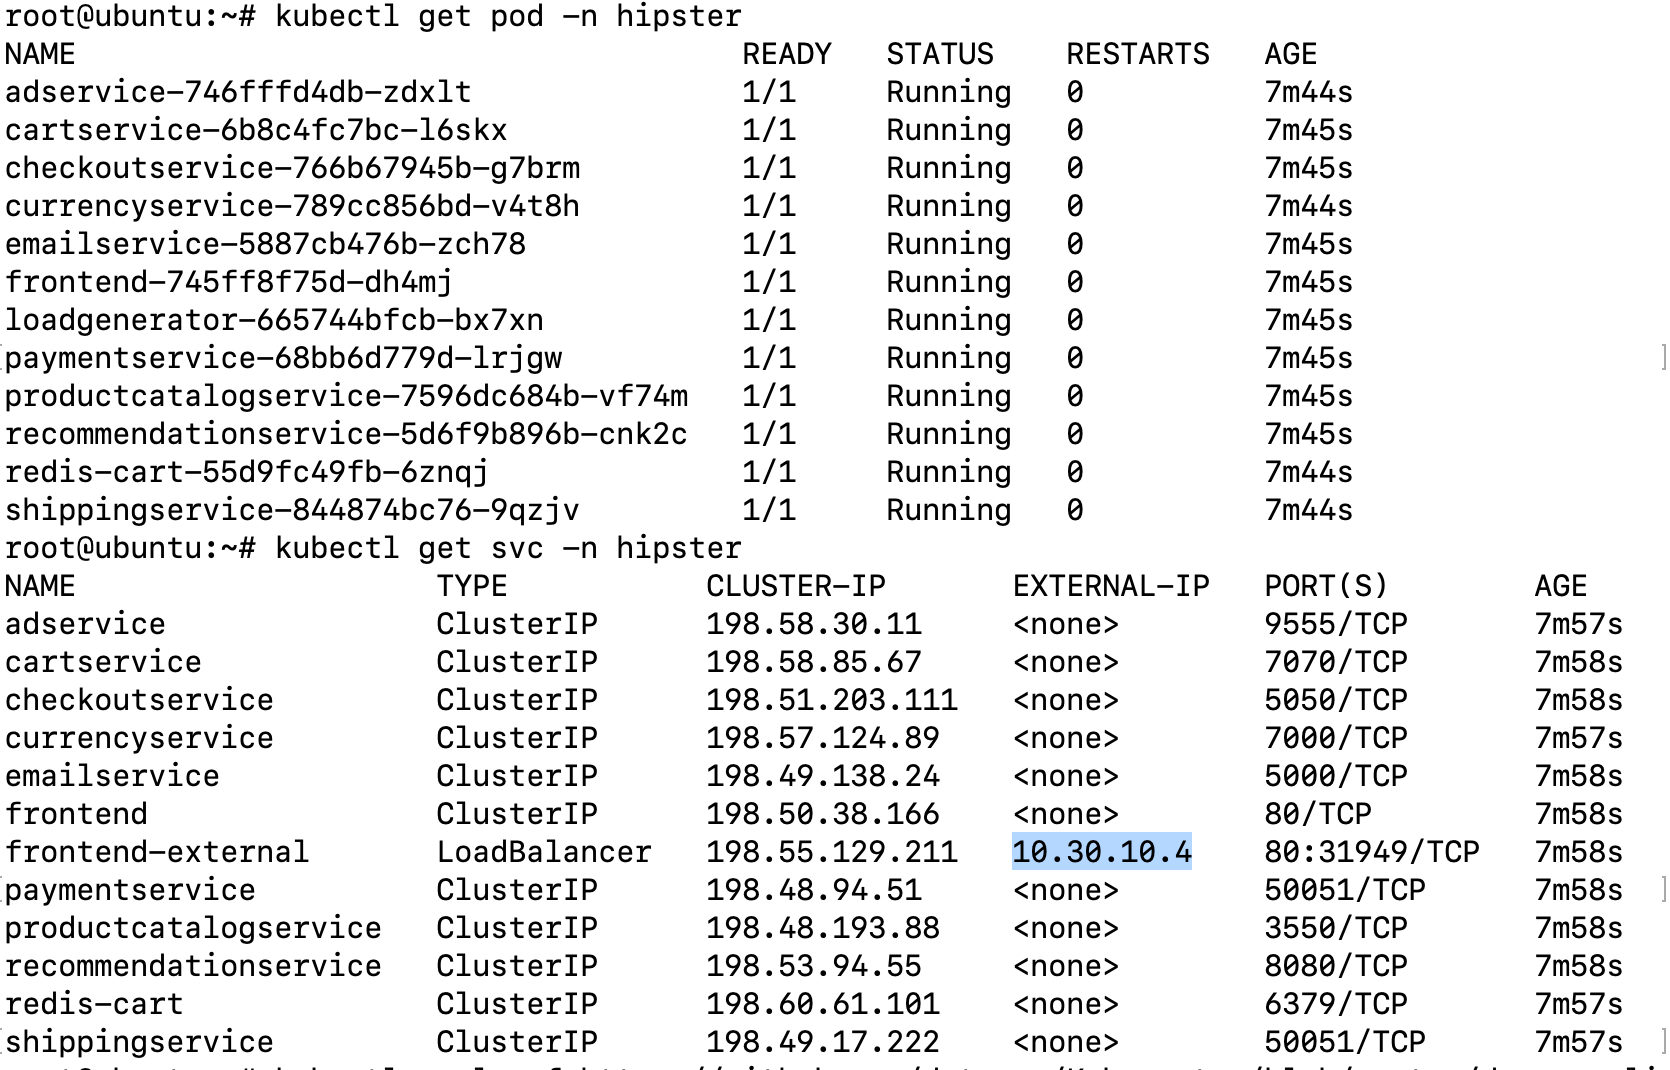
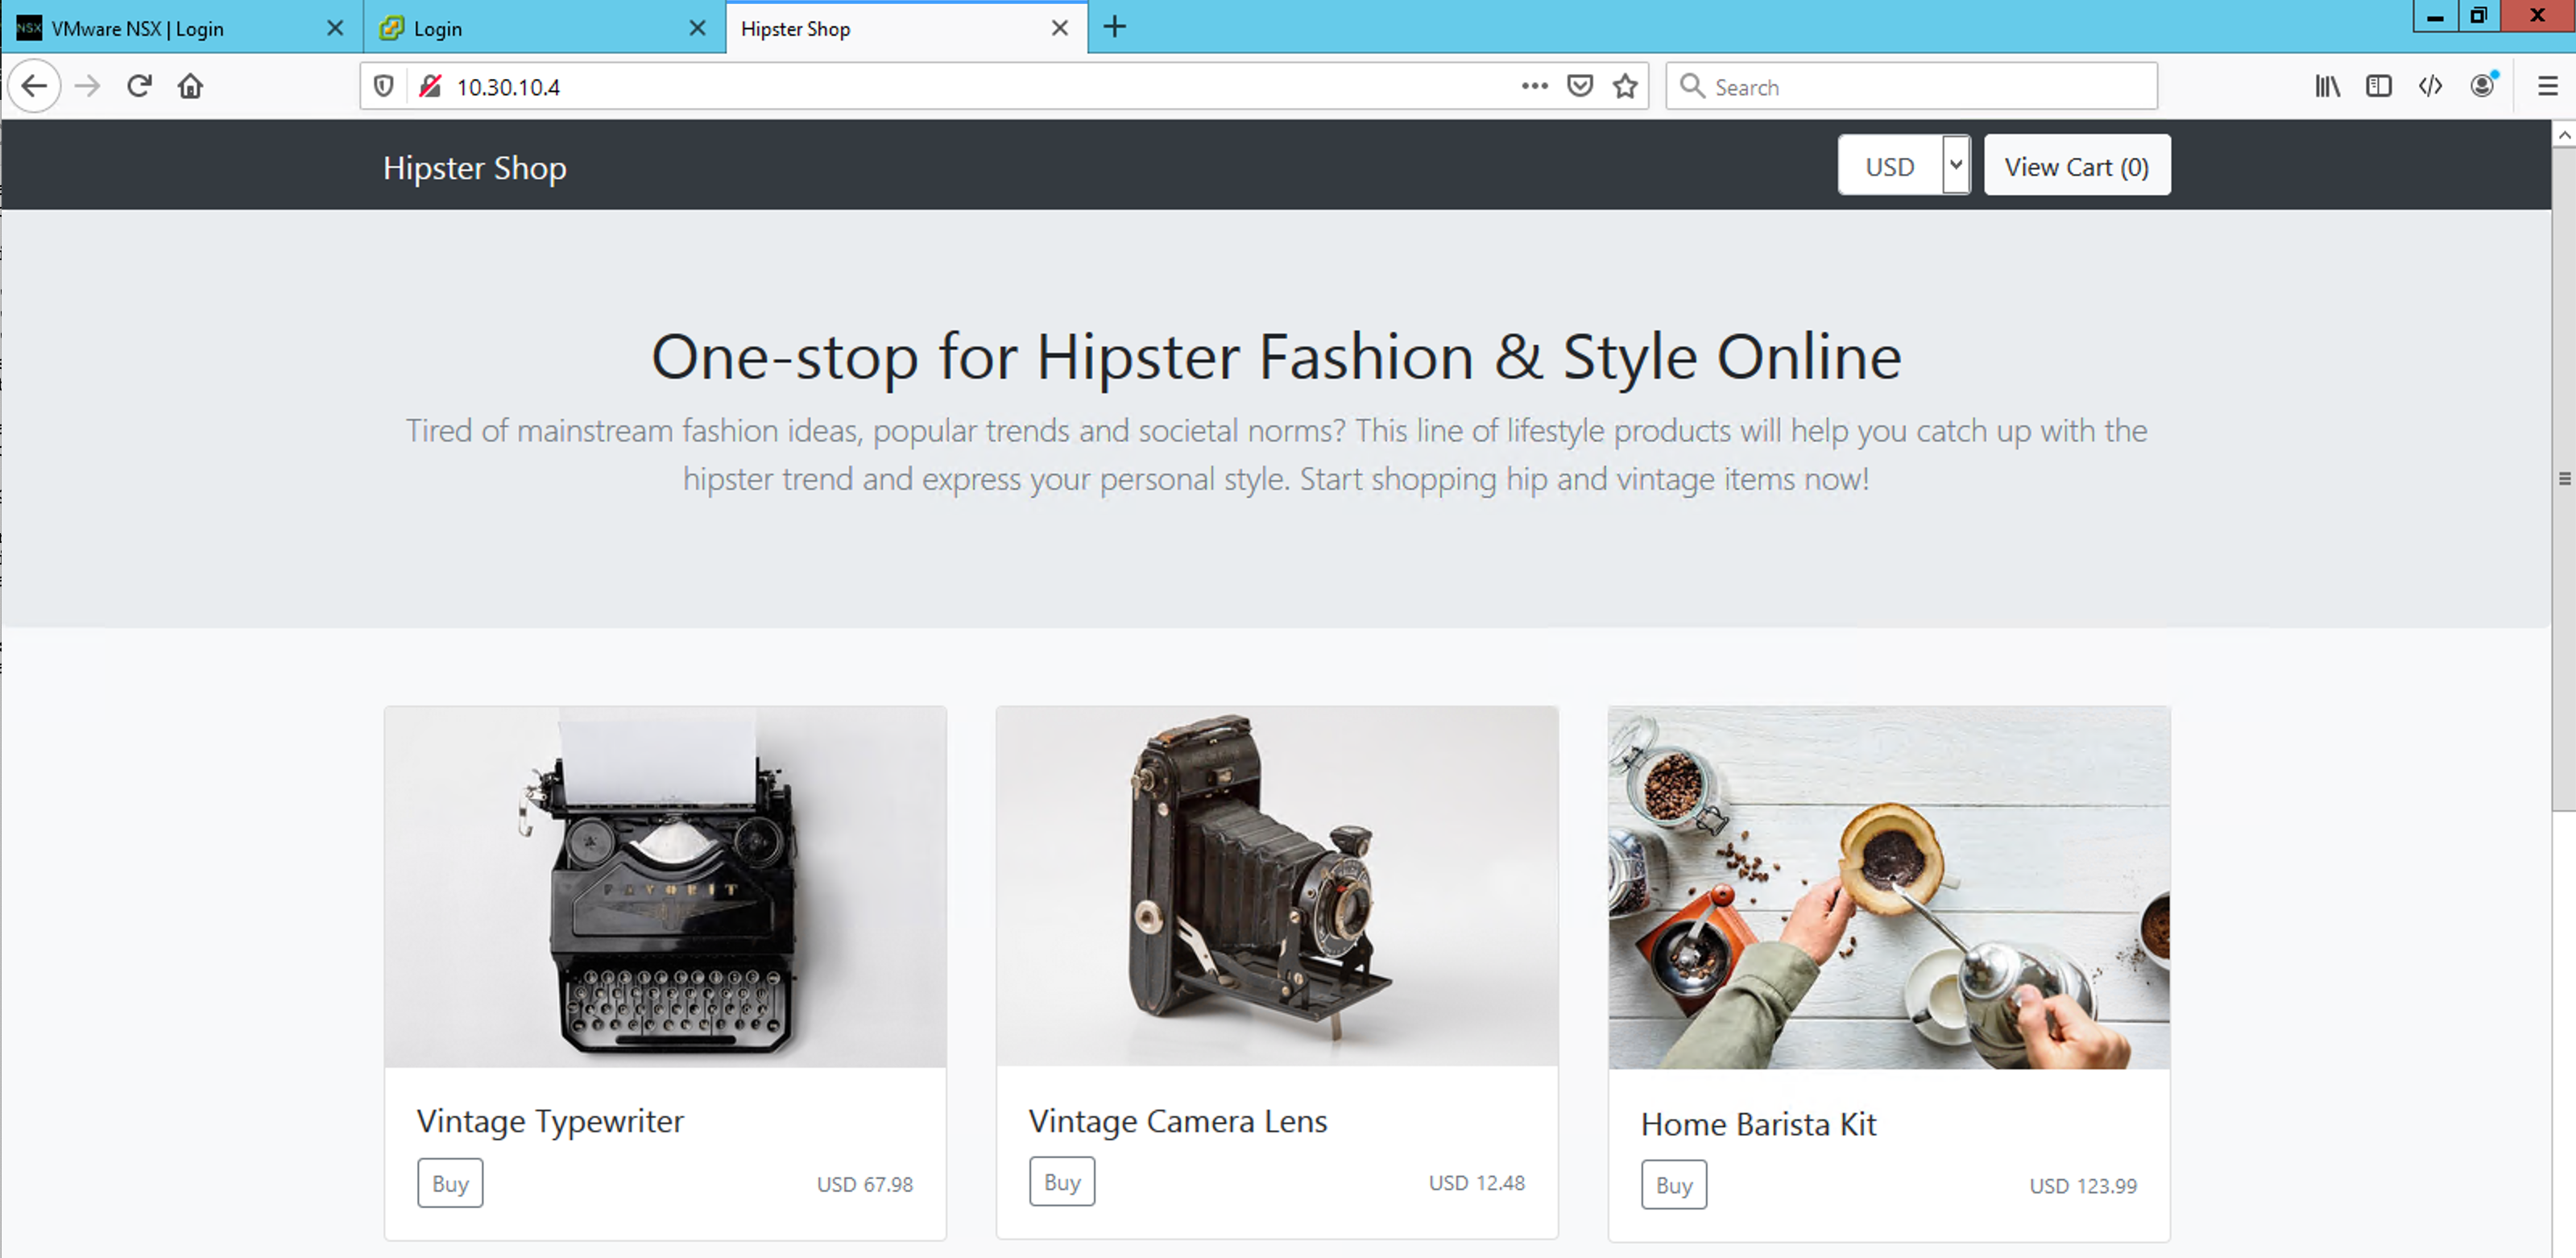
Viola! Now you can try to access the application!
http://10.30.10.4
That’s it! Hopefully you find this vSphere with Kubernetes blog series useful!
Tanzu vSphere 7 with Kubernetes on NSX-T 3.0 VDS Install
Part 1: Overview, Design, Network Topology, Hardware Used
Part 2: ESXi, vCenter, VDS Config and NSX-T Manager
Part 3: NSX-T Edges, Segments, Tier-0 Routing
Part 4: Supervisor Cluster, Content Library, TKG Clusters