Tanzu vSphere 7 with Kubernetes on NSX-T 3.0 VDS Install Part 4: Supervisor Cluster, Content Library, TKG Clusters
In this section, we will enable Workload Management, creation of Supervisor Cluster, enabling Content Library as well as creation of TKG Clusters also known as Guest Clusters.
Step 1 – Create the VM Storage Policies.
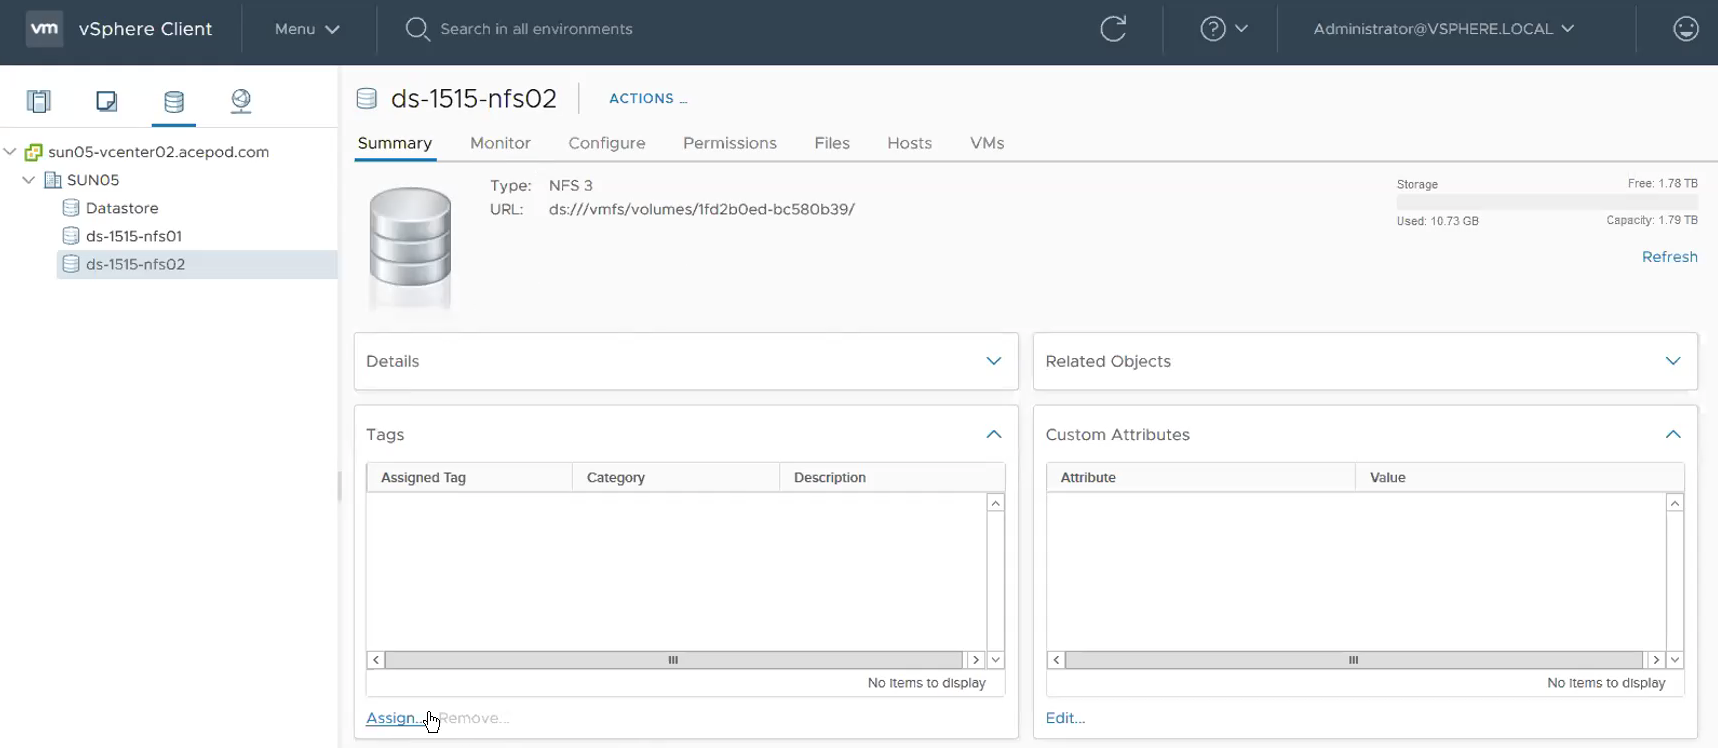
Login to vCenter if you have not. Menu -> Datastores. Click on the datastore that you like to use for vSphere with Kubernetes.
Under Tags, Click on Assign.
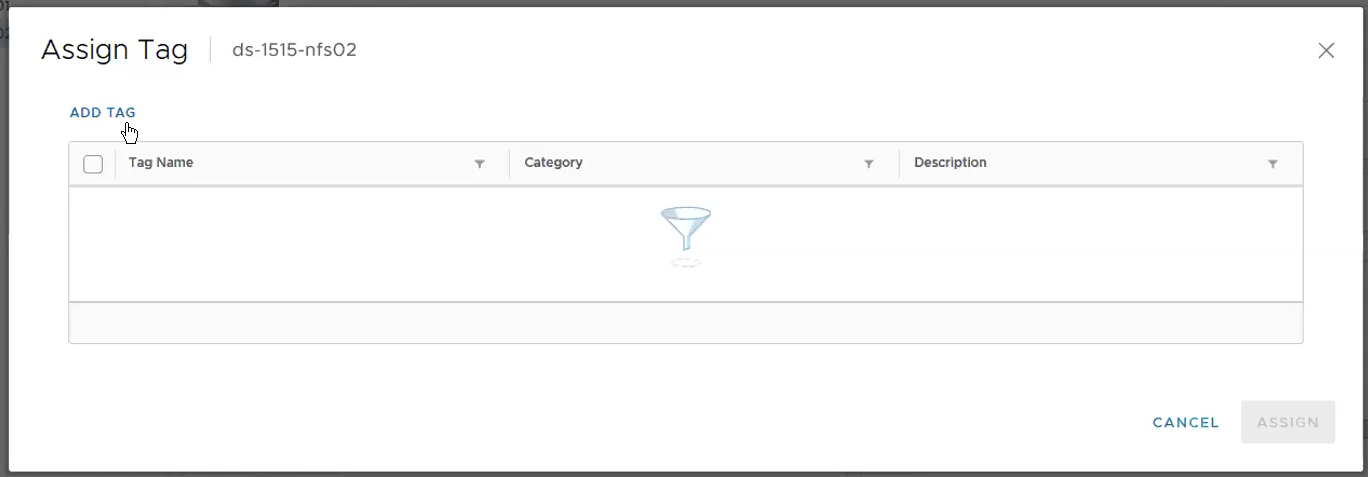
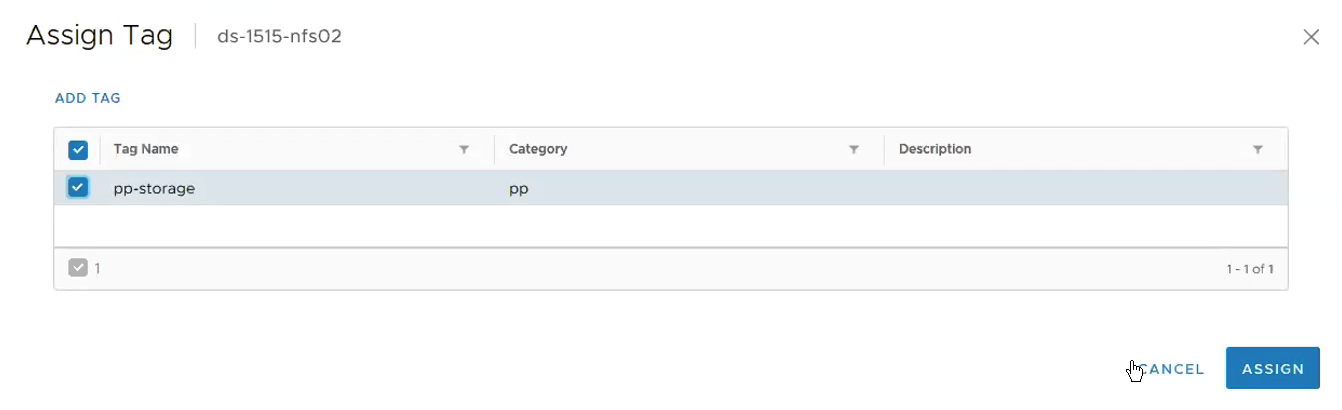
Click on ADD TAG.
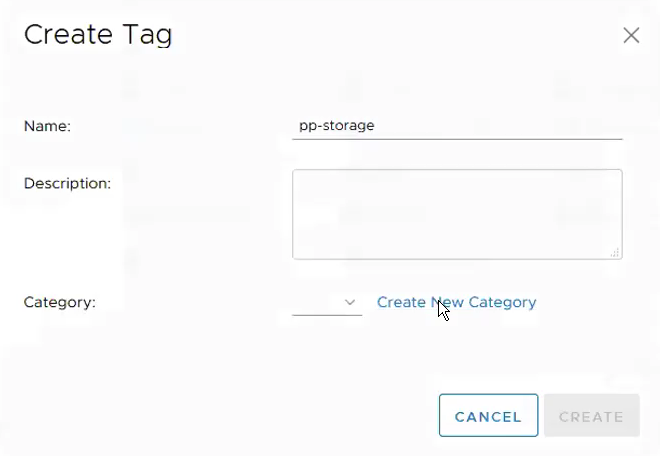
Give a name to the tag. Then click on Create New Category.
Name: pp-storage
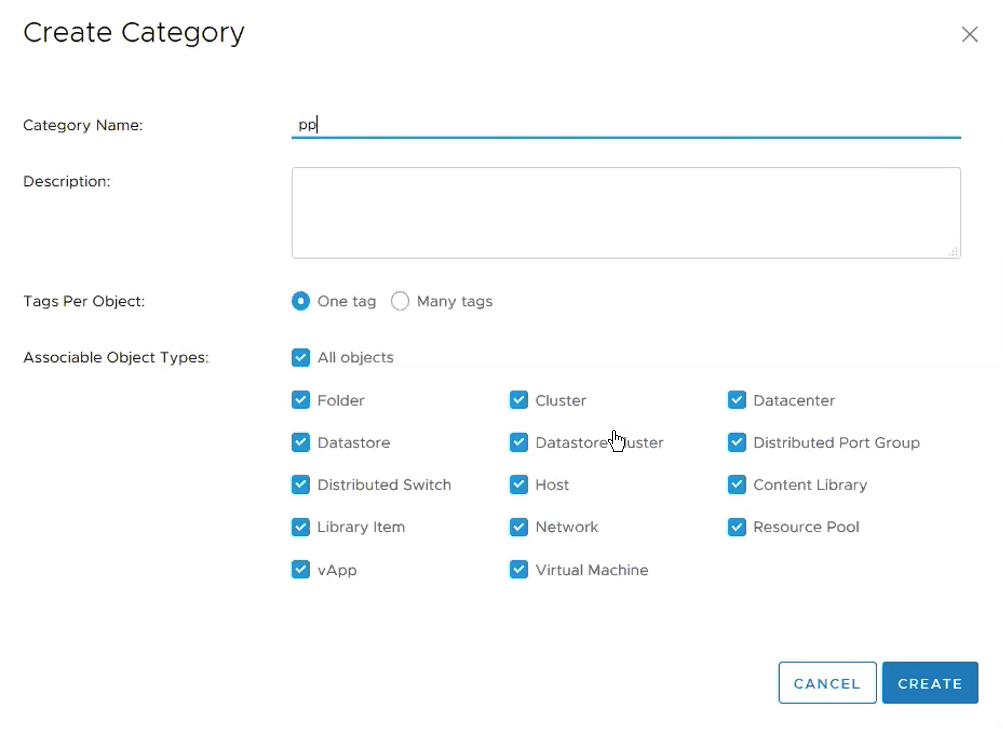
Category Name: pp. Leave the rest of the settings unchanged.

This is how it looks like when the Tag and Tag Category were created successfully. Select the Tag you just created and Click on Assign.
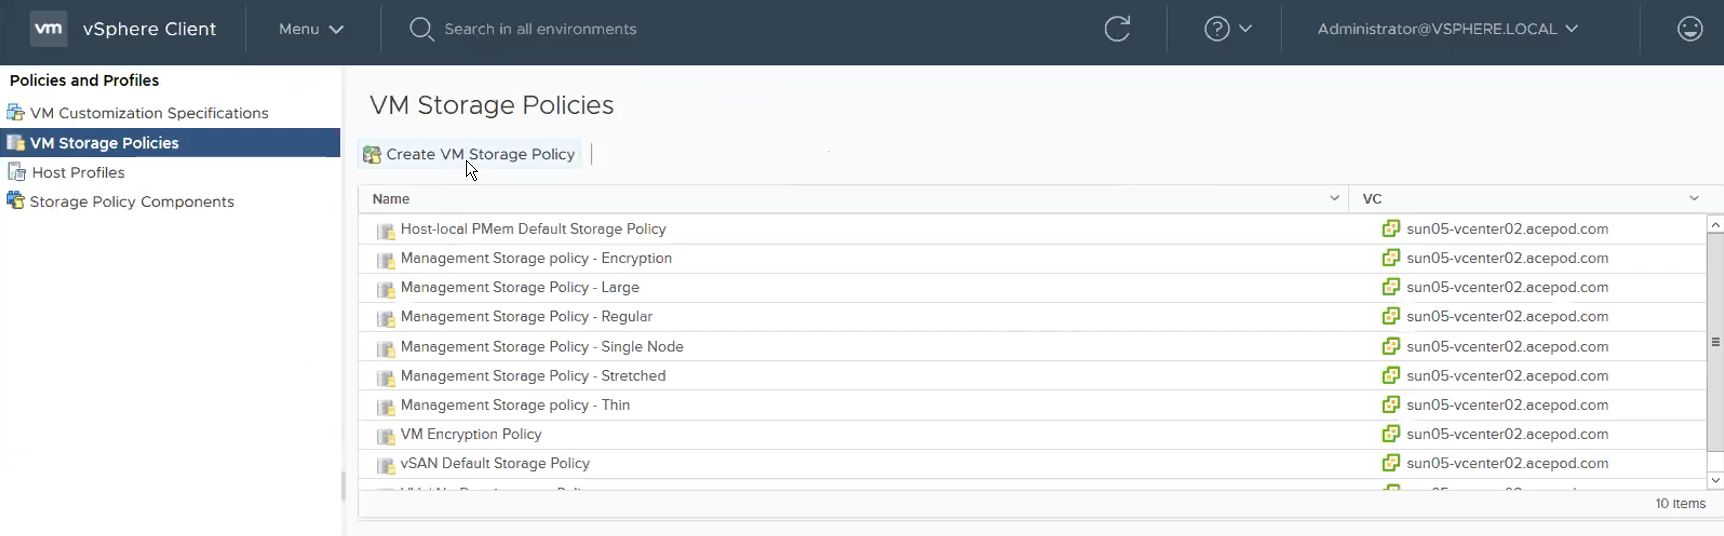
Menu -> Storage Policies -> VM Storage Policies.
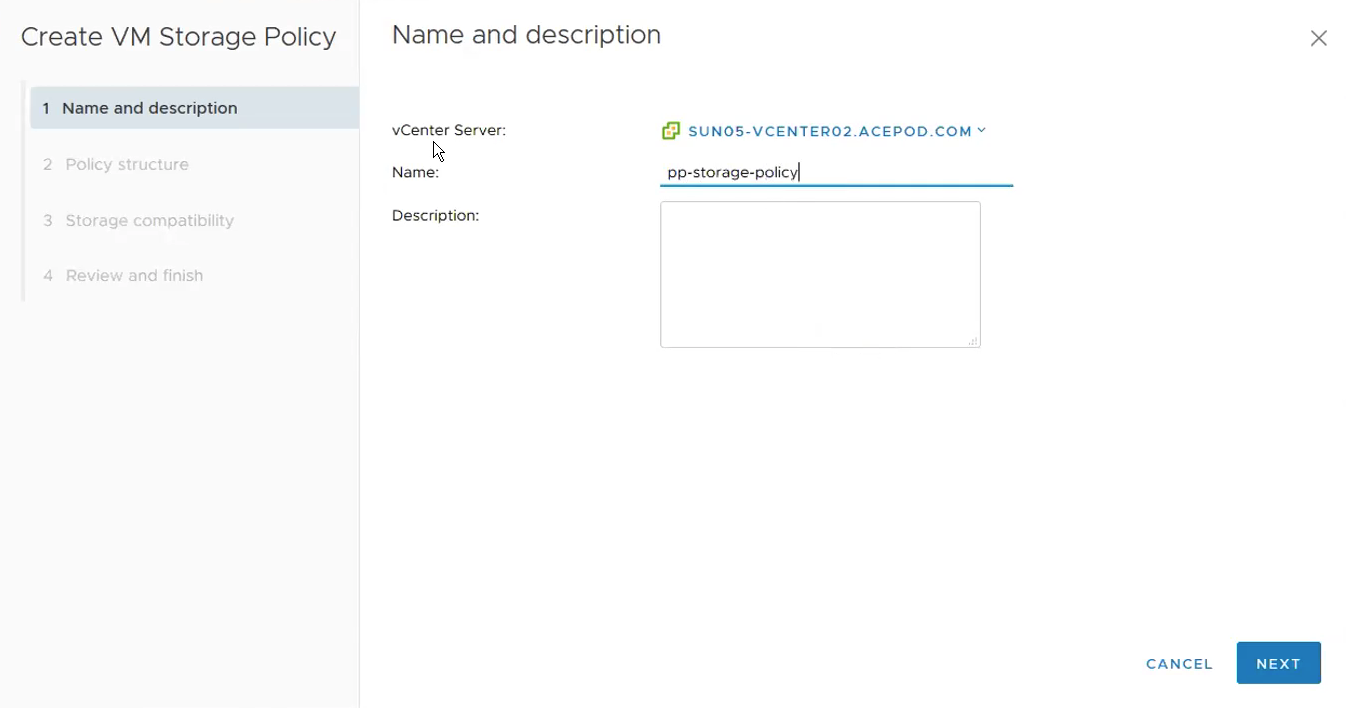
Name: pp-storage-policy
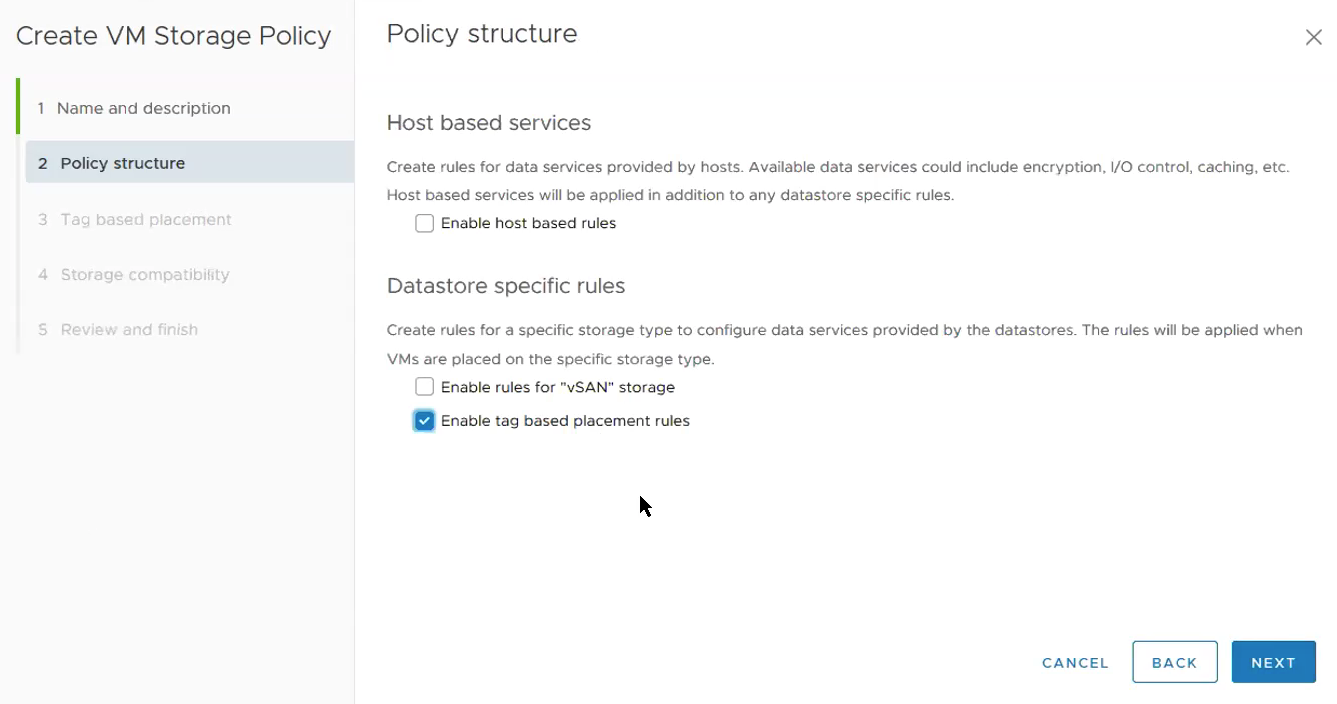
Select Enable tag based placement rules.
Select the Tag category and Tags you created in previous steps.
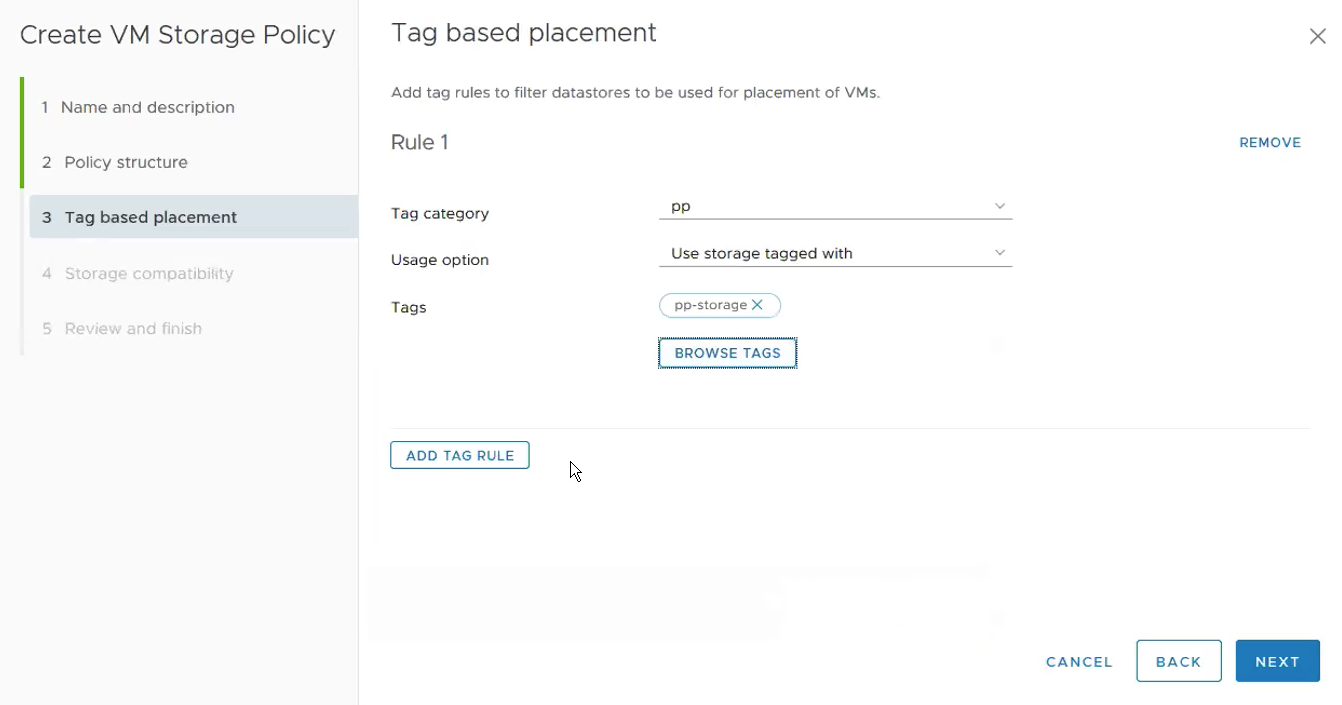
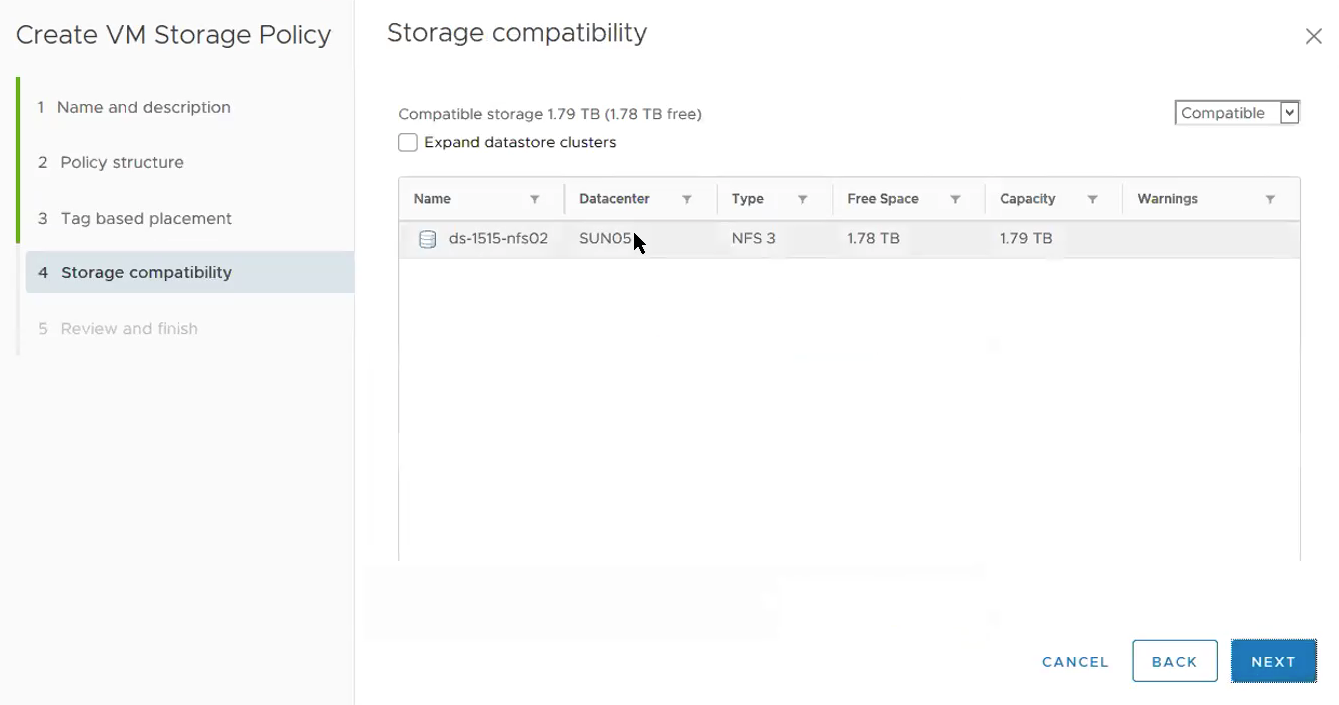
It will show you the datastore that you previously tag.
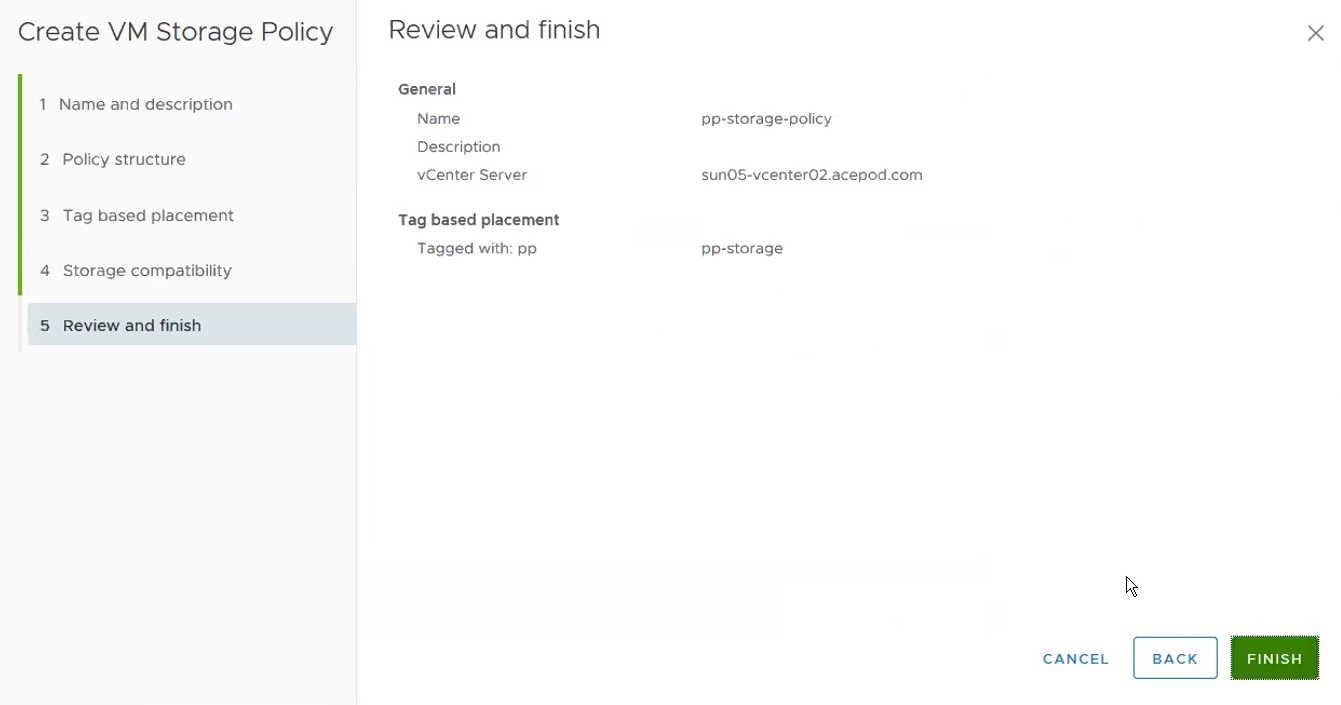
Summary page. Review and finish. Click Finish.
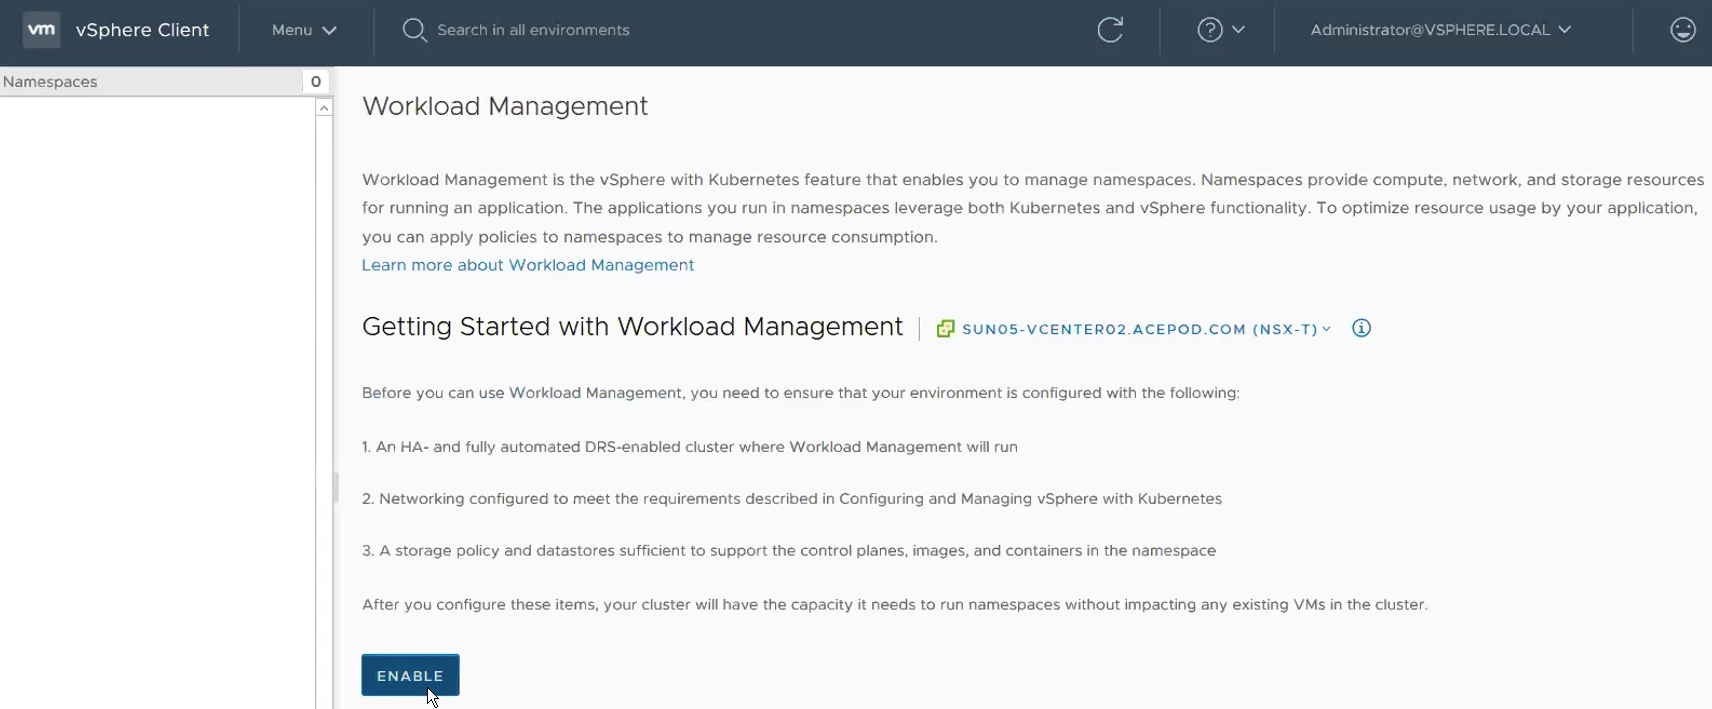
**Step 2 – Enabling Workload Management and creation of Supervisor Cluster.
**
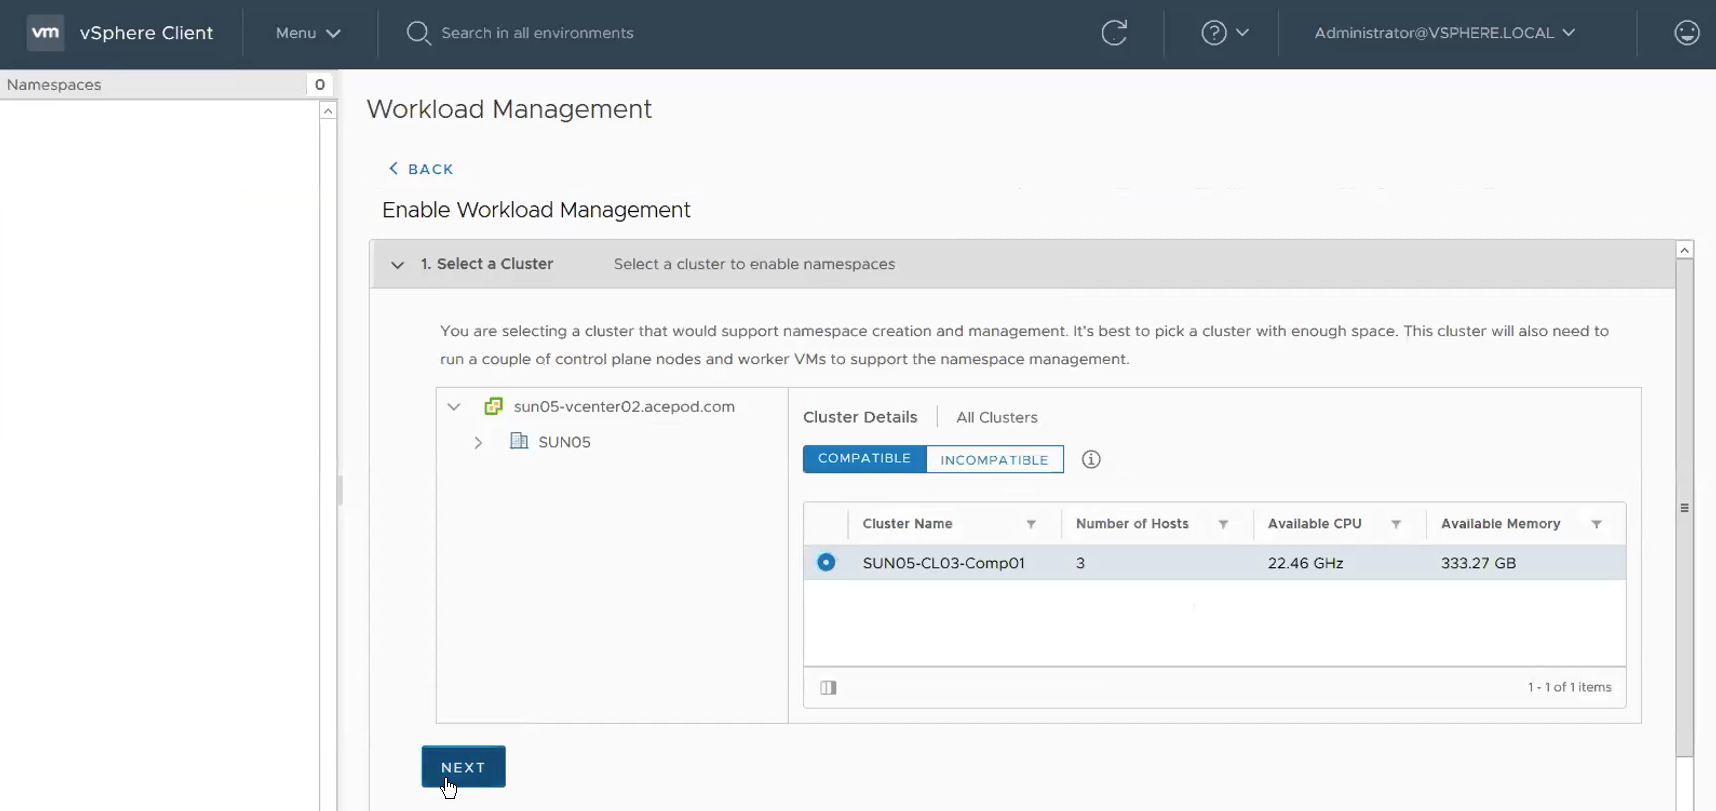
Menu -> Workload Management. Click on Enable.
Select the Compatible Cluster.
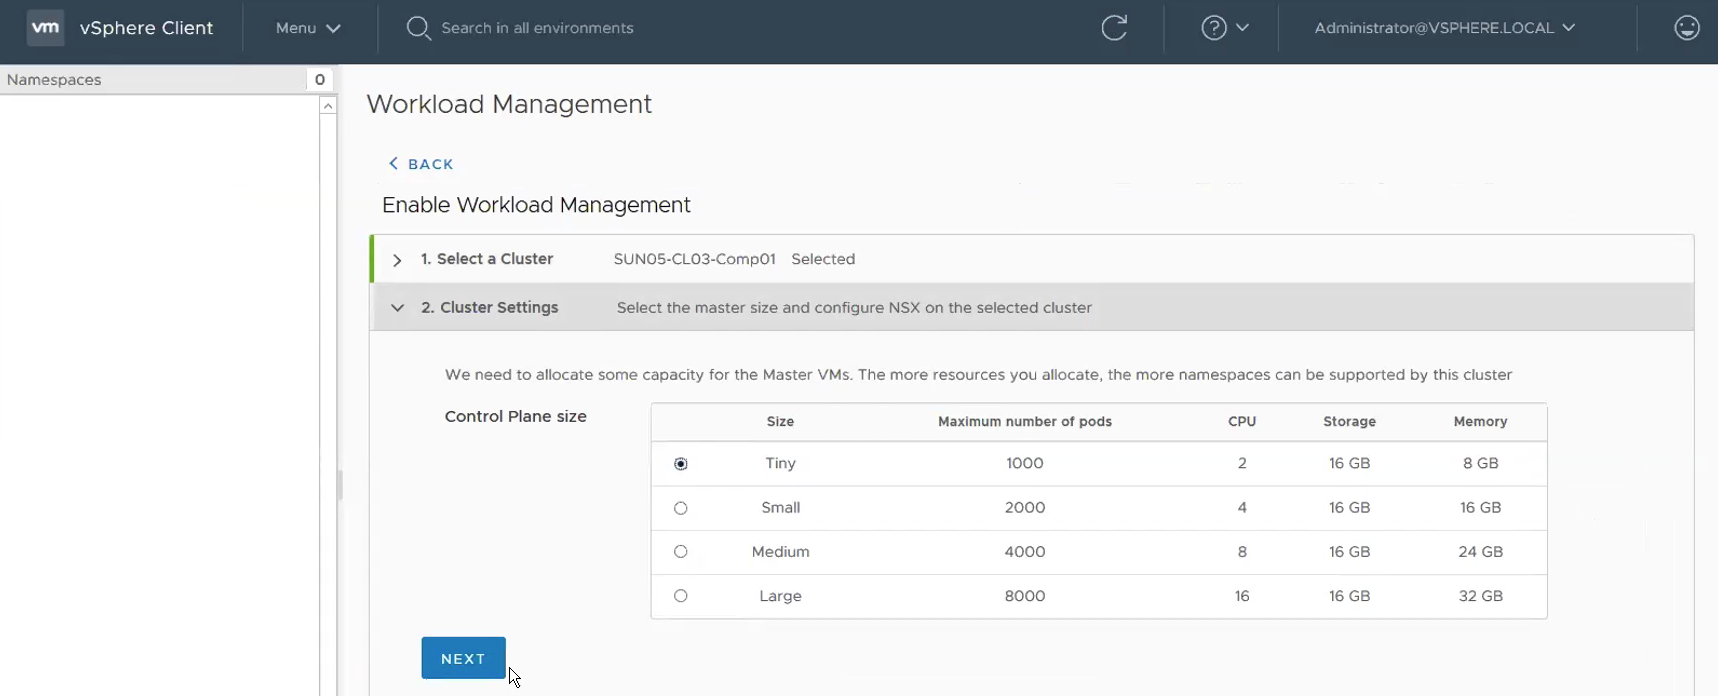
Cluster Settings. Select Control Plane Size. For me, I choose Tiny since this is a lab/Testing set up.
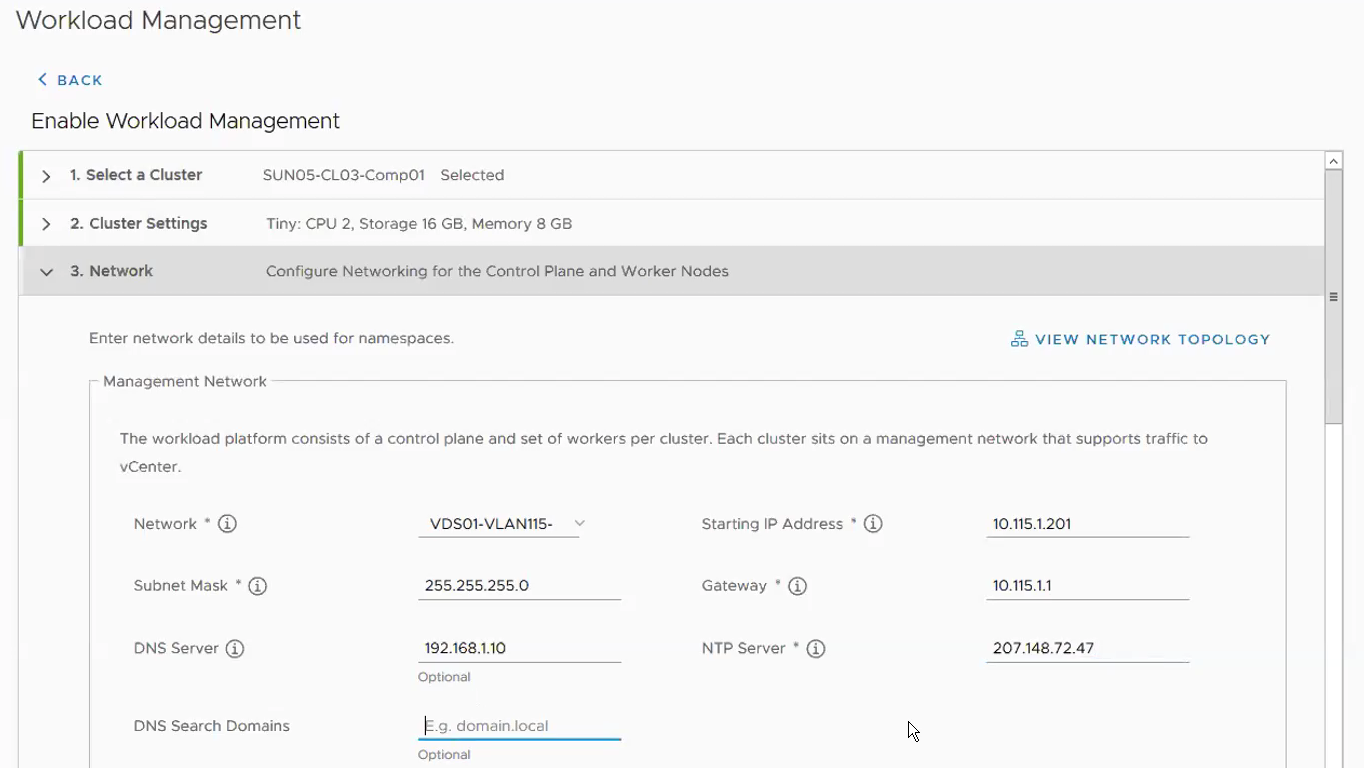
Configure Networking for the Control Plane and Worker Nodes.
Management Network
Network: VDS01-VLAN115-IaaS
Starting IP Address: 10.115.1.201
Subnet Mask: 255.255.255.0
Gateway: 10.115.1.1
DNS Server: 192.168.1.10
NTP Server: 207.148.72.47 (As my lab as Internet access, I use public NTP server.) **NTP is very important. You will see authentication errors in the wcpsvc logs and usually this has to do with NTP not working correctly.
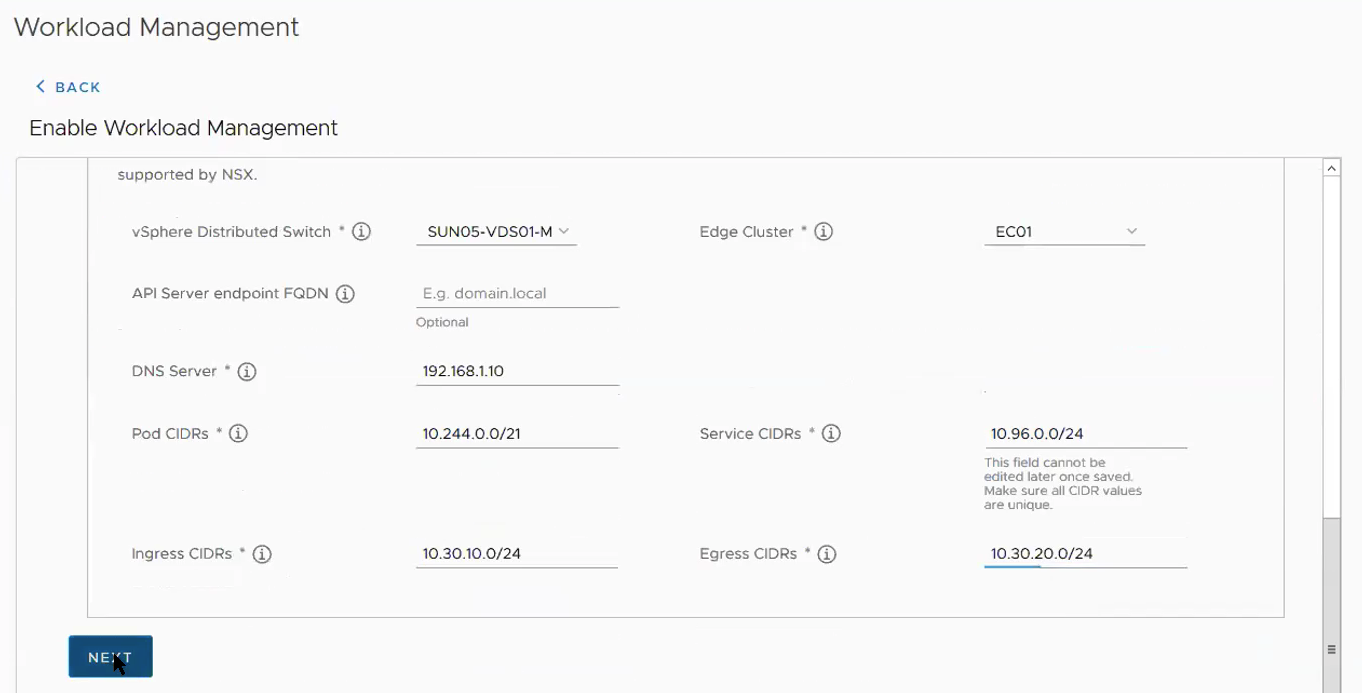
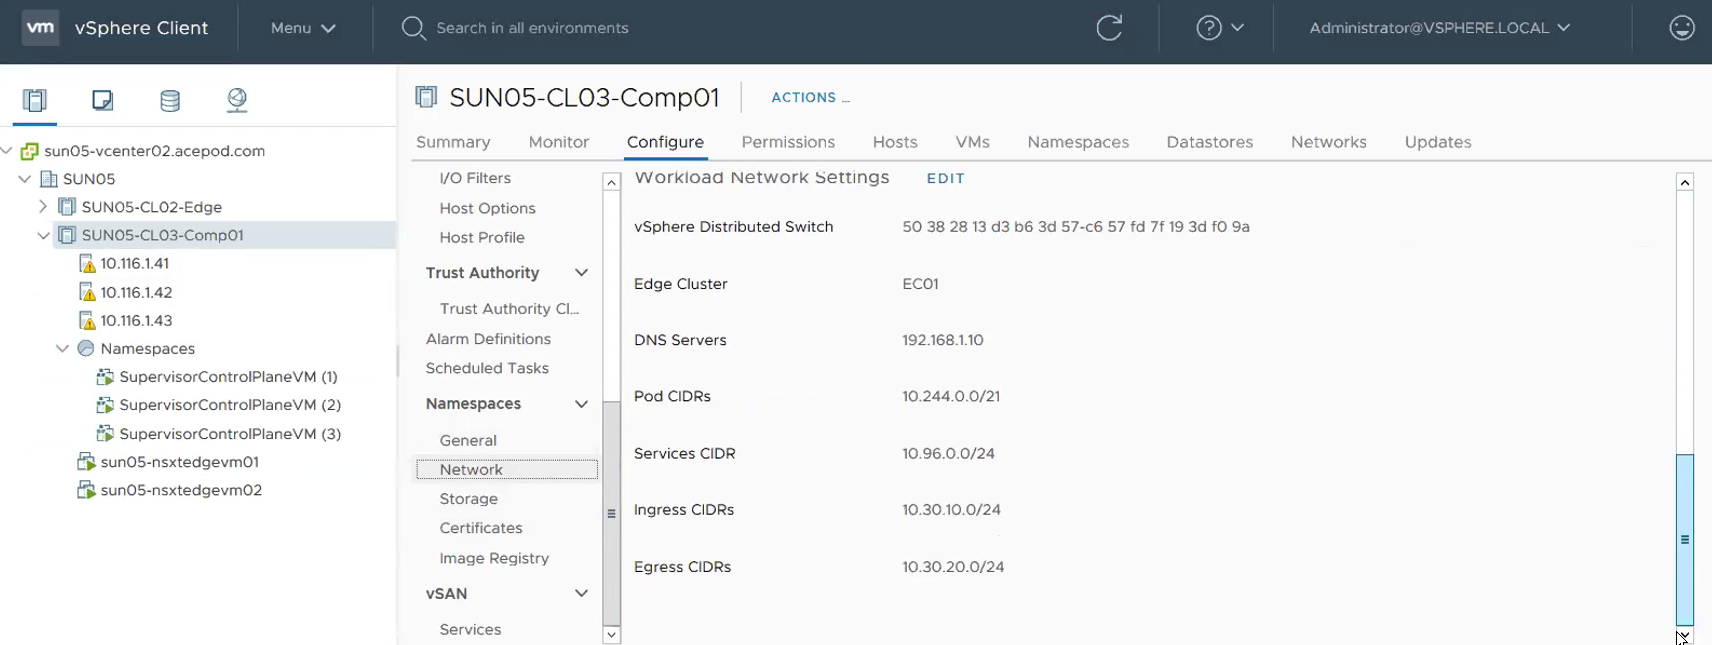
Workload Network
vSphere Distributed Switch: SUN05-VDS01-MGMT
Edge Cluster: EC01
DNS Server: 192.168.1.10
Pod CIDRs: 10.244.0.0/21 (Default)
Server CIDRs: 10.96.0.0/24 (Default)
Ingress CIDRs: 10.30.10.0/24
Egress CIDRs: 10.30.20.0/24
Storage
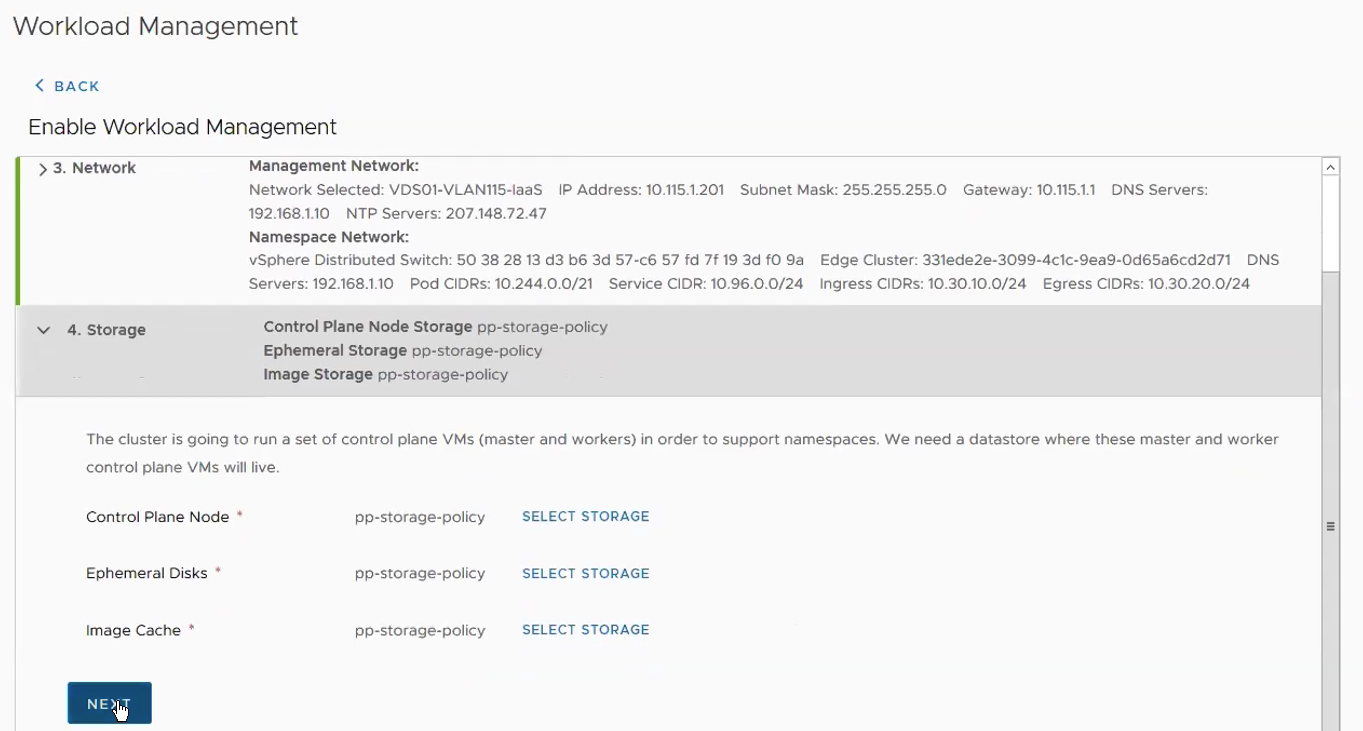
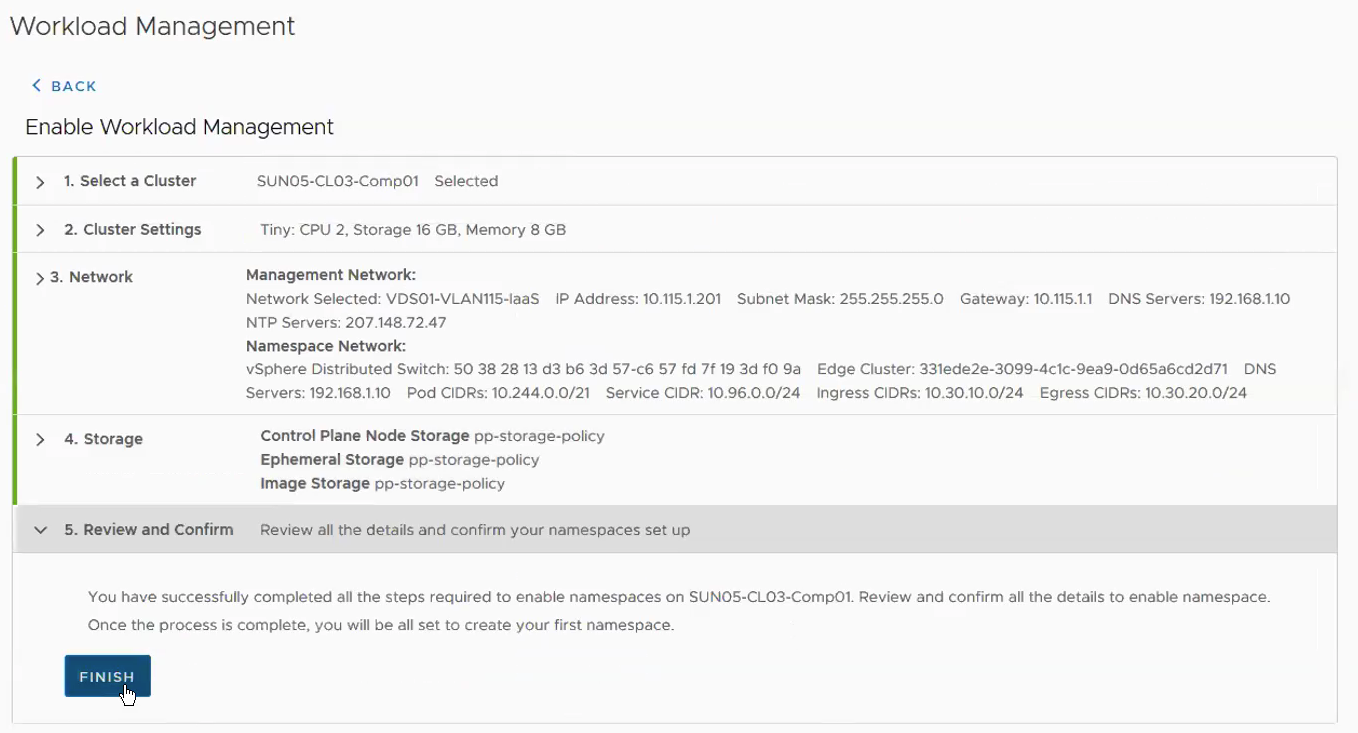
Review and Confirm
Once that is done, you will now see the Supervisor Cluster Control VMs being deployed.
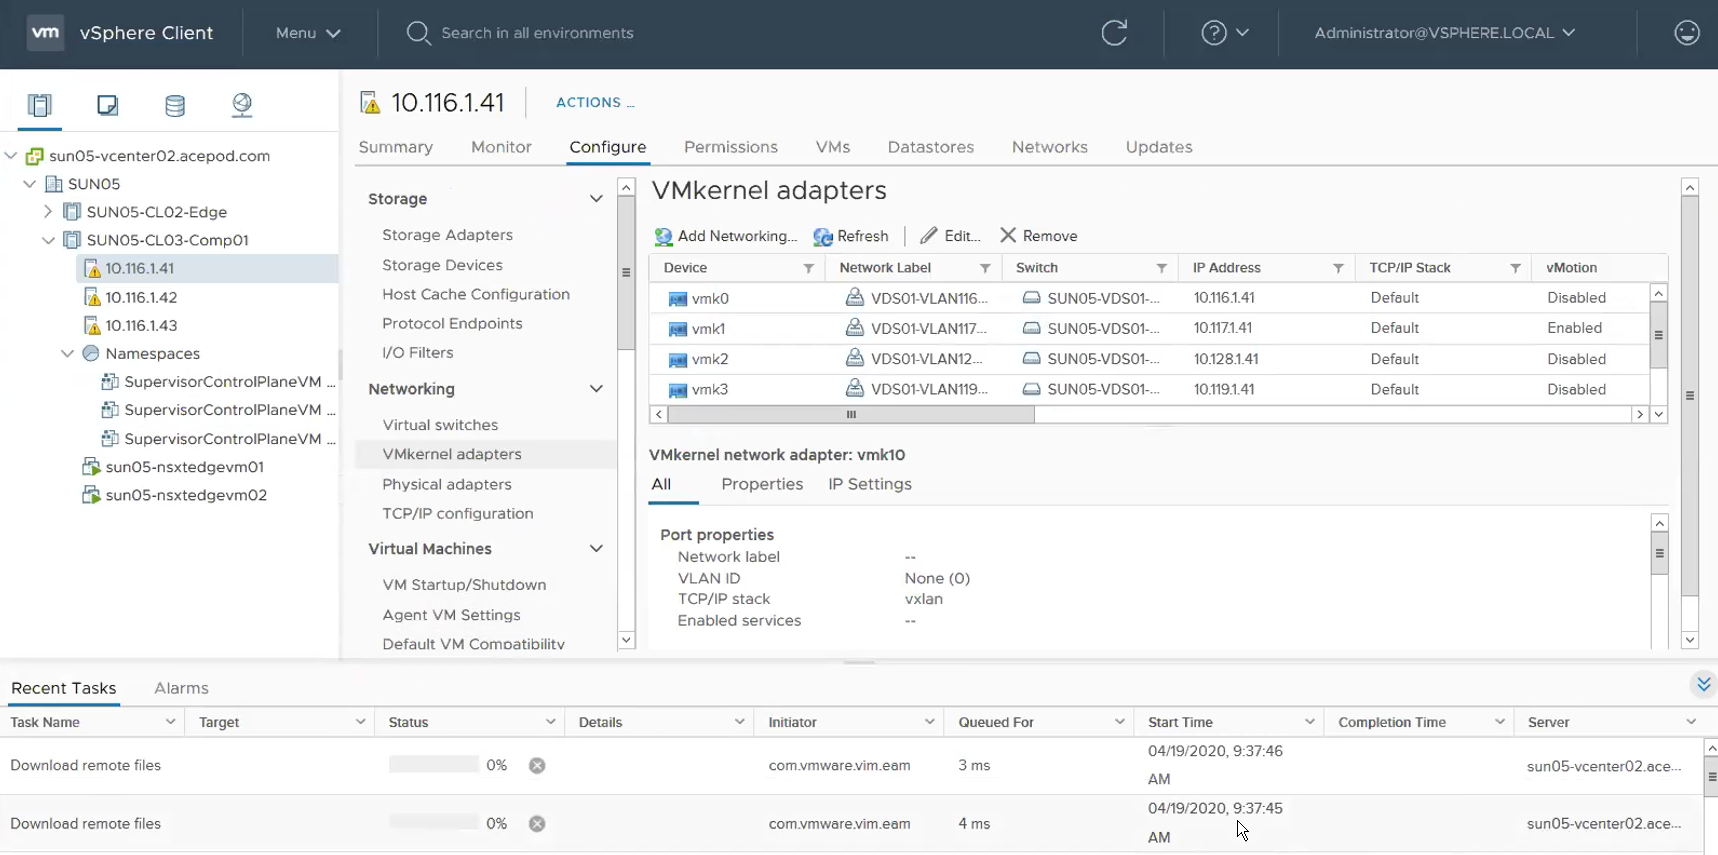
Go make yourself a cup of coffee about come back in about 25 mins. 
You can view the Network configuration here.
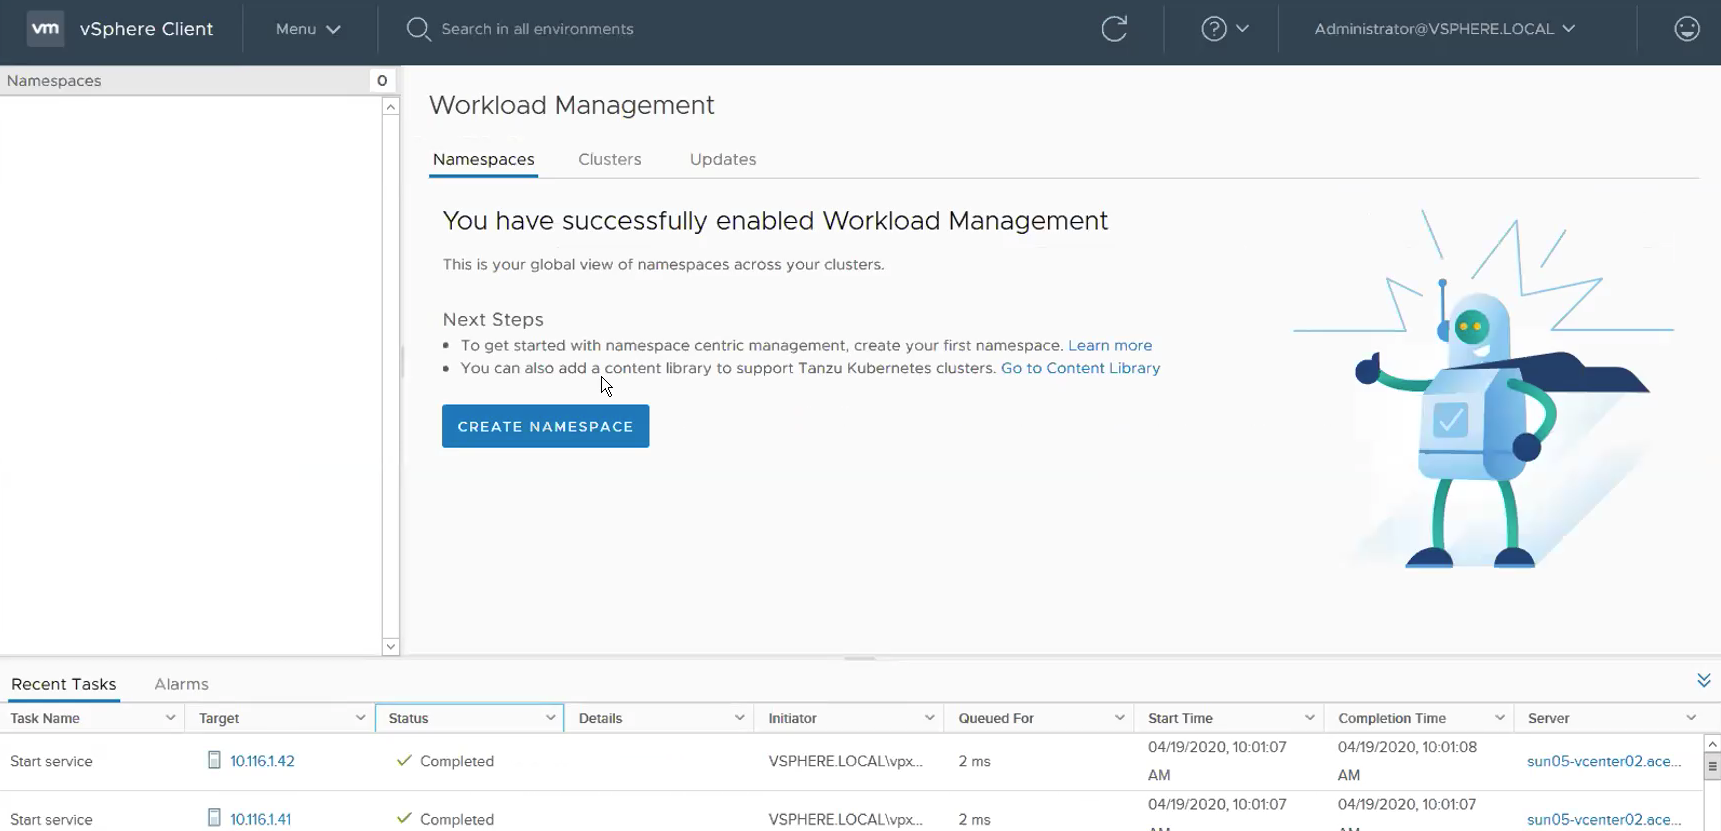
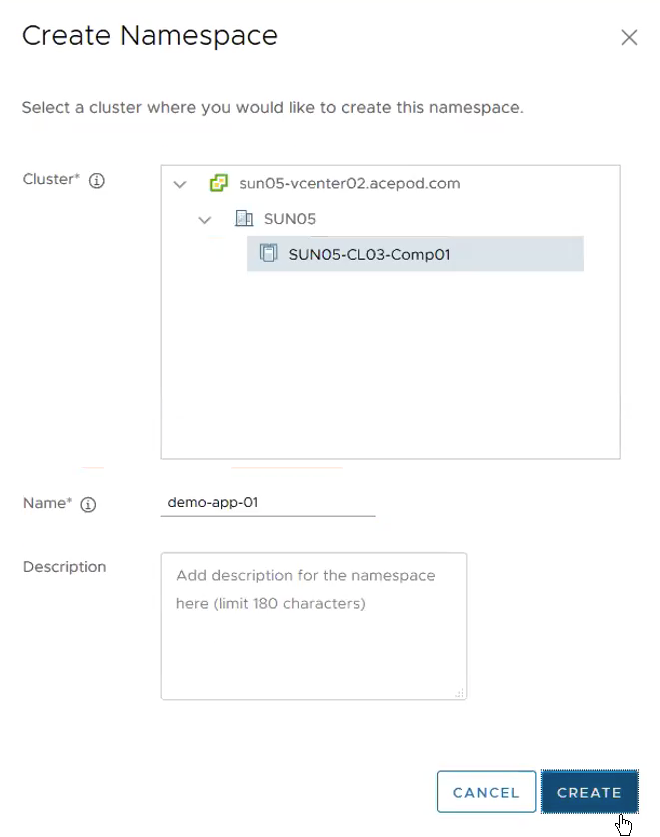
Step 3 – Create Namespace, Set up Permissions and Storage
Click on Create Namespace. Select Cluster where you want to create the namespace and give a name to the namespace. **BTW, just a note here. Don’t confuse this namespace with the Kubernetes namespace. The way I about think this namespace construct in vSphere with Kubernetes is like a project or an application. This project or application can comprises of Containers as well as VMs.
Name: demo-app-01
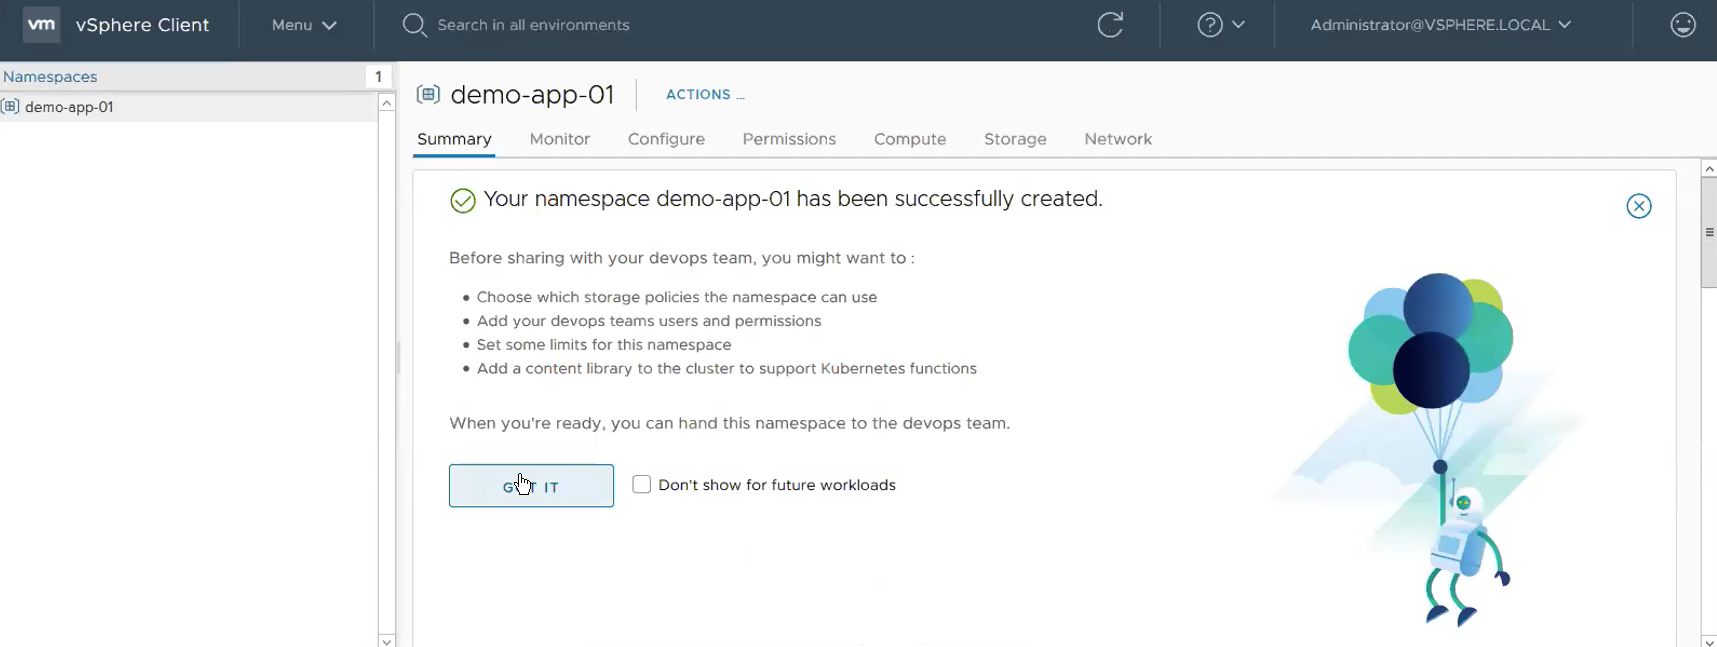
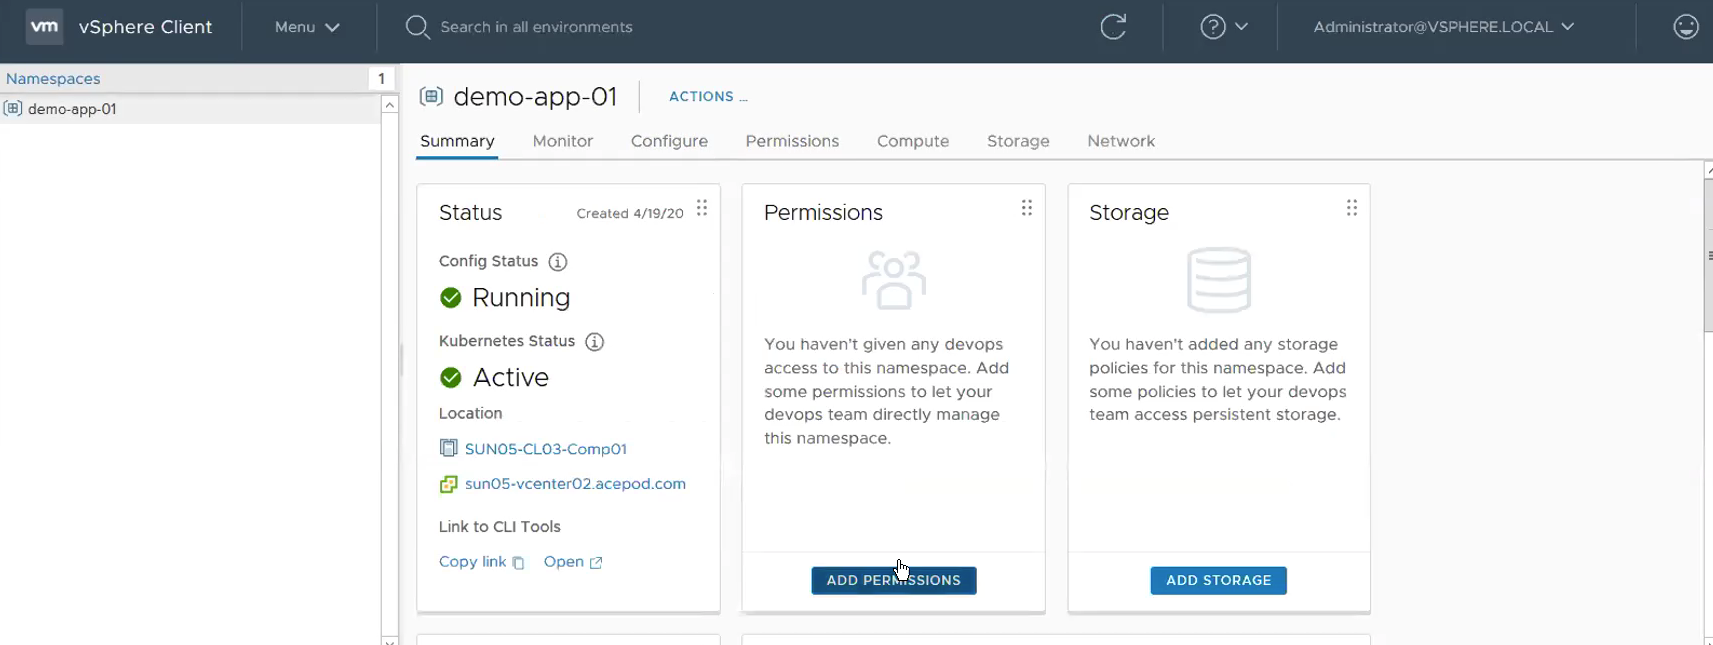
This show the namespace has been created successfully.
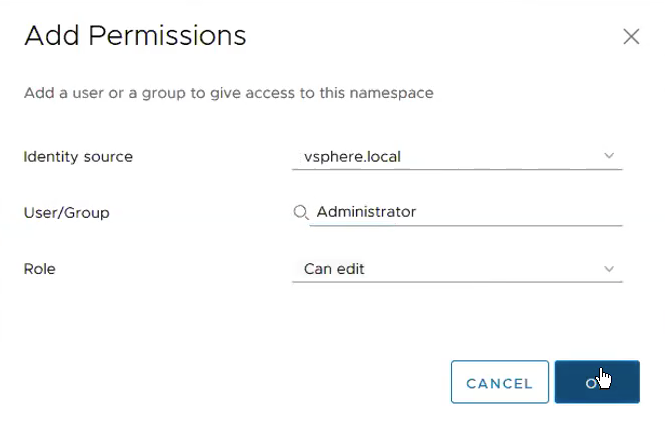
Click on Add Permissions.
Give permissions to Administrator@vsphere.local with edit role.
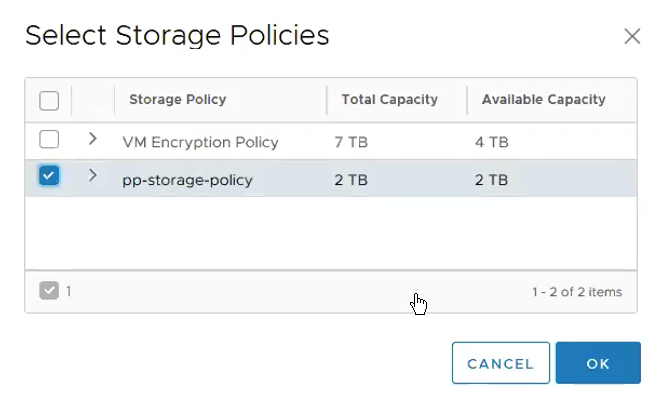
Add Storage Policies.
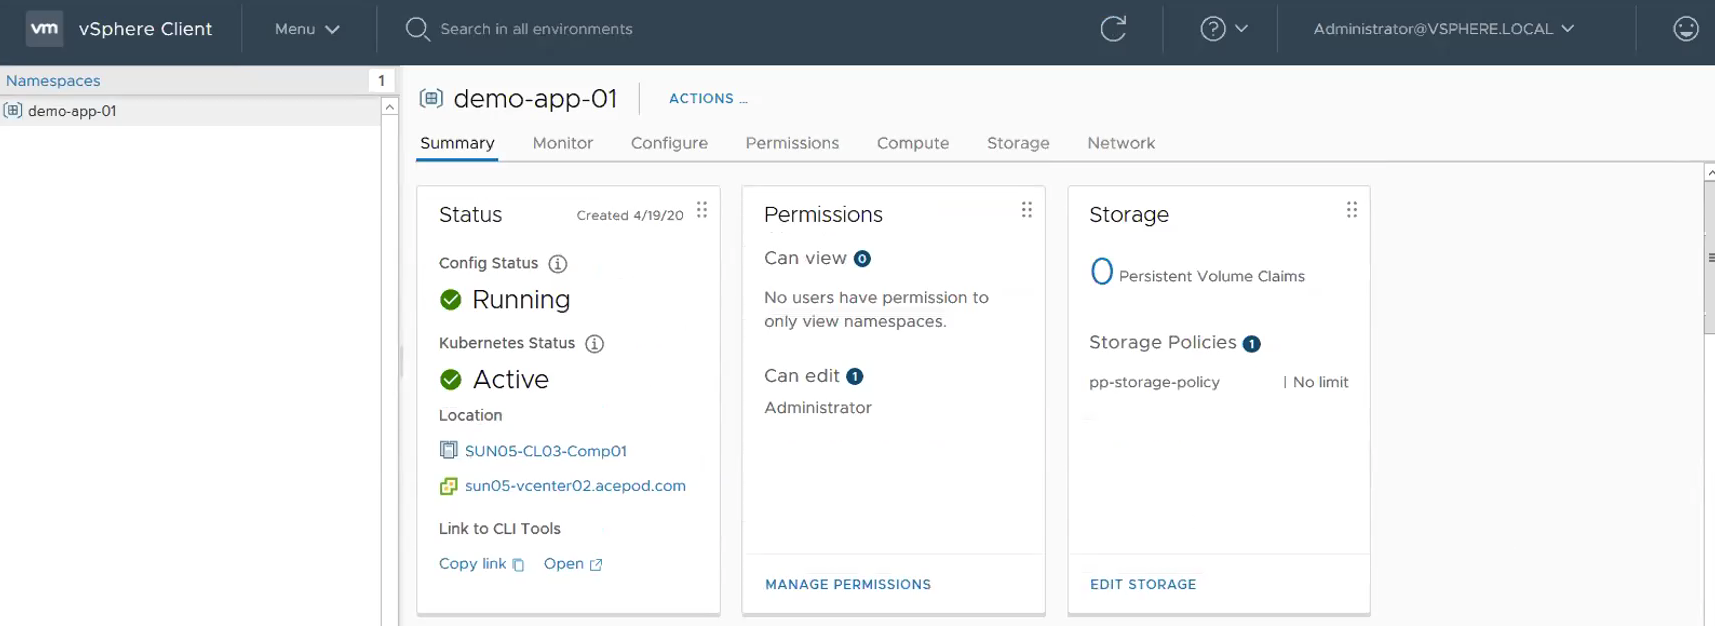
This will how it looks like with Permissions and Storage Policies configured successfully.
Step 4 – Test Pod VM
Logging in to Supervisor Cluster.
kubectl config use-context demo-app-01
kubectl get nodes

Start a Pod VM.

Pod VM running
Step 5 – Enabling Content Library
vCenter -> Menu -> Content Libraries -> Create.
Name: Kubernetes

Subscription URL: https://wp-content.vmware.com/v2/latest/lib.json
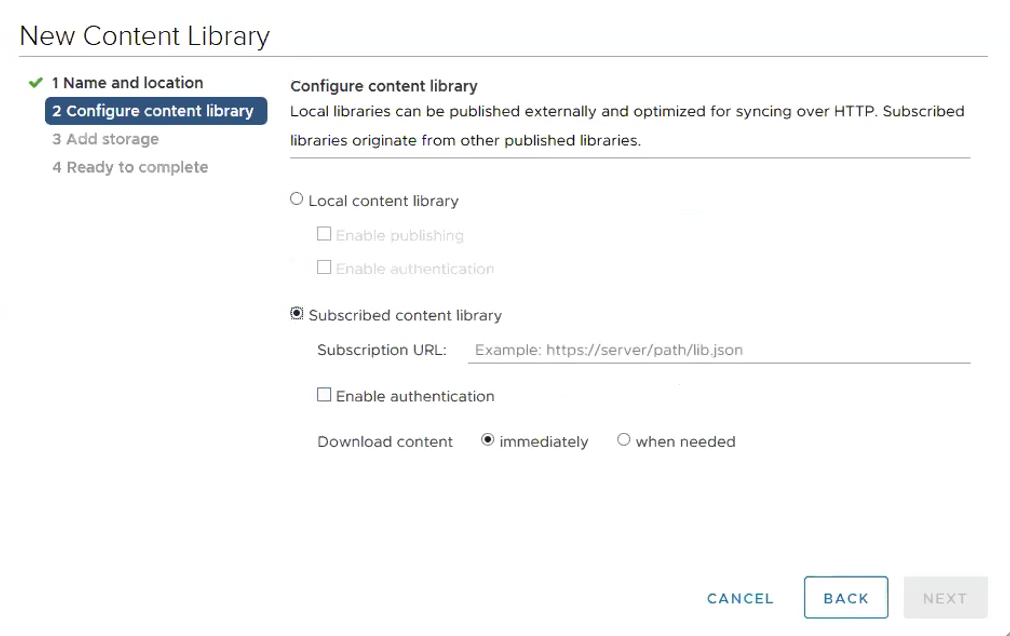
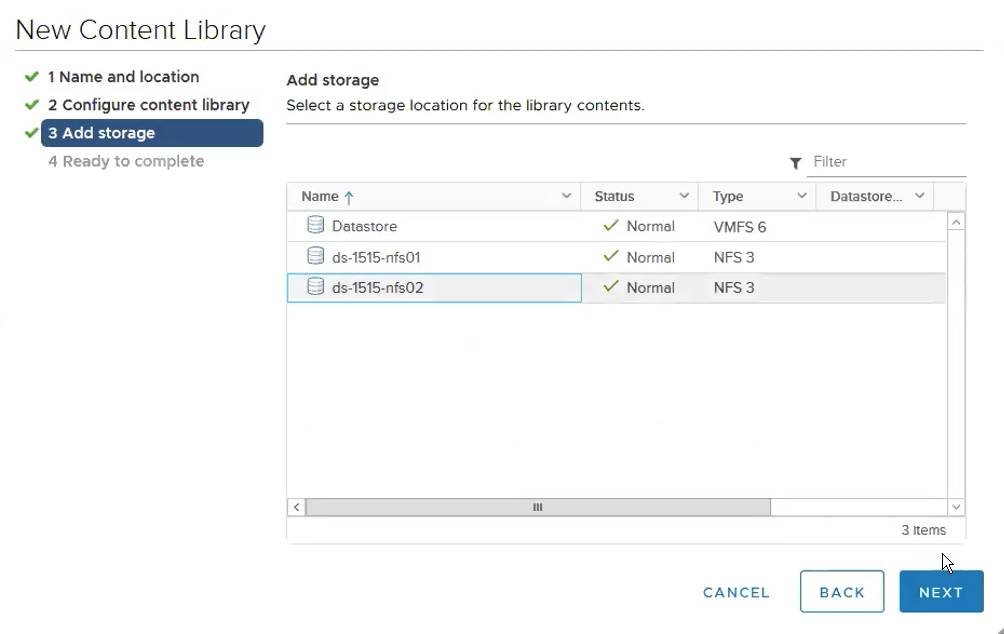
Select the storage where you want to store the ova images.
Ready to Complete.

This is how it looks like when the image is downloaded successfully.

Step 6 – Create TKG Clusters
Create the following yaml file.
nano create-tanzu-k8s-cluster01.yaml
apiVersion: run.tanzu.vmware.com/v1alpha1
kind: TanzuKubernetesCluster
metadata:
name: tkg-cluster #name of cluster
namespace: demo-app-01
spec:
topology:
controlPlane:
count: 1
class: best-effort-xsmall # vmclass to be used for master(s)
storageClass: pp-storage-policy
workers:
count: 2
class: best-effort-xsmall # vmclass to be used for workers(s)
storageClass: pp-storage-policy
distribution:
version: v1.16.8
settings:
network:
cni:
name: calico
services:
cidrBlocks: [“198.51.100.0/12″]
pods:
cidrBlocks: [“192.0.2.0/16″]
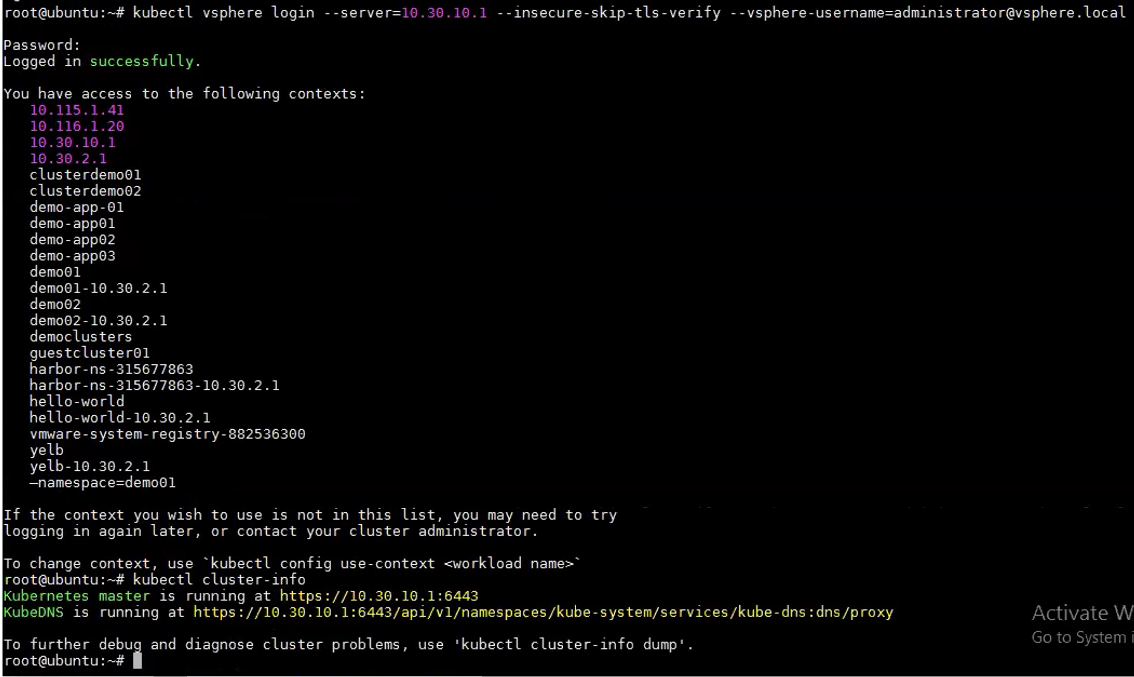
Login to the Supervisor Cluster.
kubectl vsphere login –server=10.30.10.1 –insecure-skip-tls-verify –vsphere-username=administrator@vsphere.local
kubectl config use-context demo-app-01


Apply the yaml file.

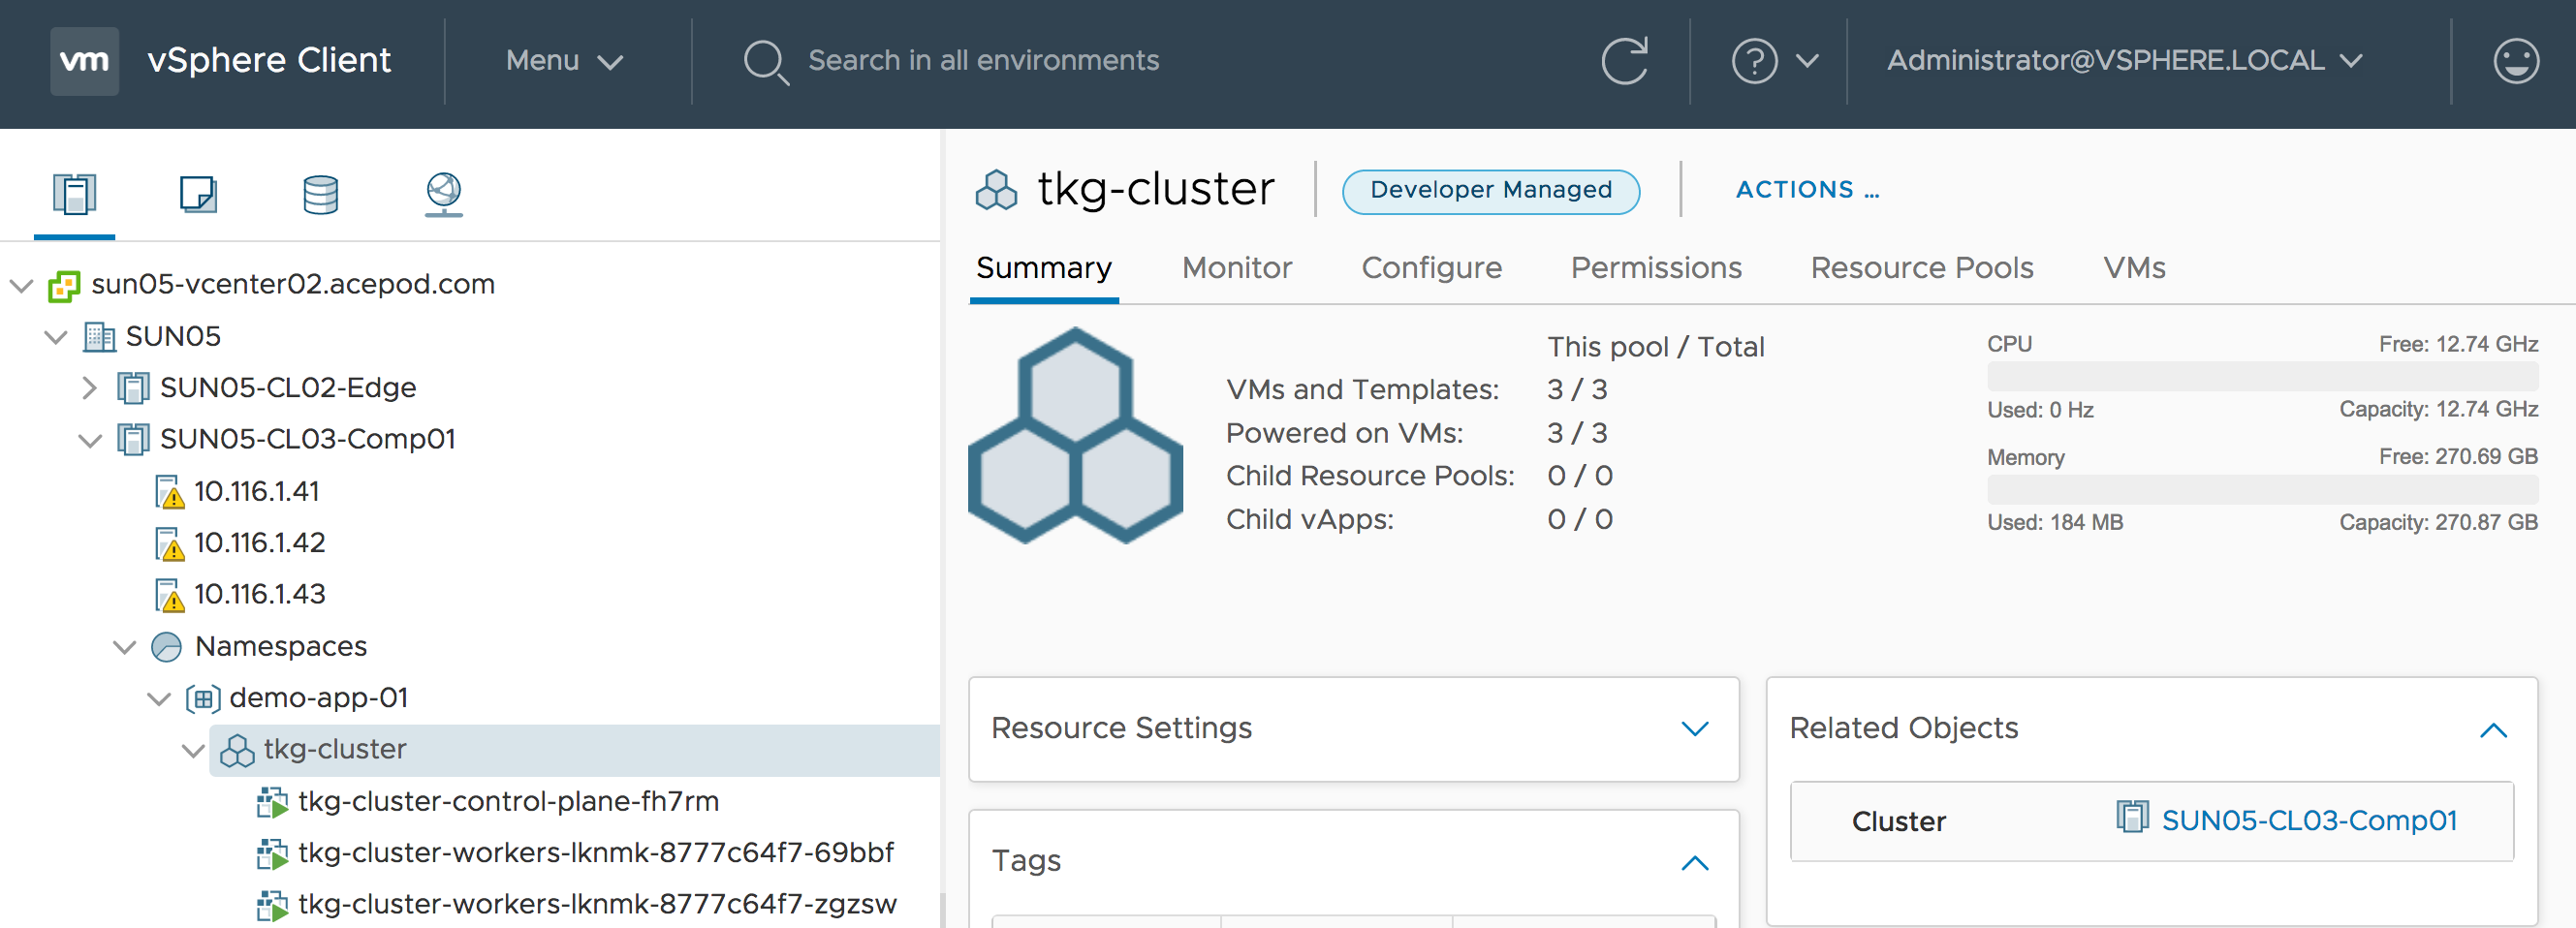
You can now see the TKG Cluster VMs being deployed.
Login to the TKG Cluster.
kubectl vsphere login server 10.30.10.1 vsphere-username administrator@vsphere.local insecure-skip-tls-verify tanzu-kubernetes-cluster-name tkg-cluster –tanzu-kubernetes-cluster-namespace demo-app-01

TKG Cluster deployed successfully.
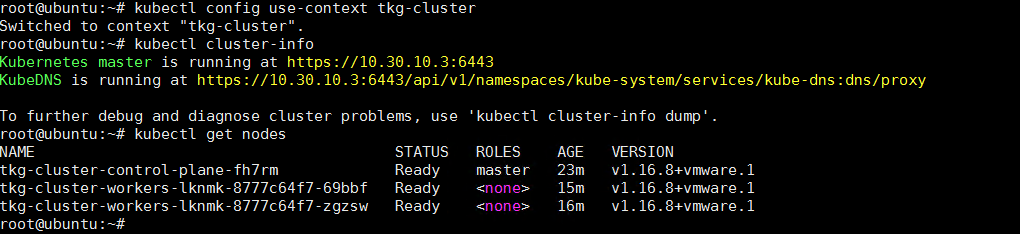
kubectl config use-context tkg-cluster
kubectl cluster-info
kubectl get nodes
Now we are done with creating TKG Clusters, we shall deploy some demo apps next.
Tanzu vSphere 7 with Kubernetes on NSX-T 3.0 VDS Install
Part 1: Overview, Design, Network Topology, Hardware Used
Part 2: ESXi, vCenter, VDS Config and NSX-T Manager
Part 3: NSX-T Edges, Segments, Tier-0 Routing
Part 4: Supervisor Cluster, Content Library, TKG Clusters